Category Archives: DIY

Renovation Before & After: The Hallway

I know, a hallway renovation doesn’t really sound that exciting, does it?! But this hallway was a lot of work, so I’m going to show it to you! Also, I just don’t have to oomph to tackle the kitchen before and after post and it’s many details, the kids rooms are a disaster, and I don’t wanna make my bed. So. Hallway!

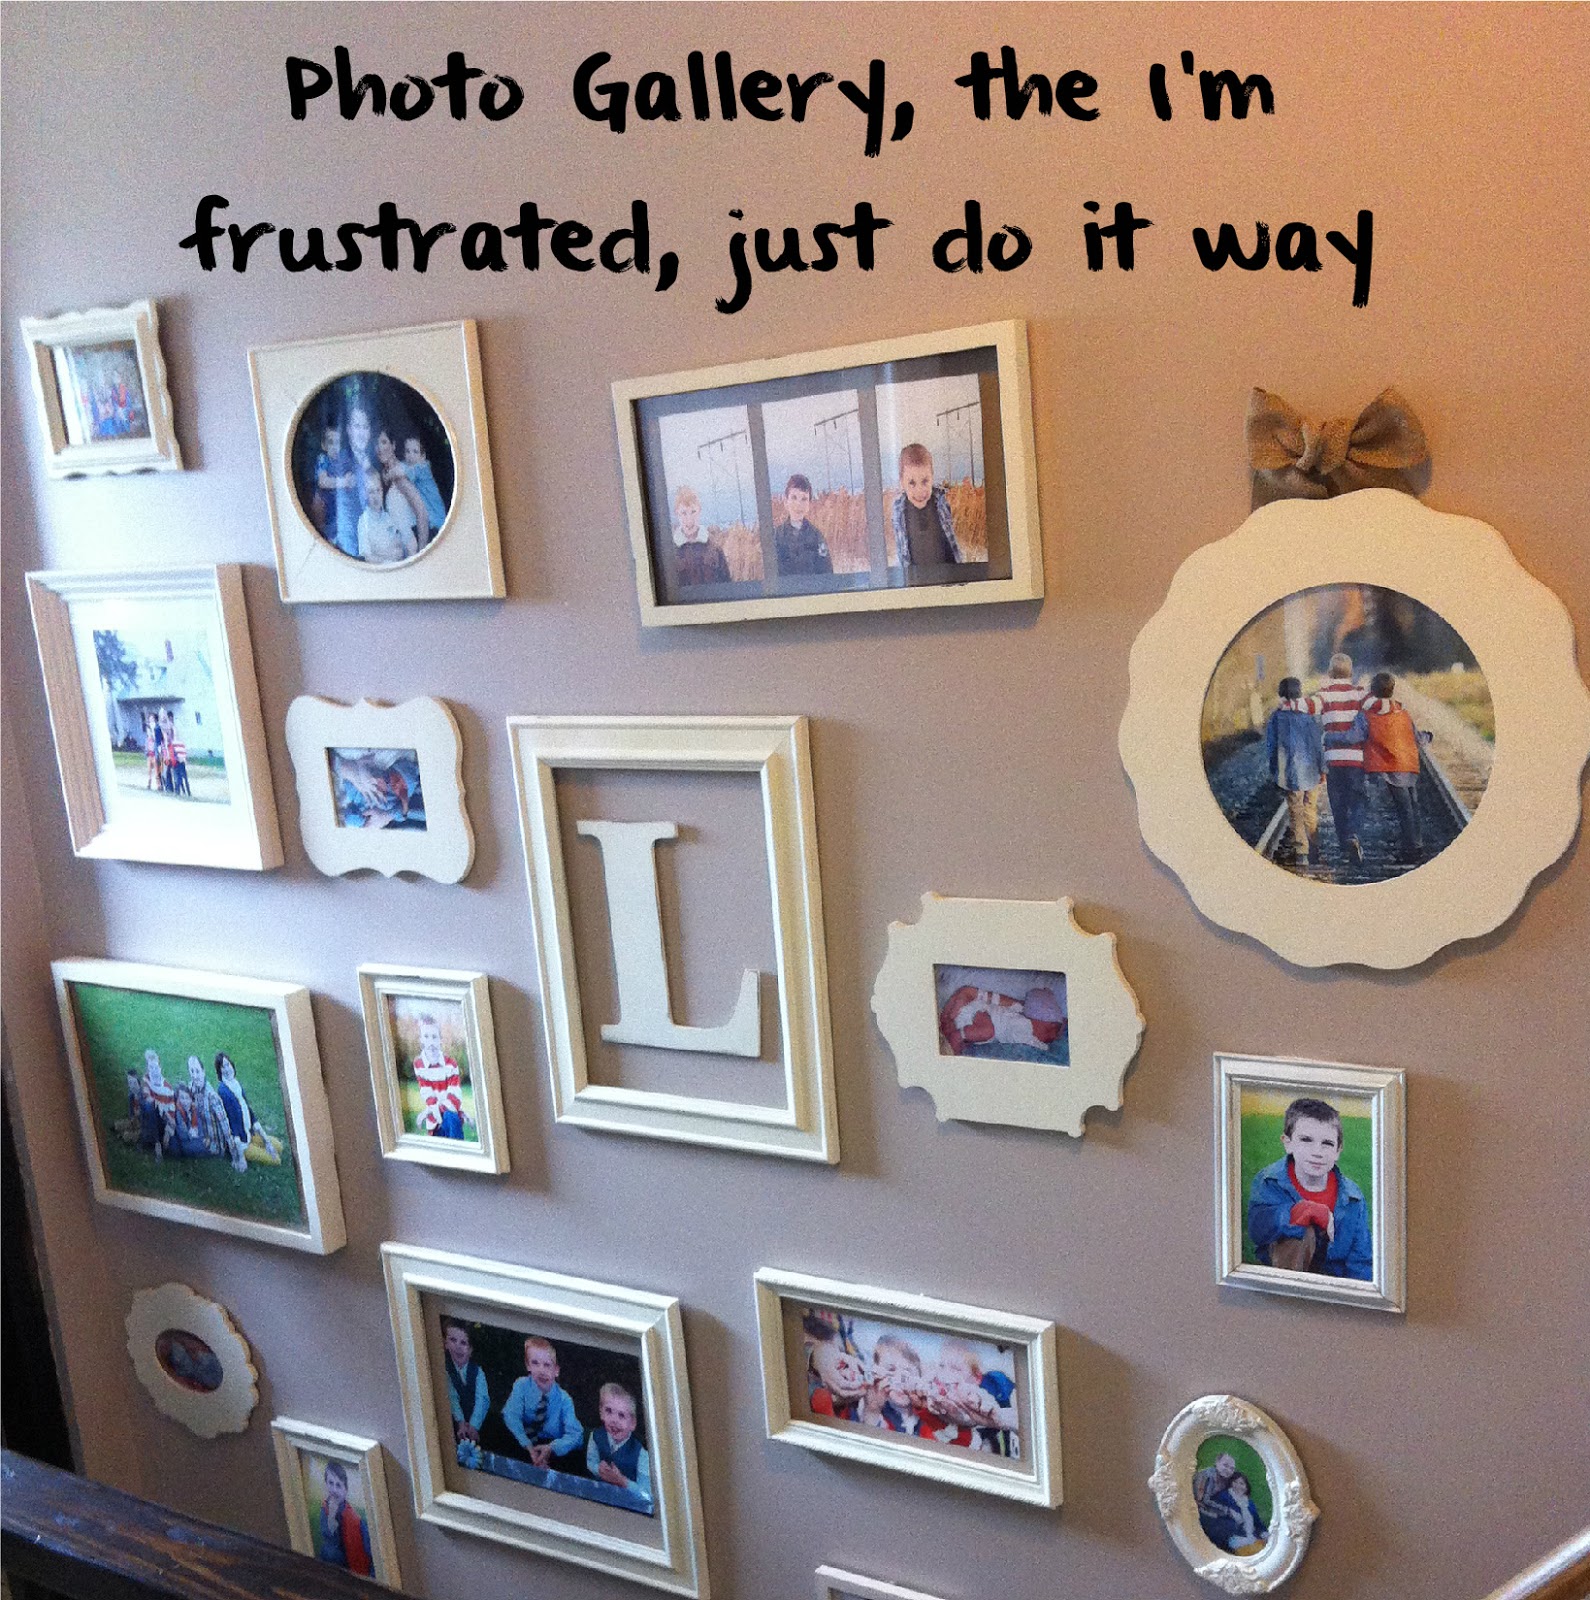
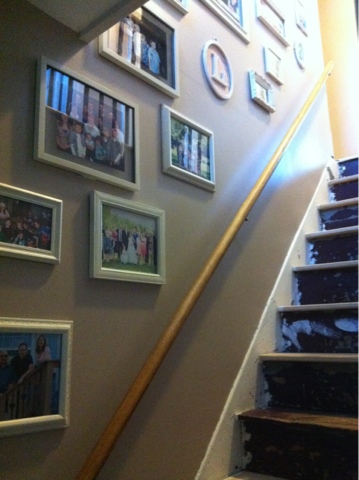
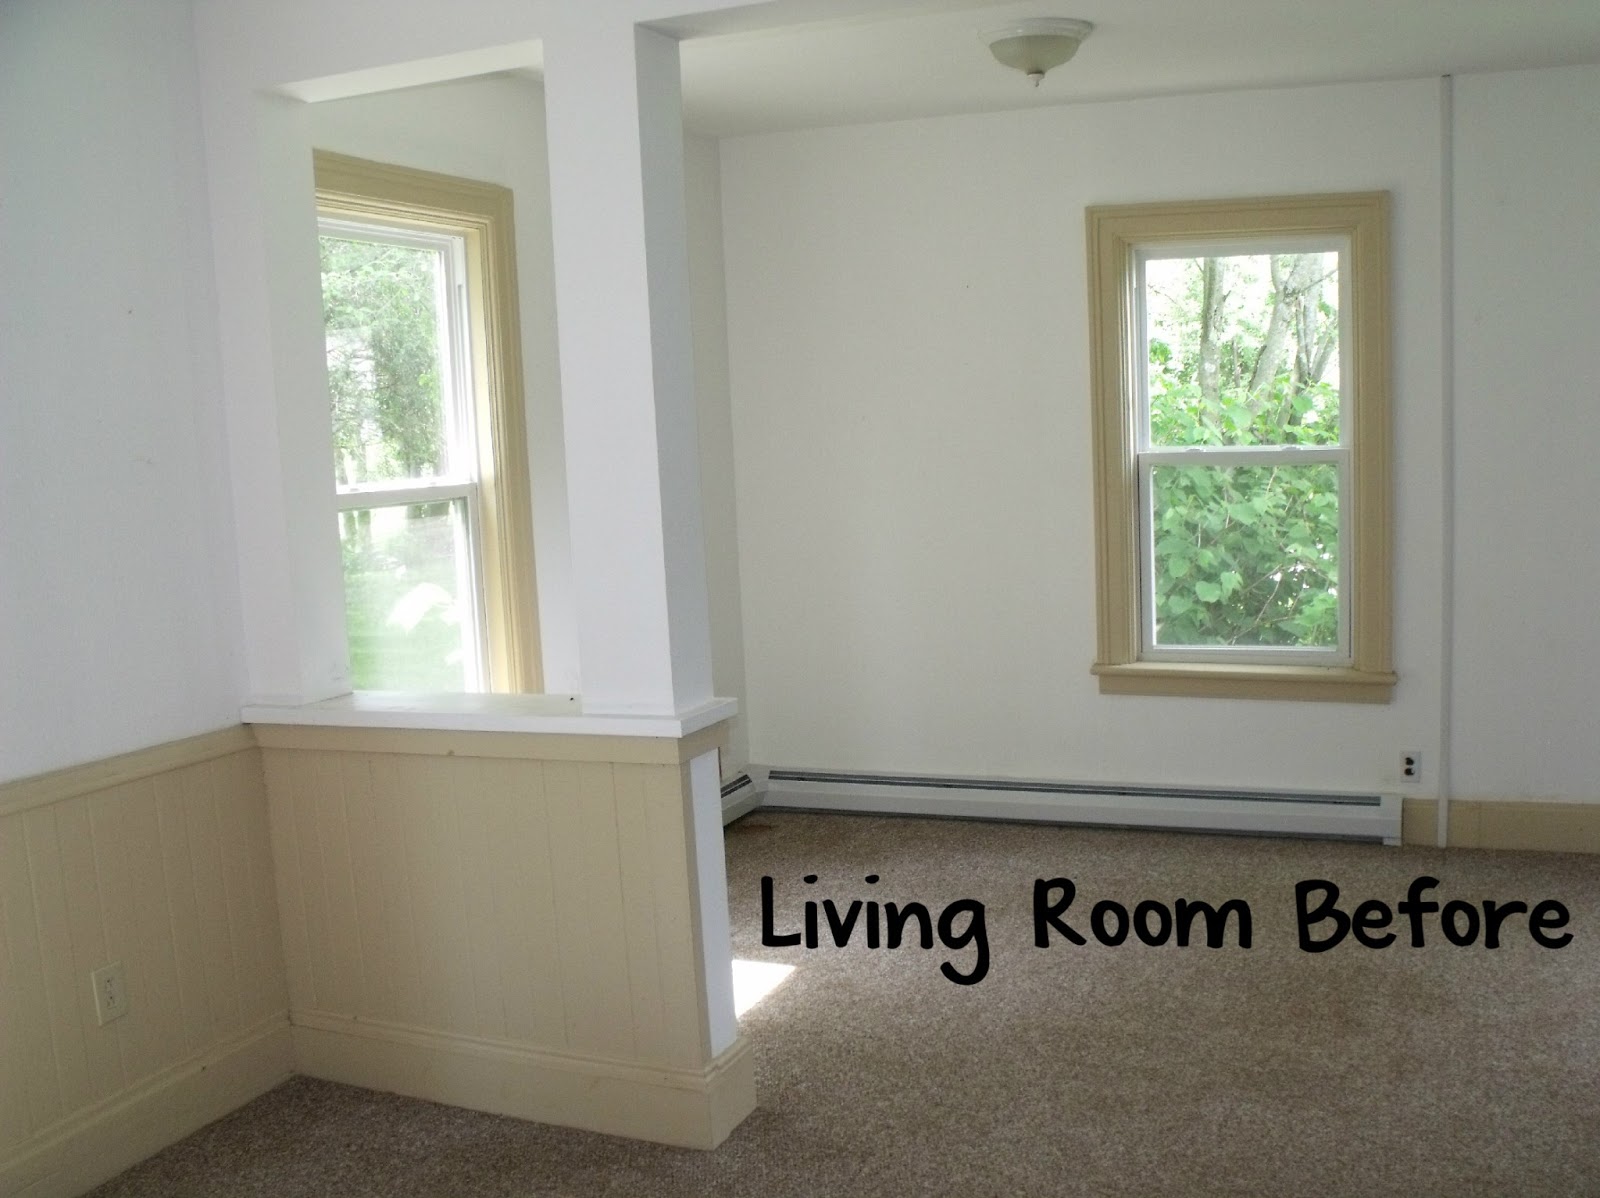
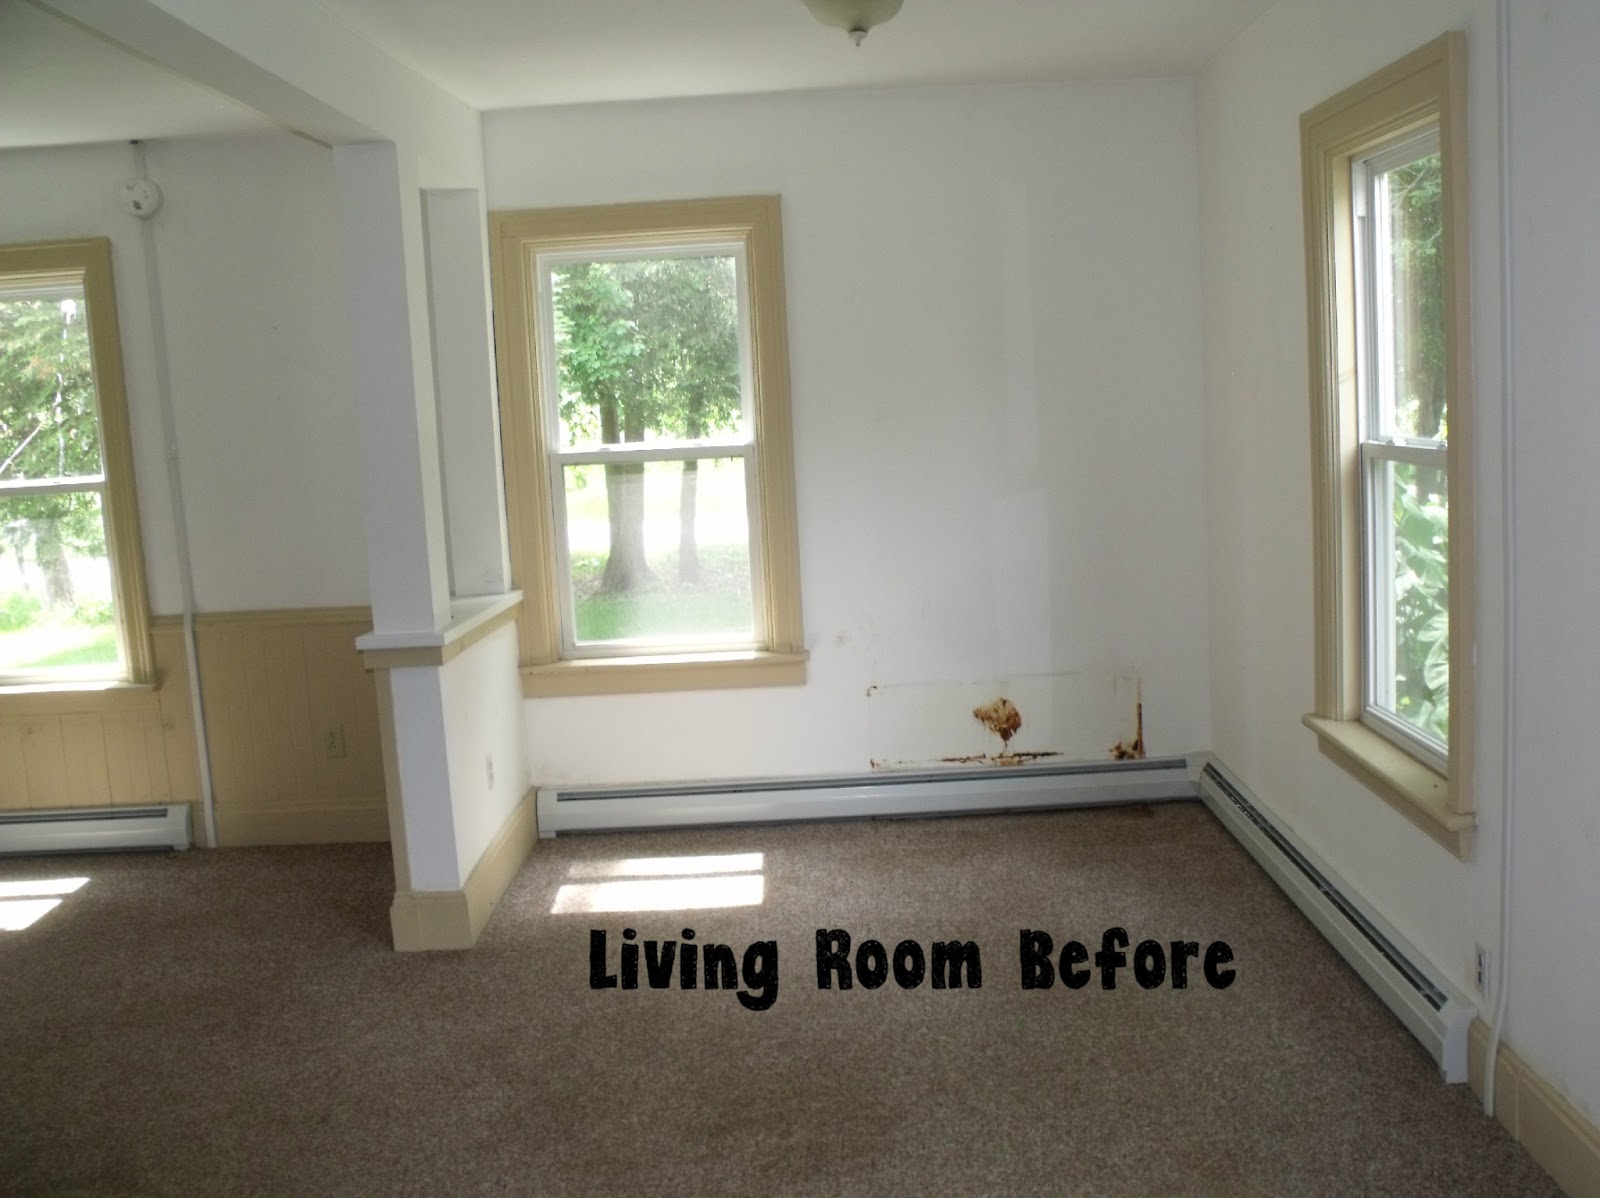
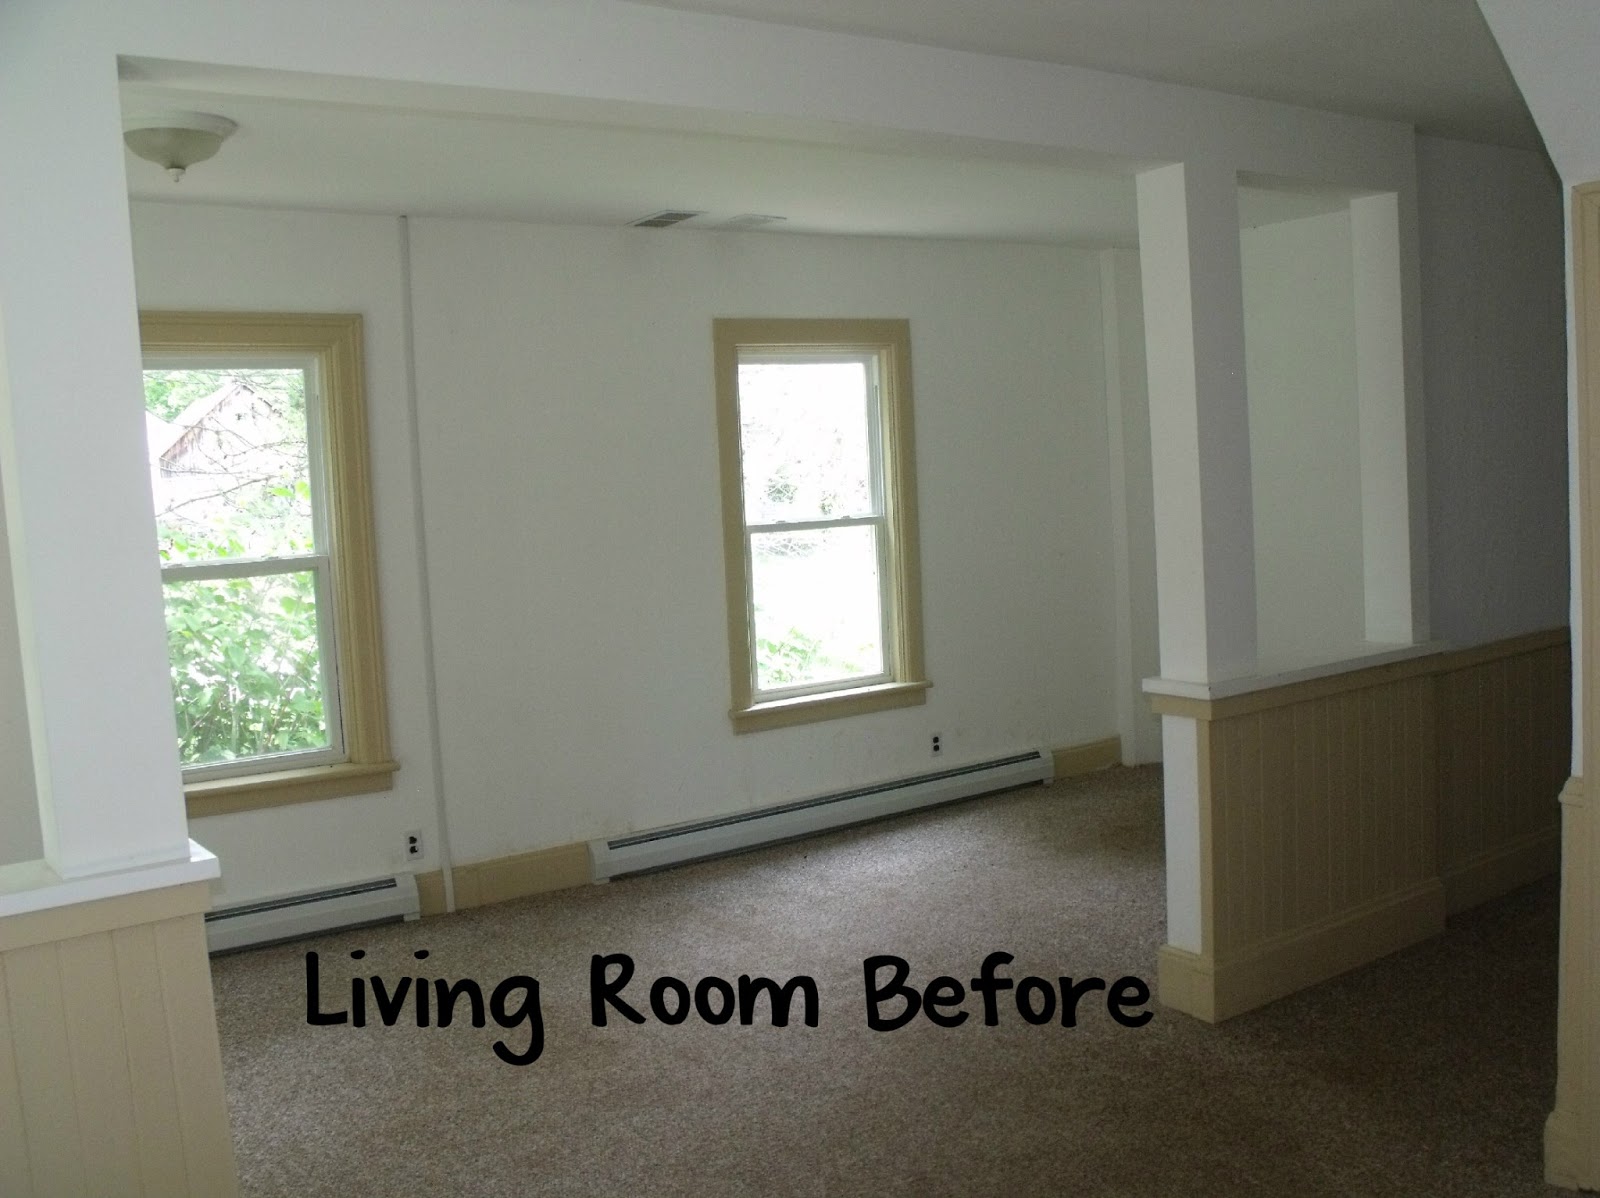
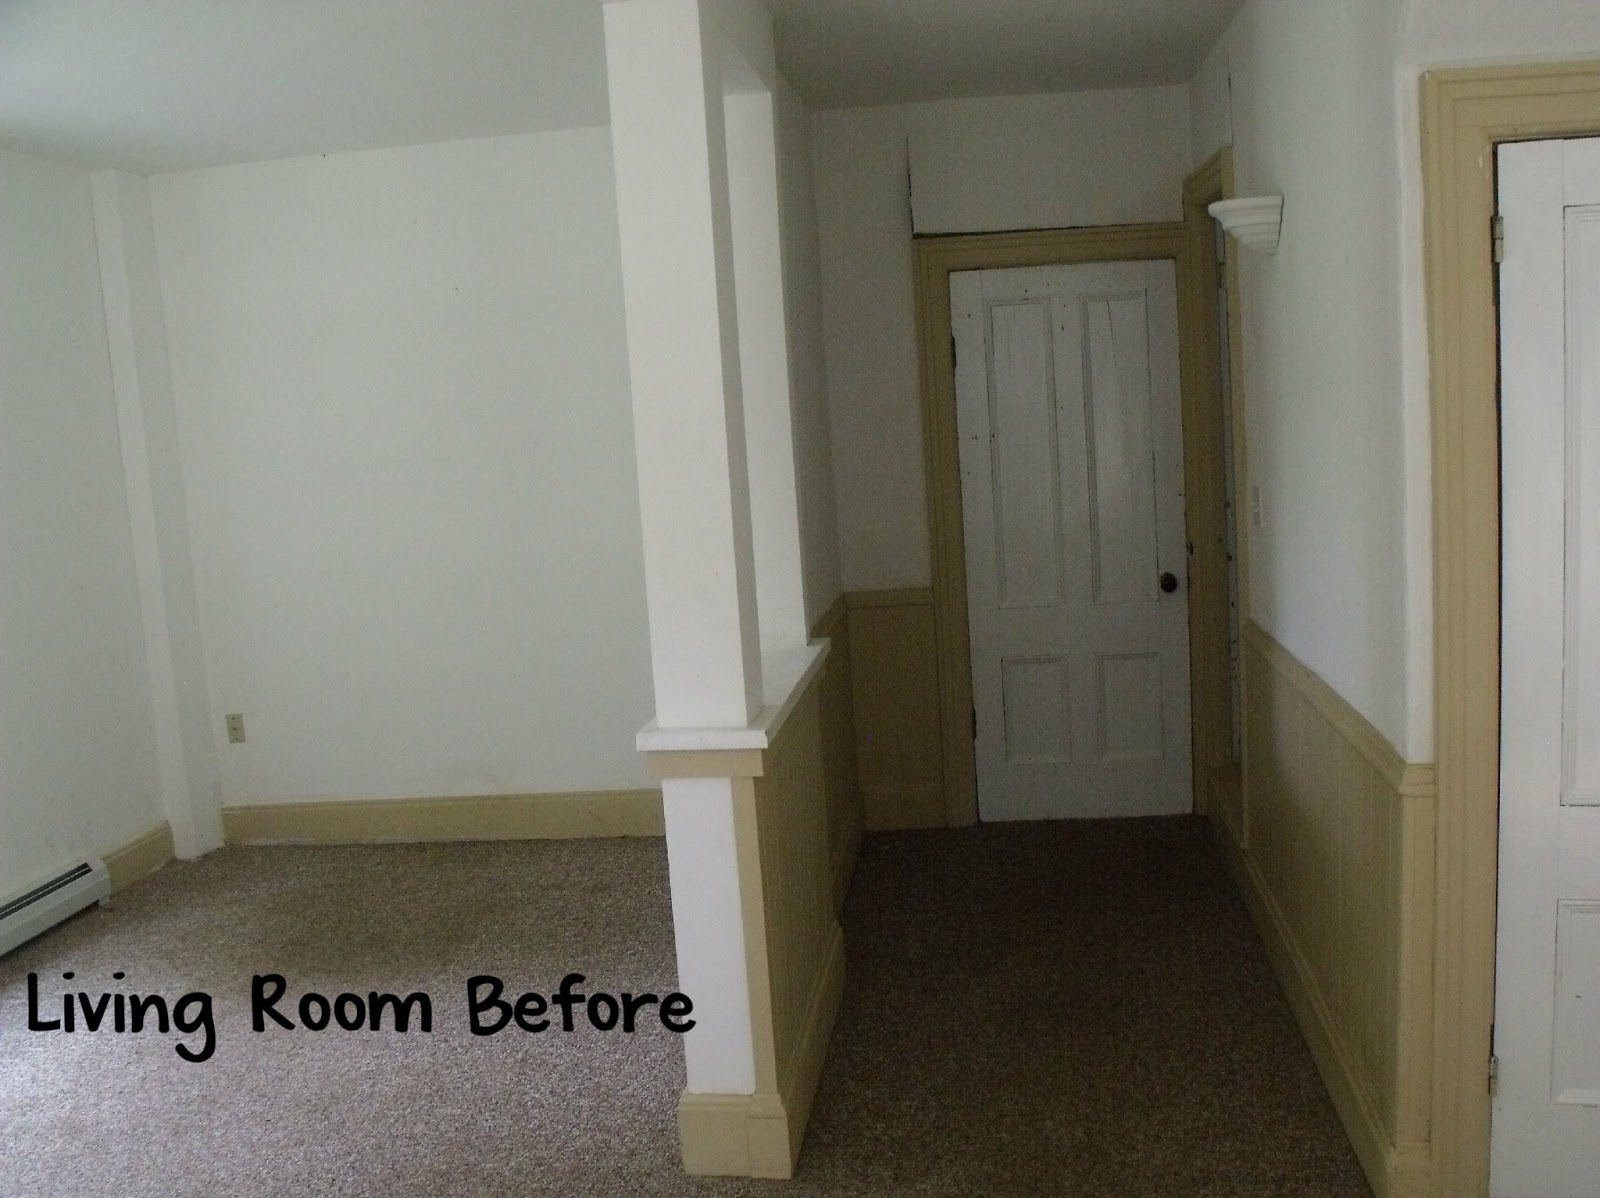
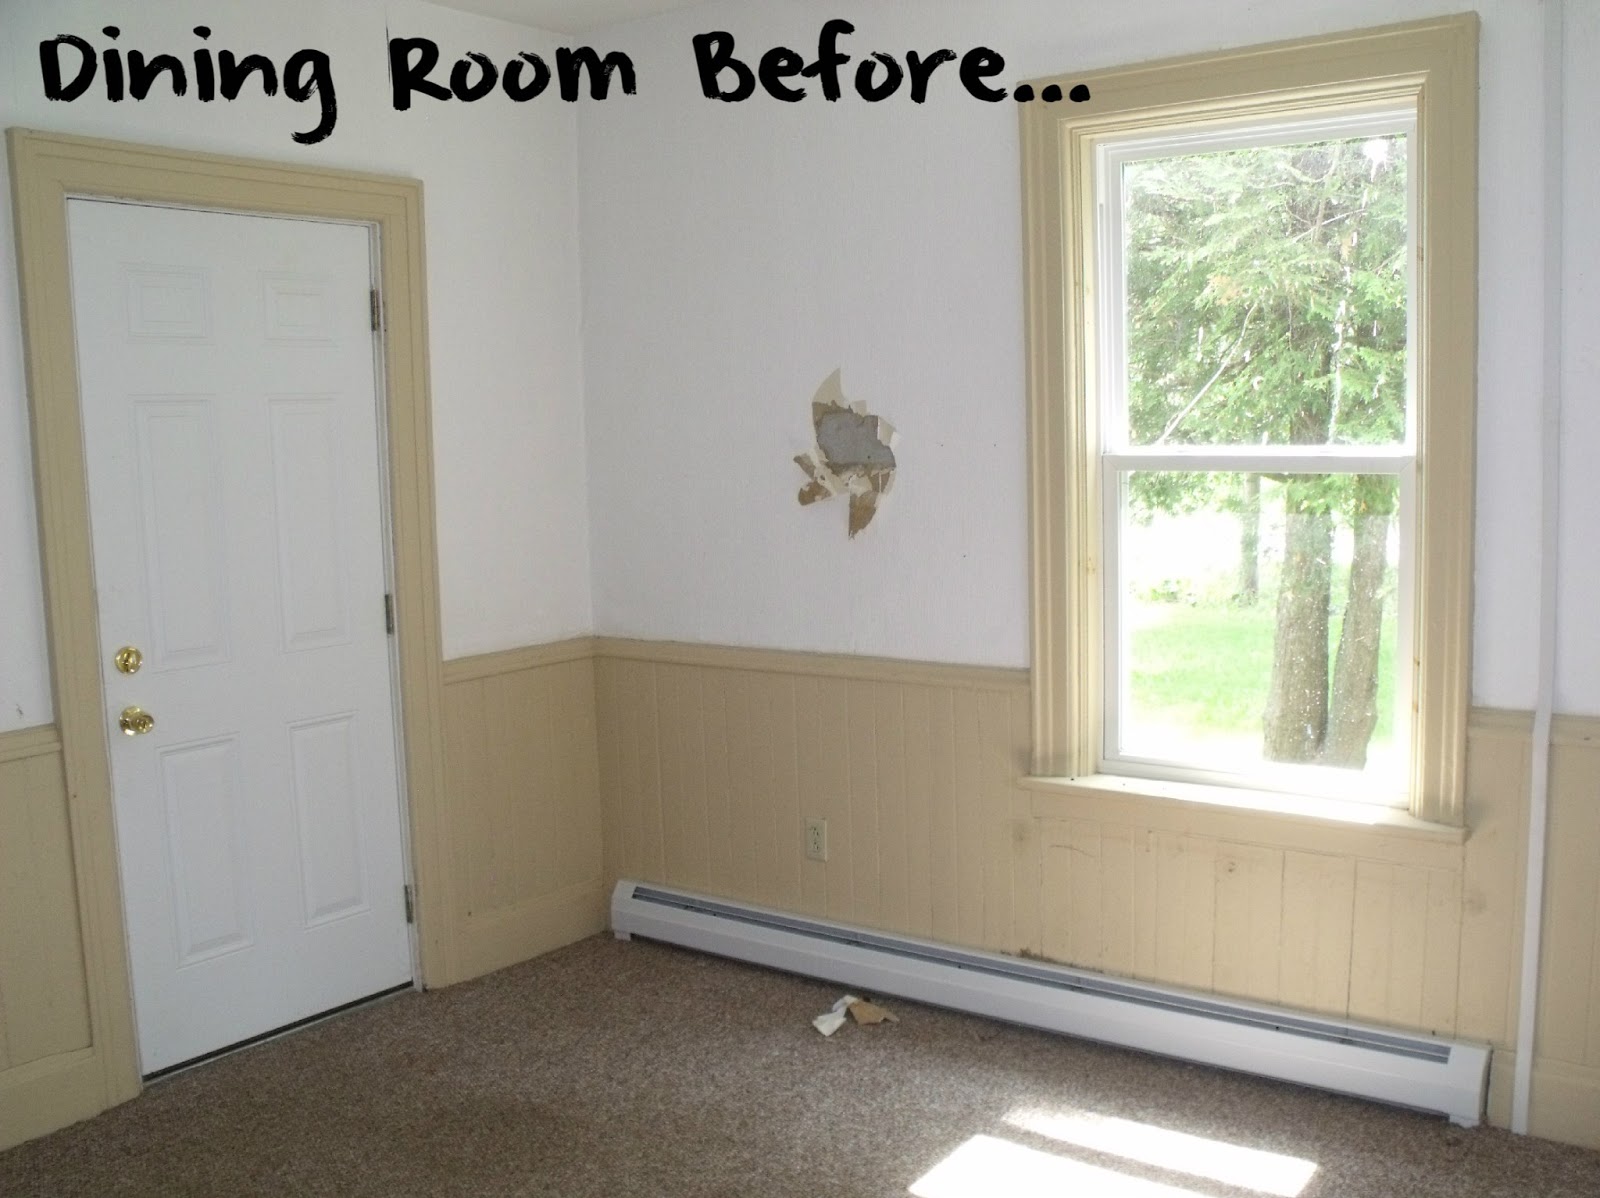
This is leaving the living room, headed up the stairs to the side of the house with the boys’ bedrooms. (There is another set of stairs on the other side of the house that lead to our room.) I showed you the photo gallery last week, this is what it looked like before.

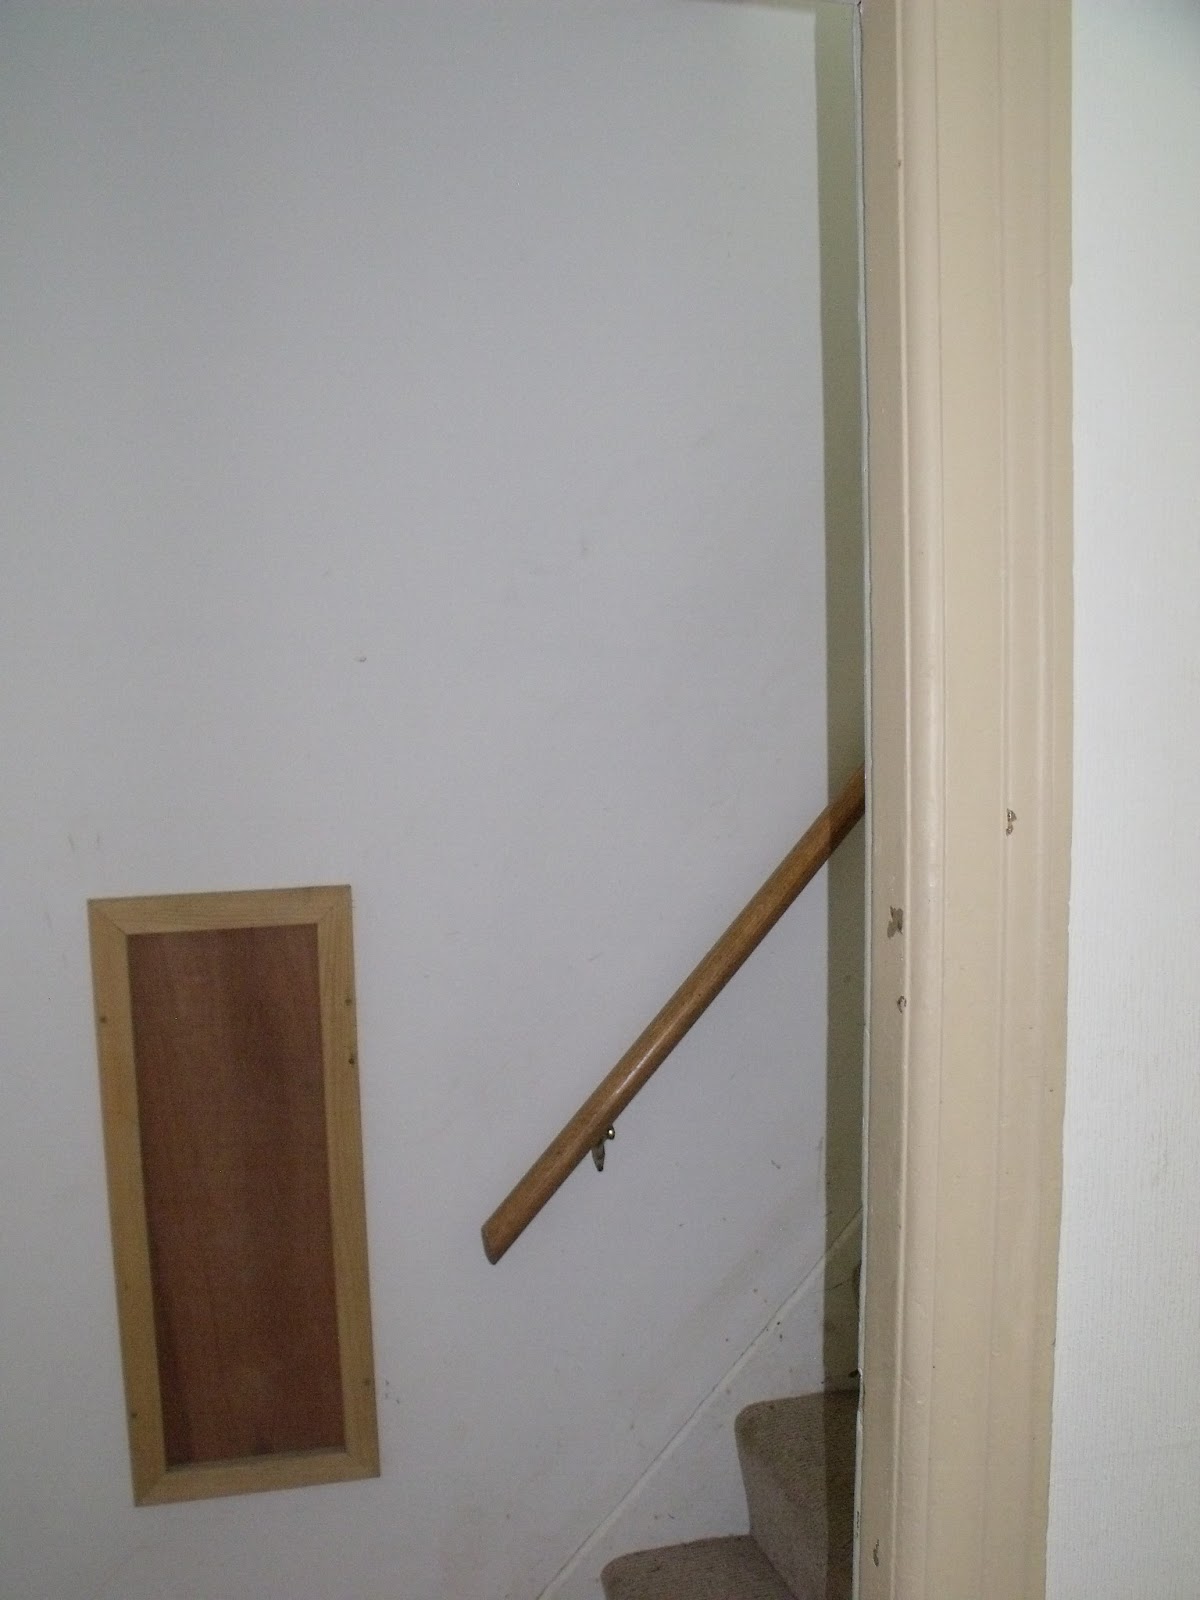
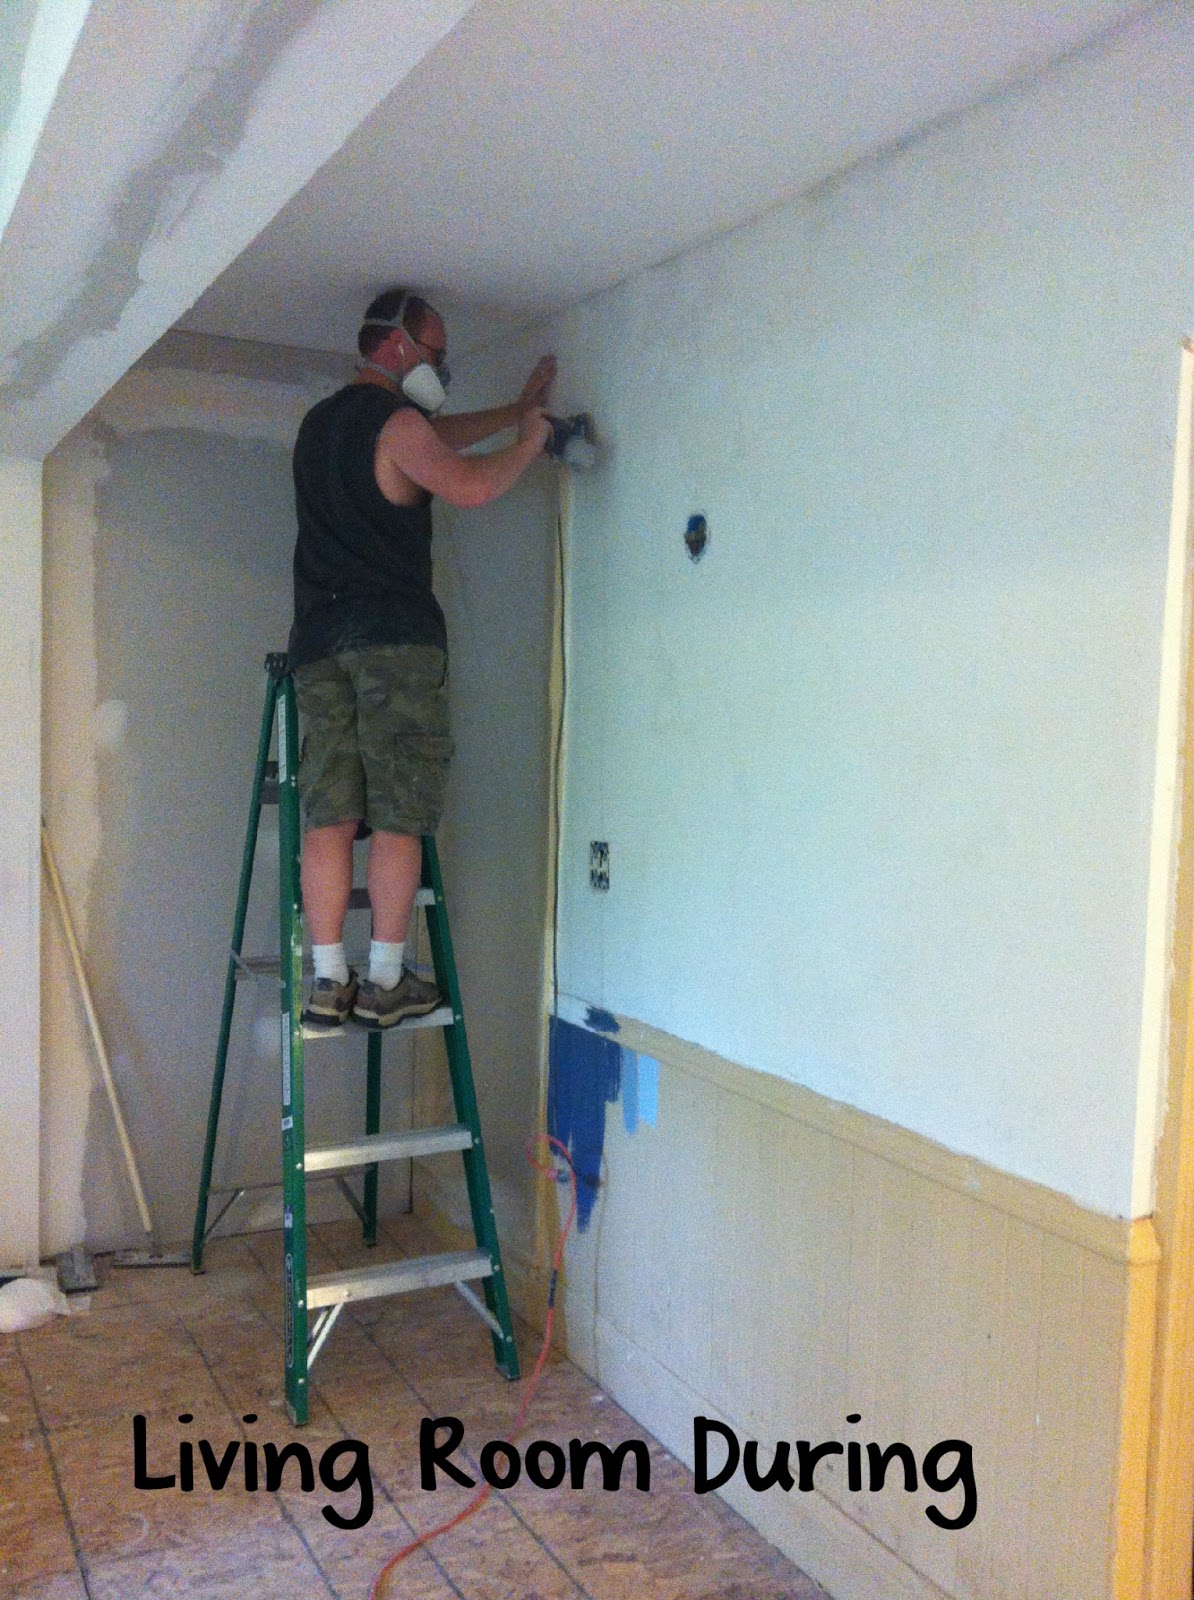
Random box in wall. No thanks.
 
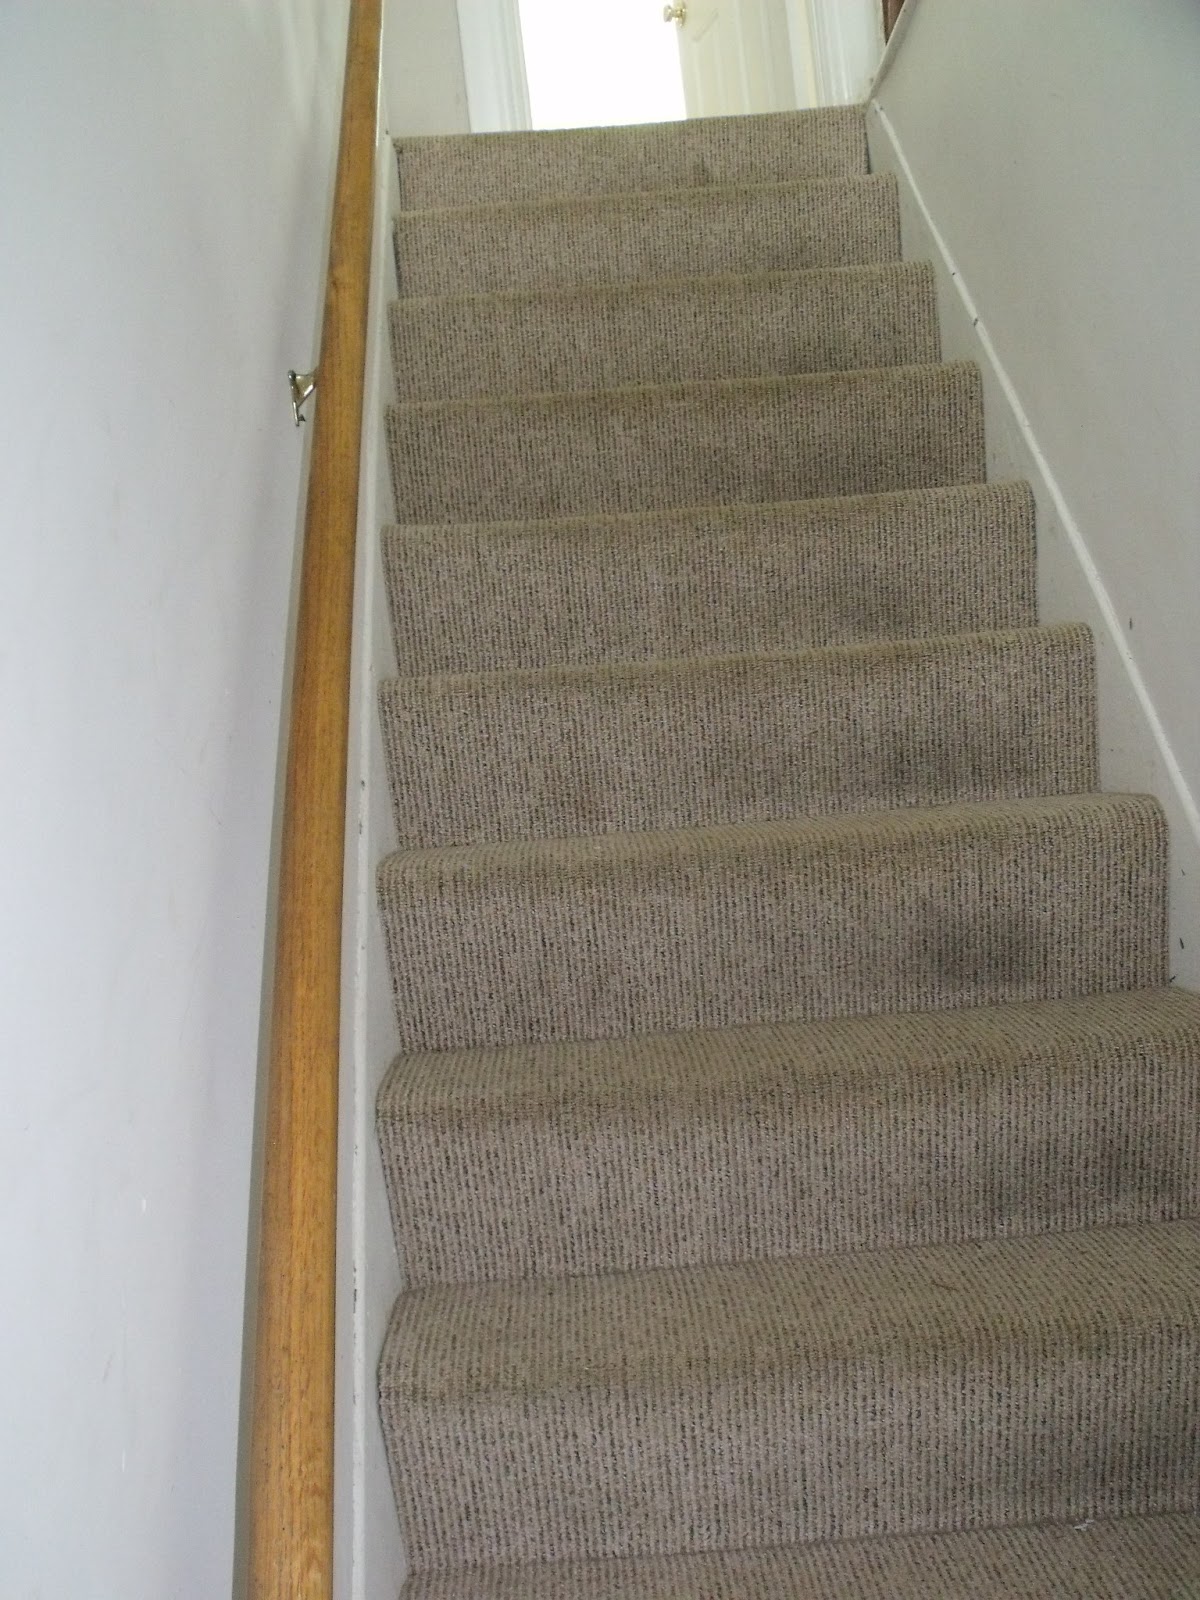
Gross carpets. Thank goodness smell doesn’t come through pictures.

The lower railings look to be original and then someone so kindly updated them to code by adding what looks like bunk bed rails to the top of them. Thank you?

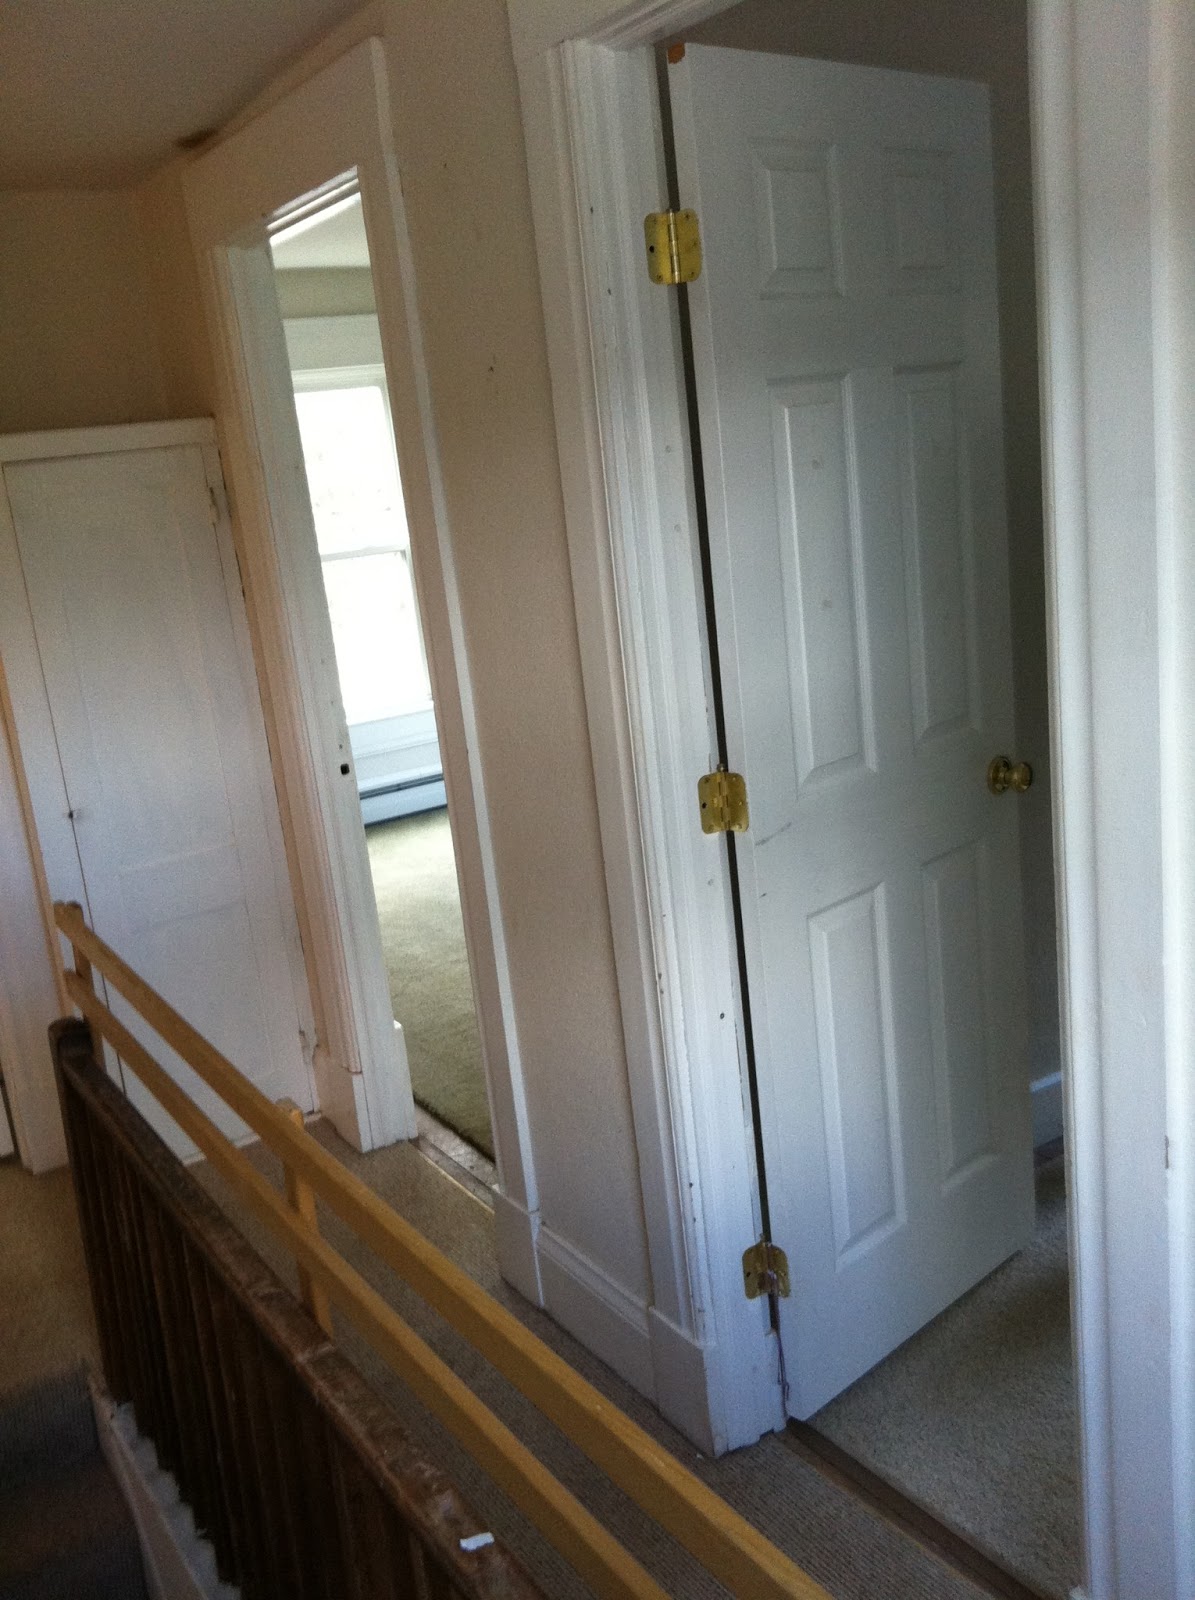
Those walls were all covered in wallpaper. Bad memories.
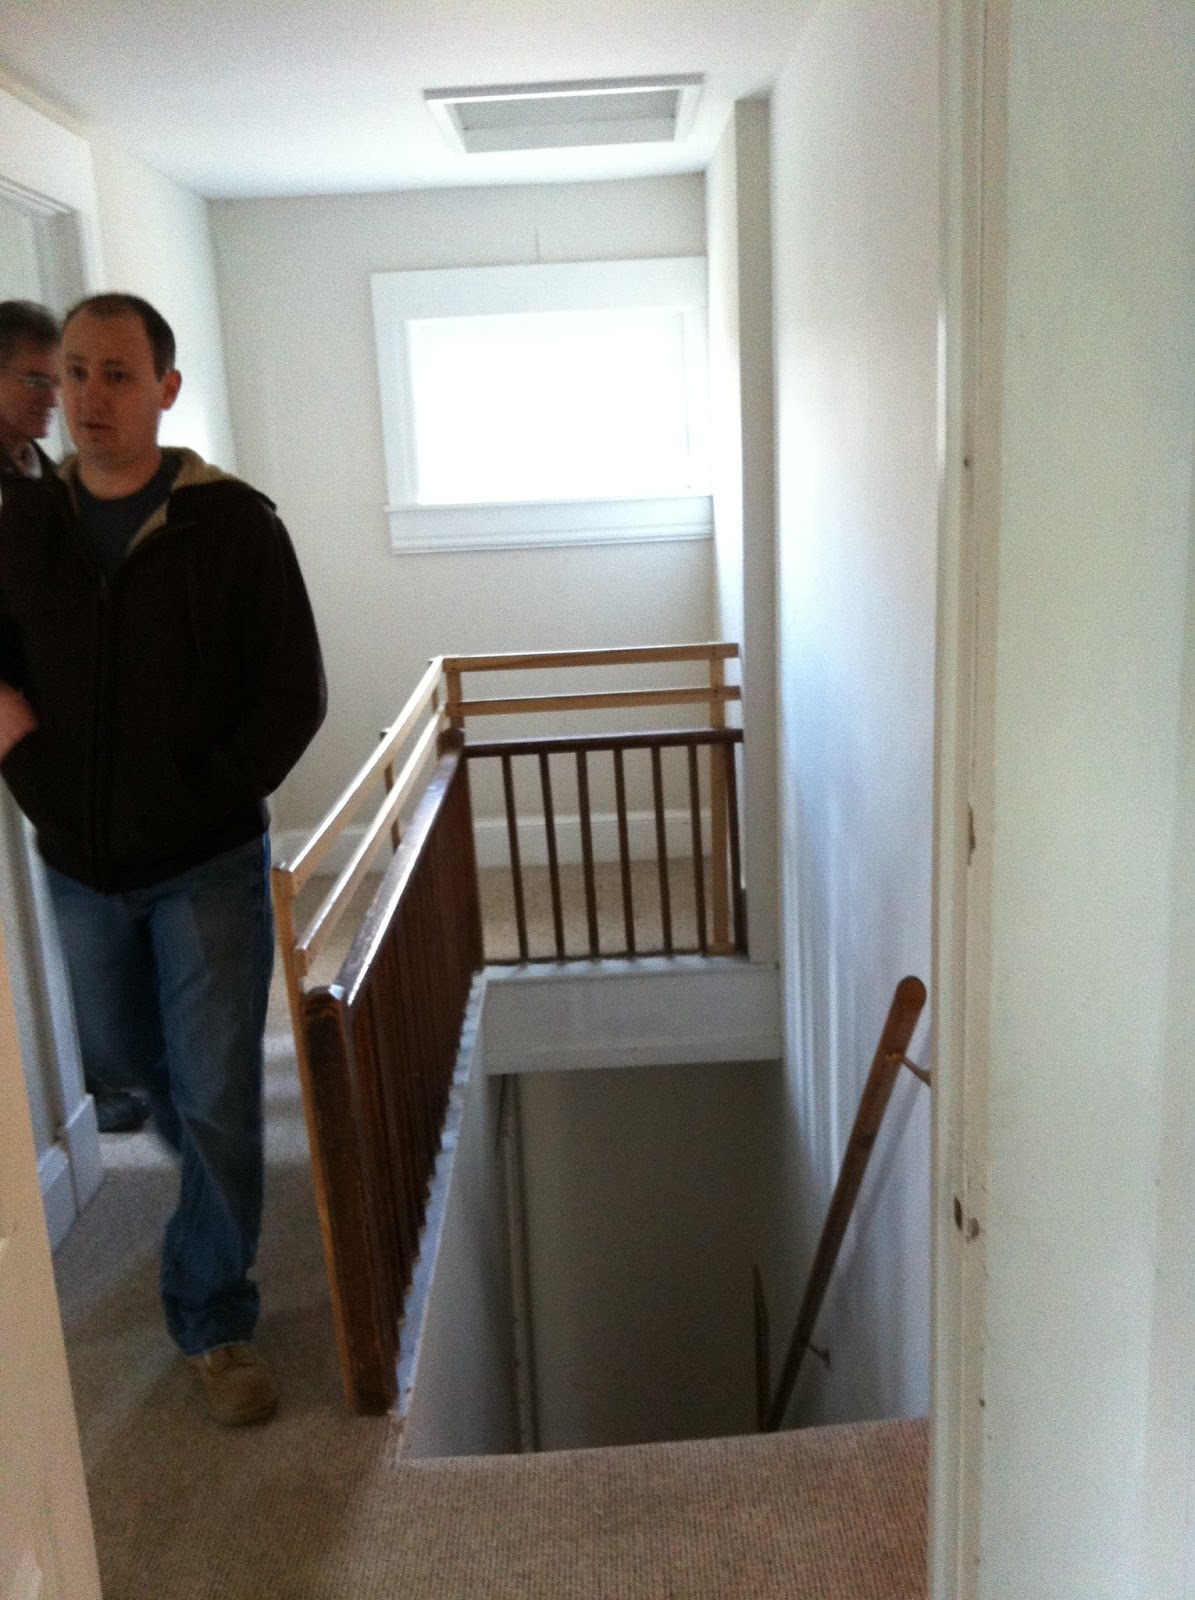
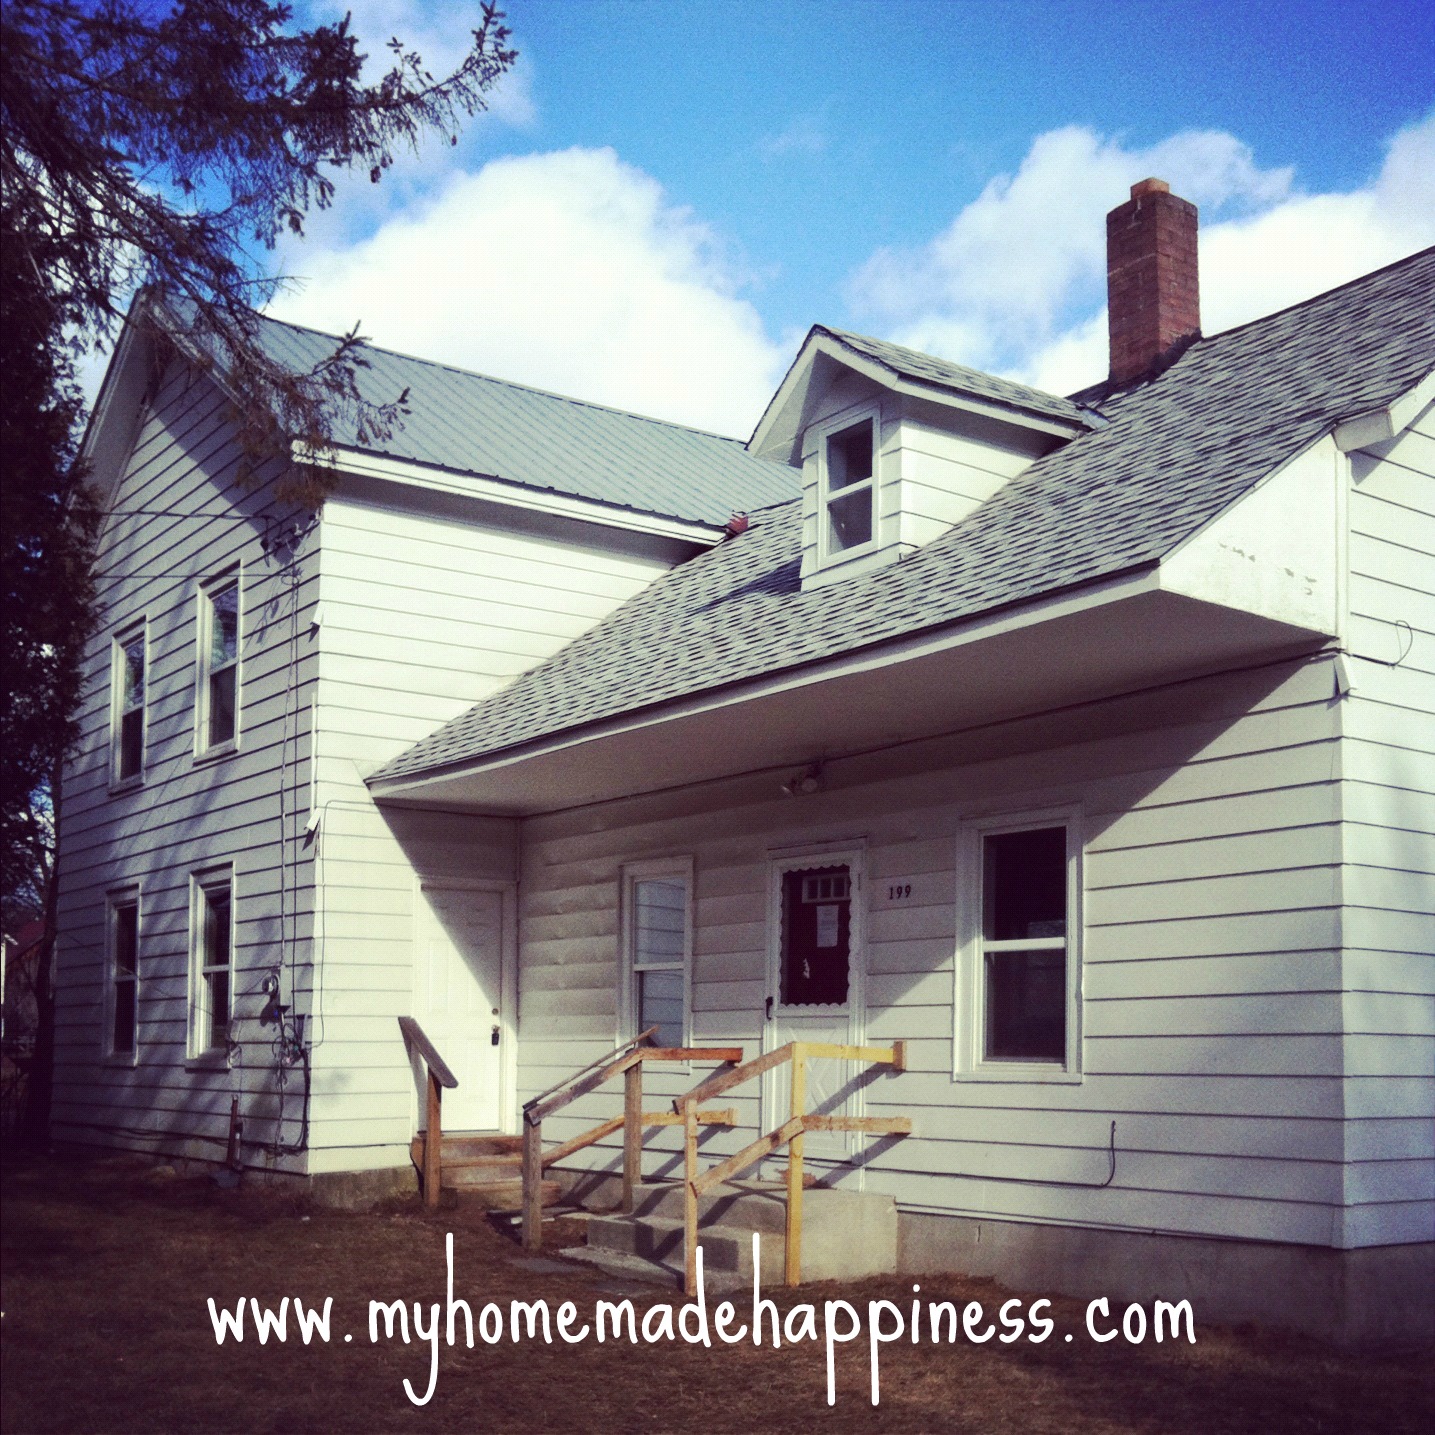
This is from our very first walk through. That’s Matt’s “I don’t know about this” face.
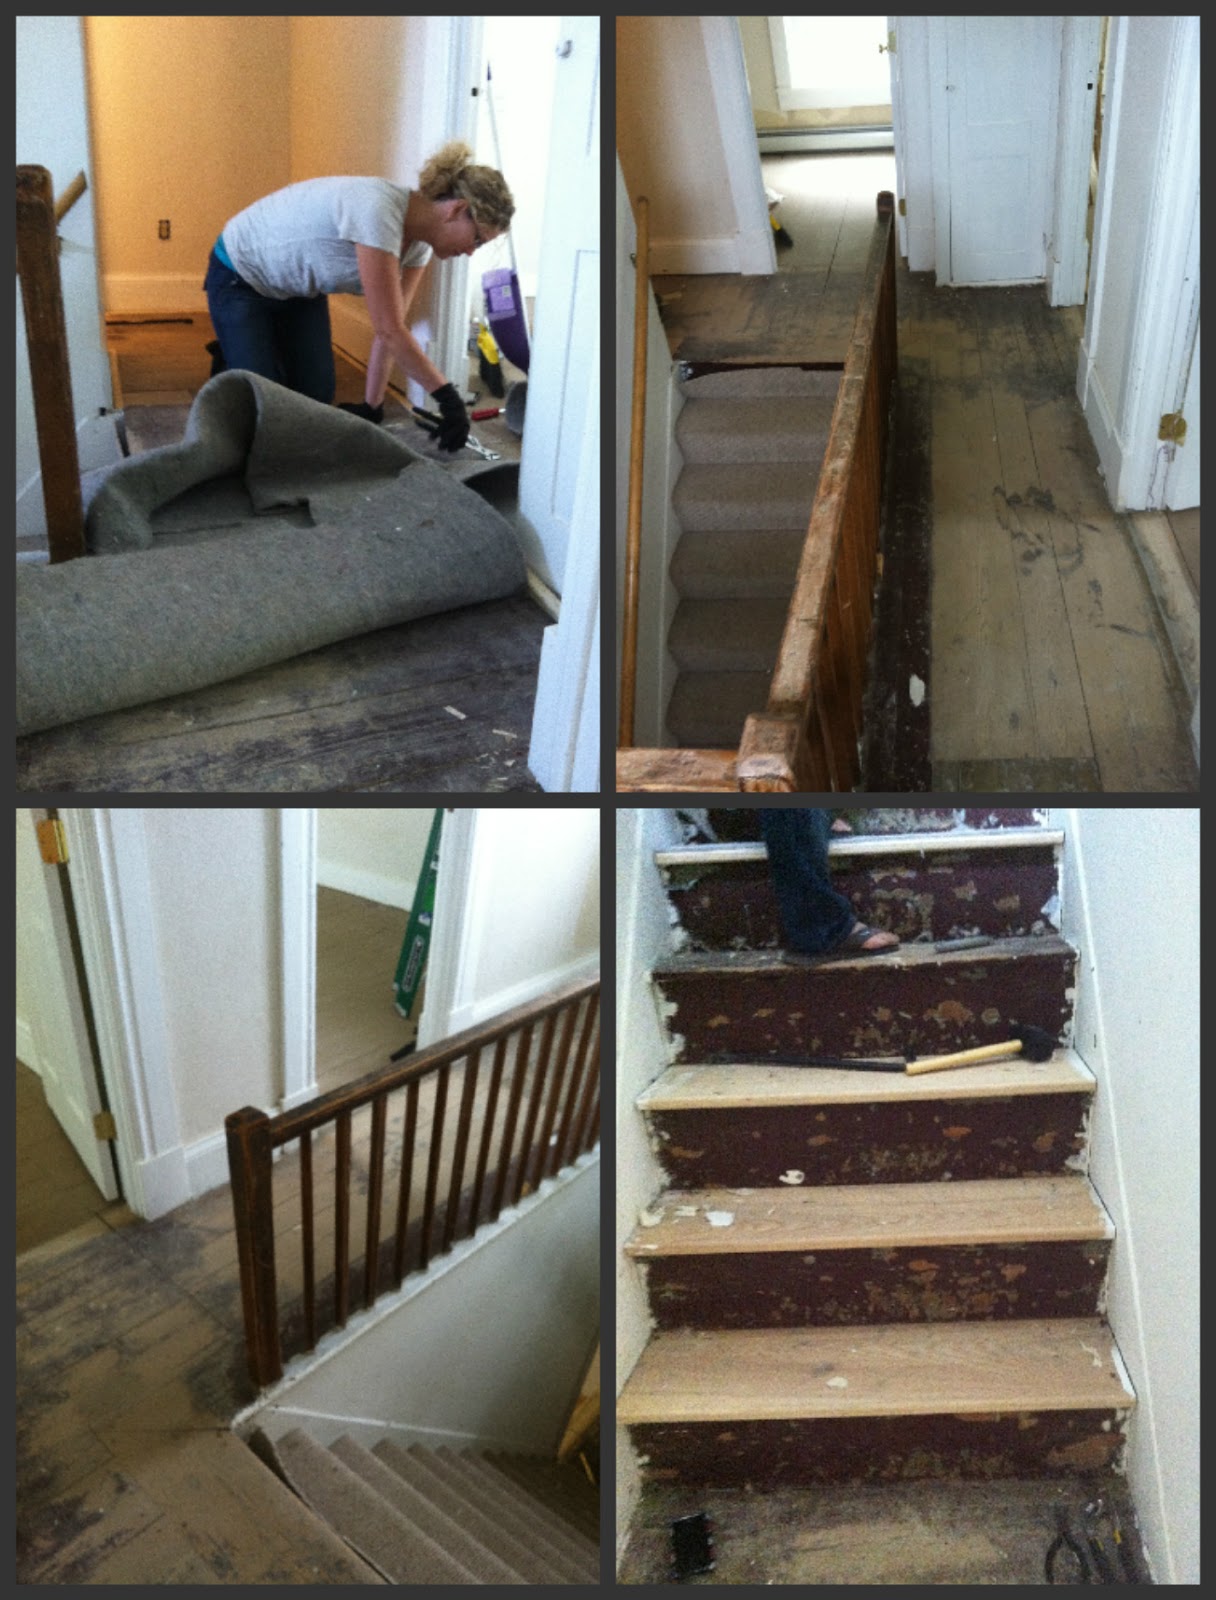
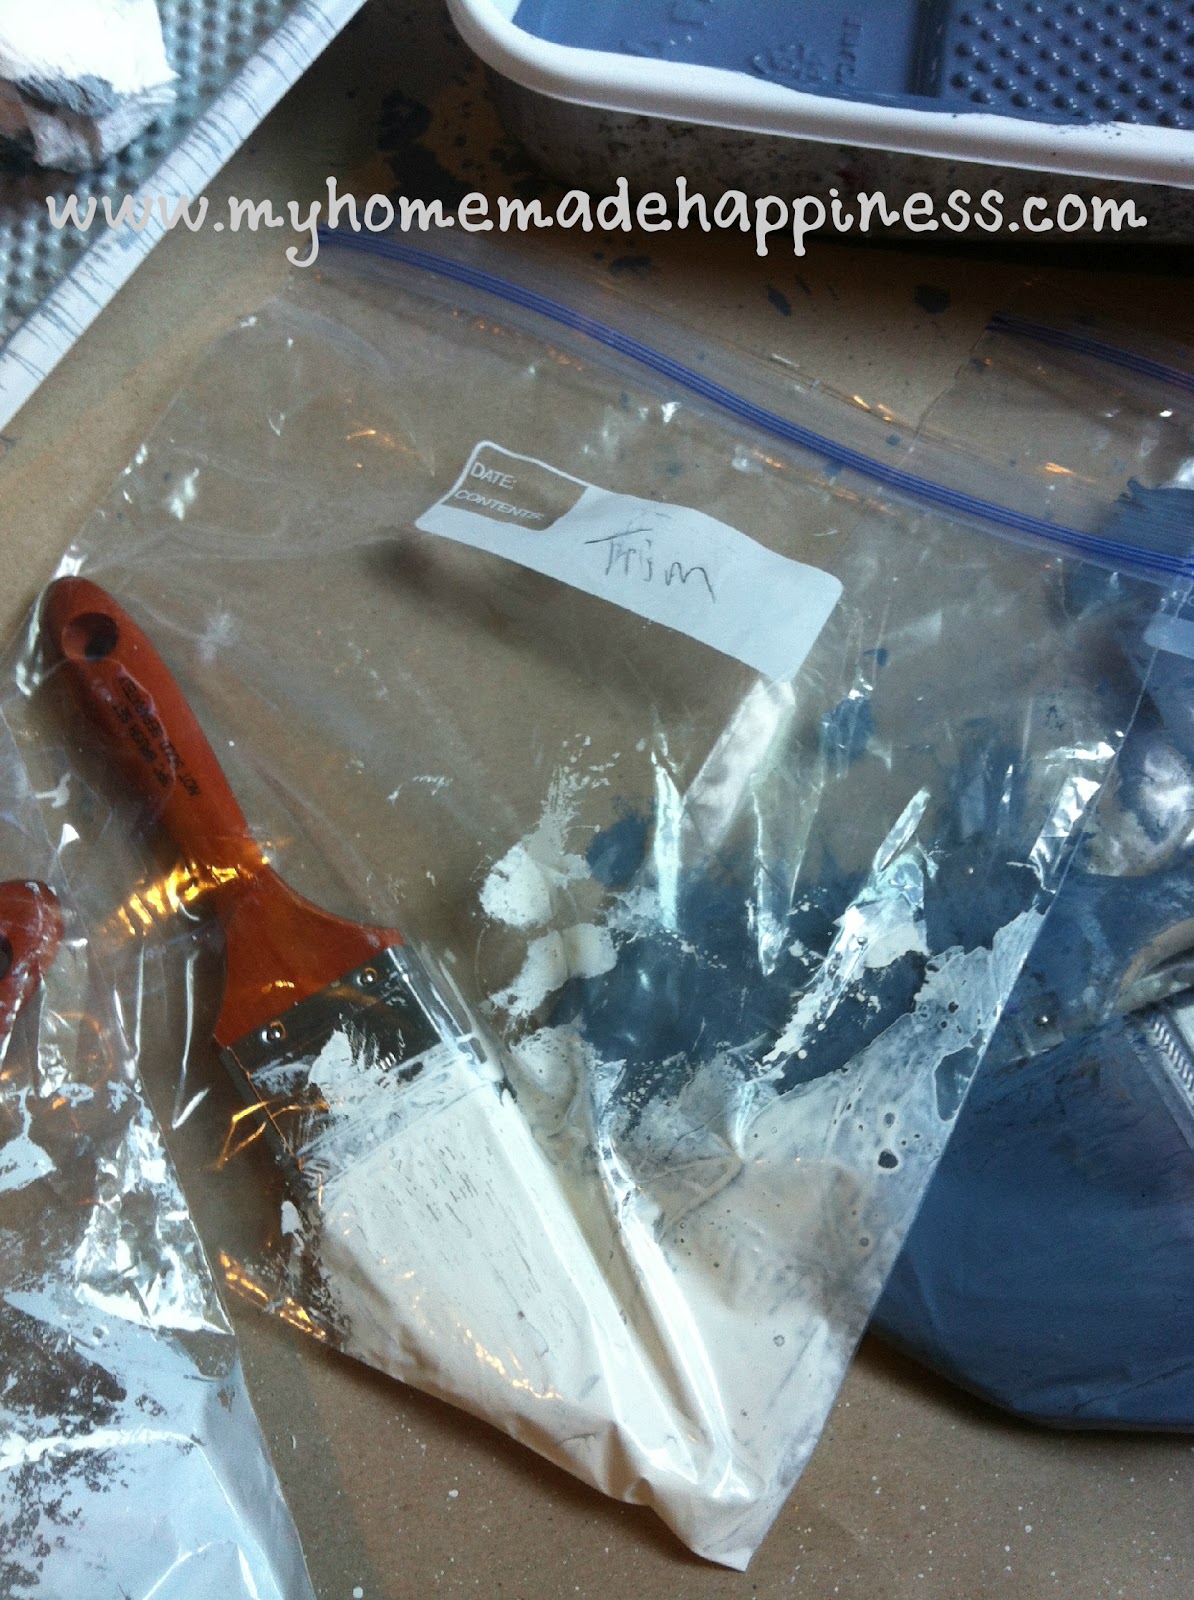
My friend, Michelle and I single-handily tore up the carpet from the stairs and hallway. It required a lot of patience. We had to pull a bazillion staples from the floors. We wanted to save the original flooring underneath the carpets, so we had to be careful not to cause more damage. At one point when I was particularly angry at the staples, I mumbled something about Matt sitting in his air conditioned office while I did this “man work”. The construction workers heard me and had a good laugh. Which inspired me to show them what I could do. And I did all of it. SO THERE! Girl power! Here are what the stairs look like now…

Getting the stairs sanded and stained is one of the last really big jobs yet to be done. And I can’t wait. 
At least there’s no staples in them.

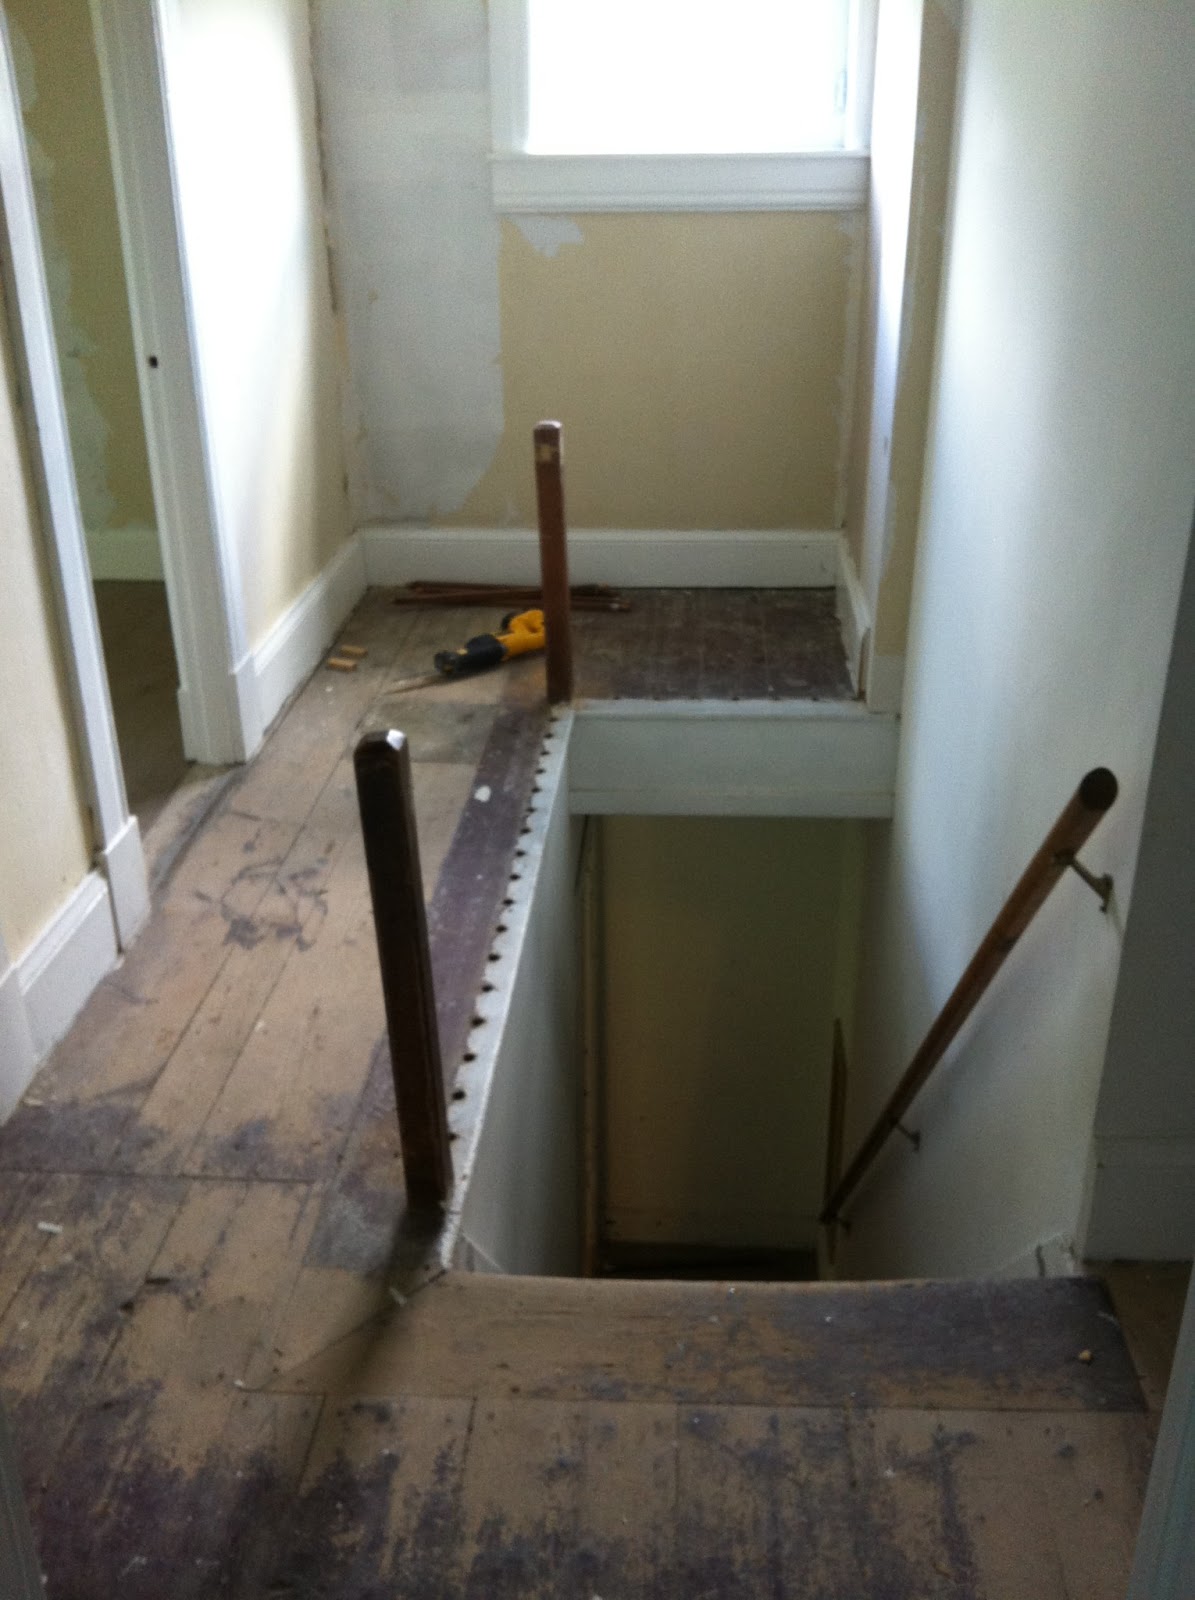
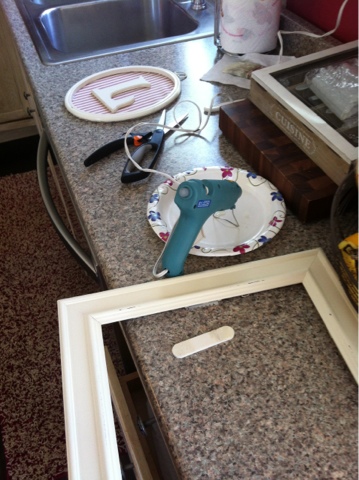
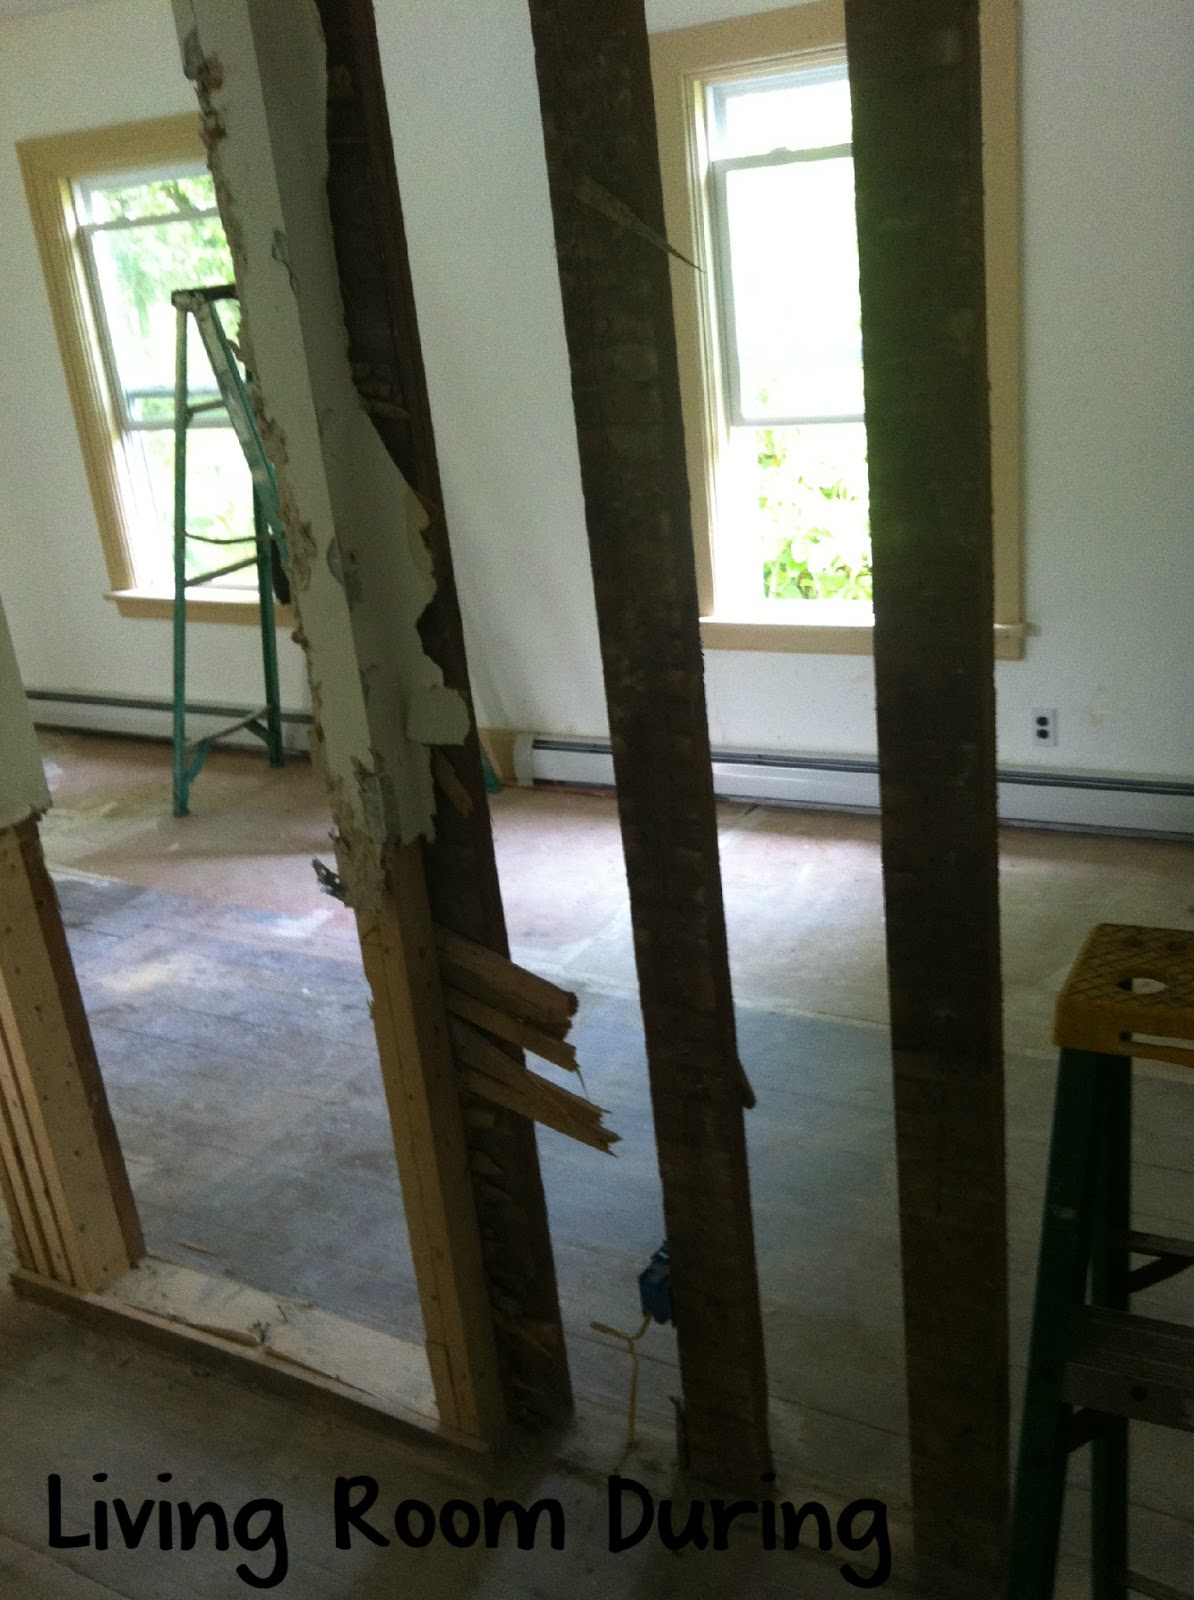
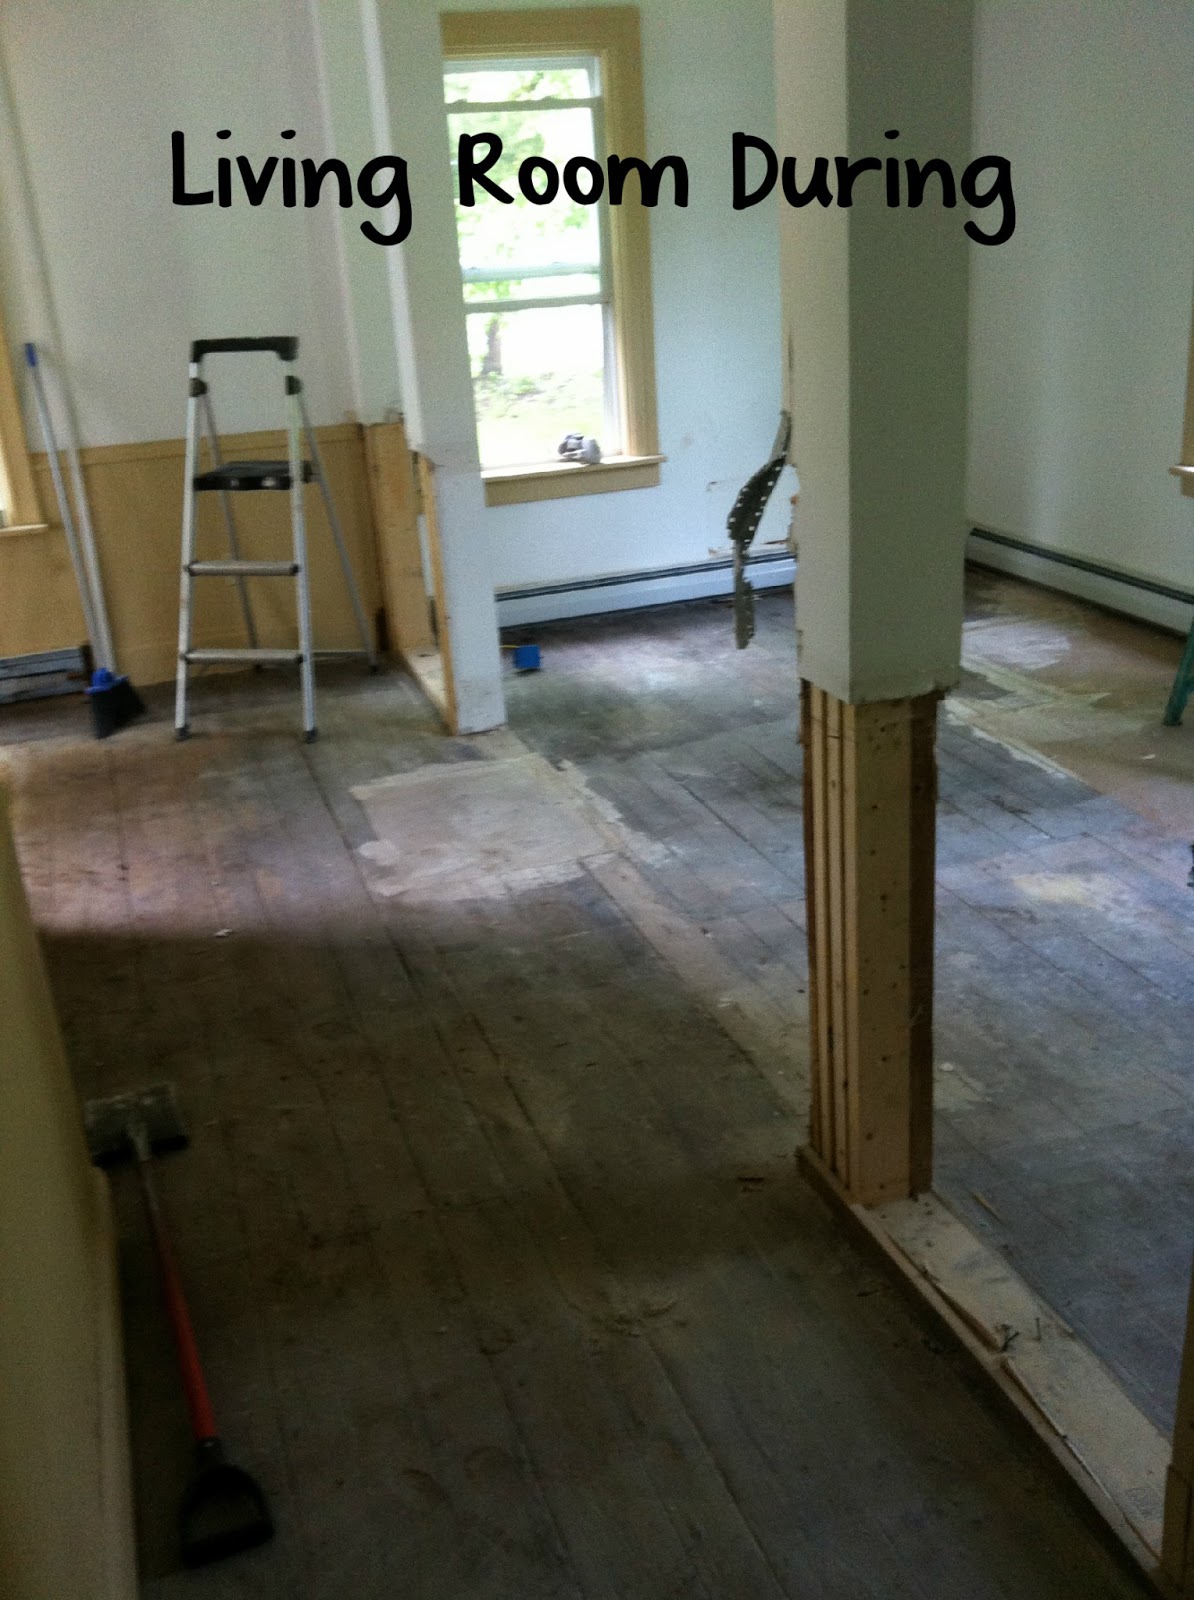
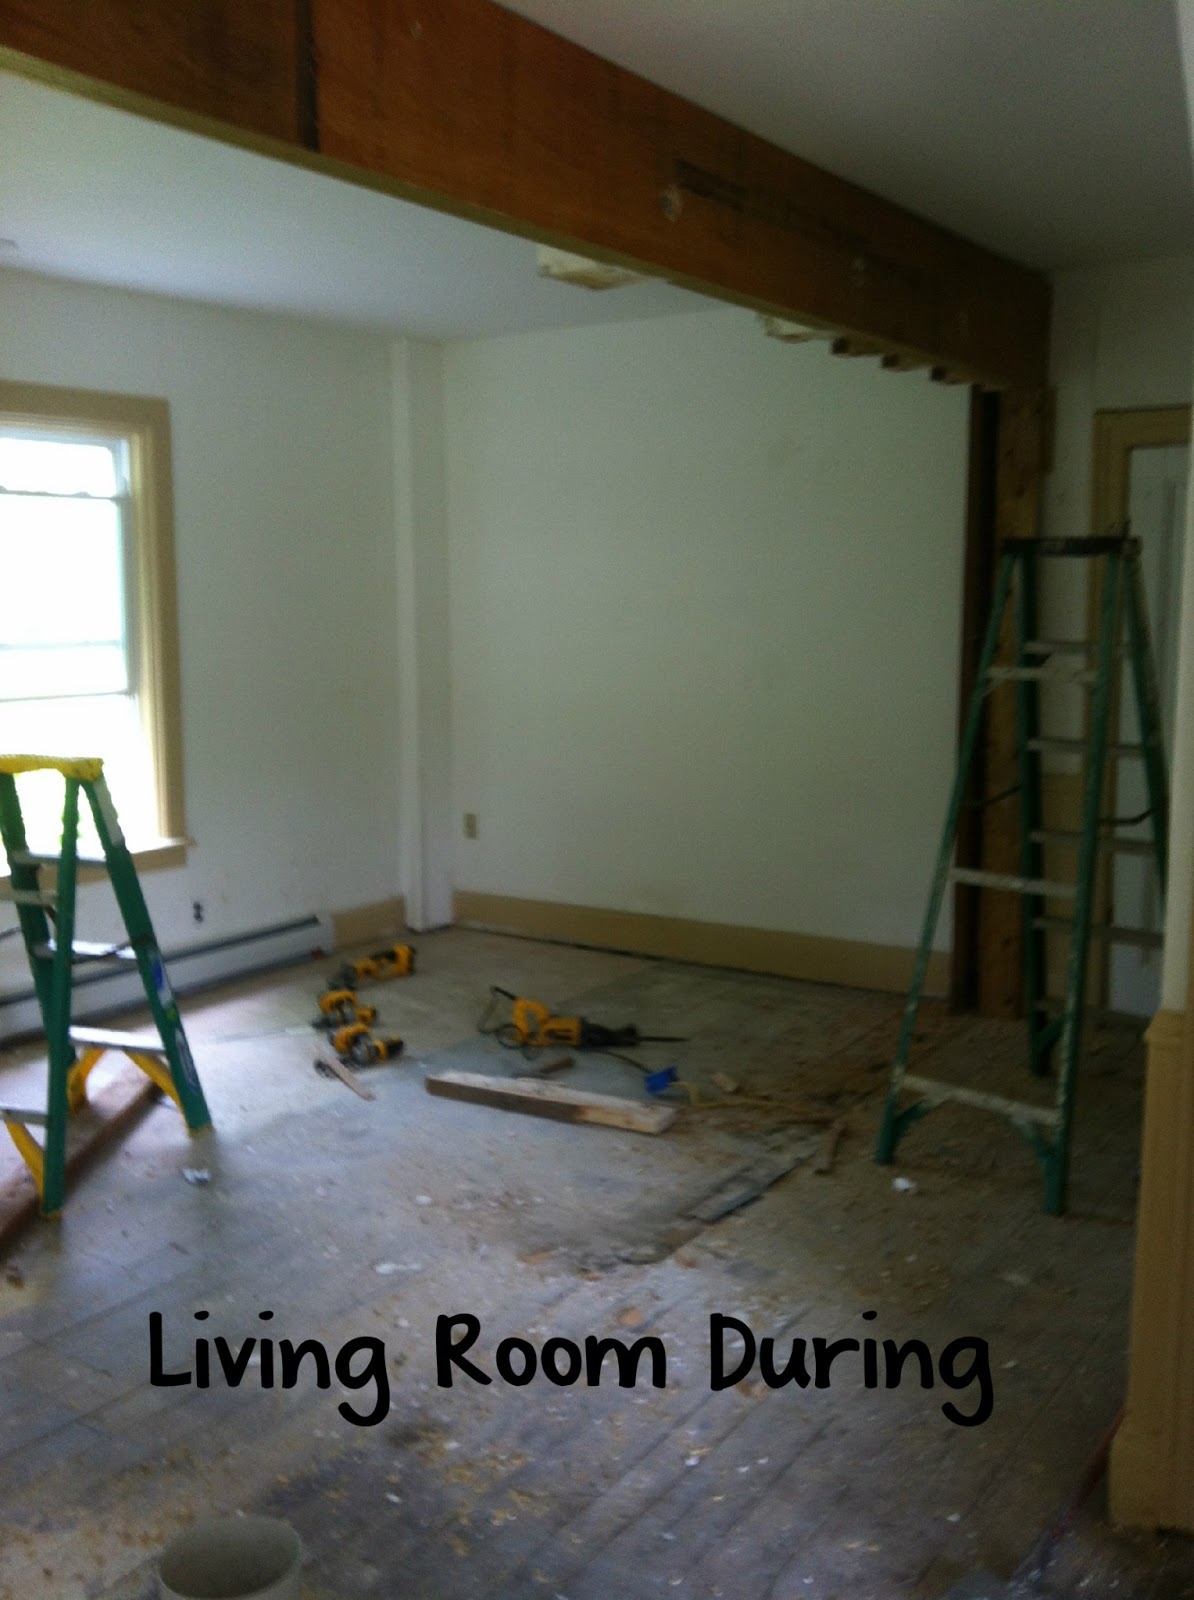
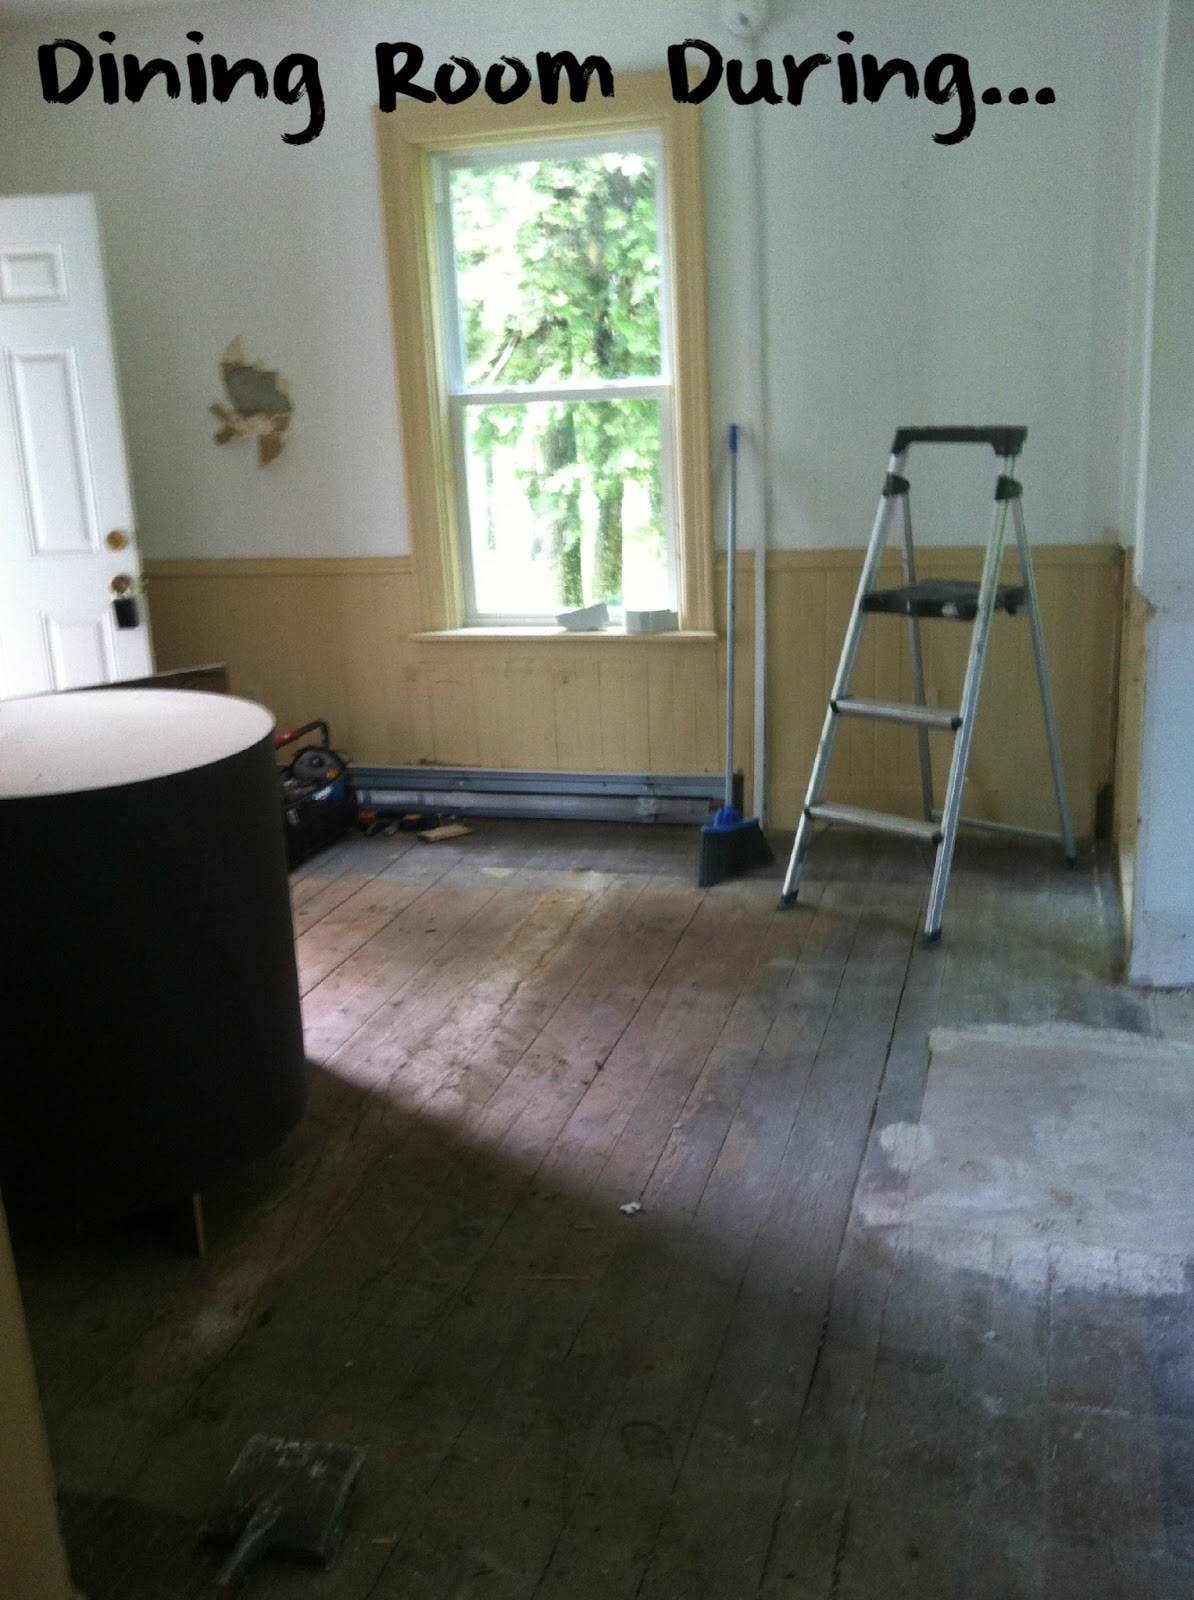
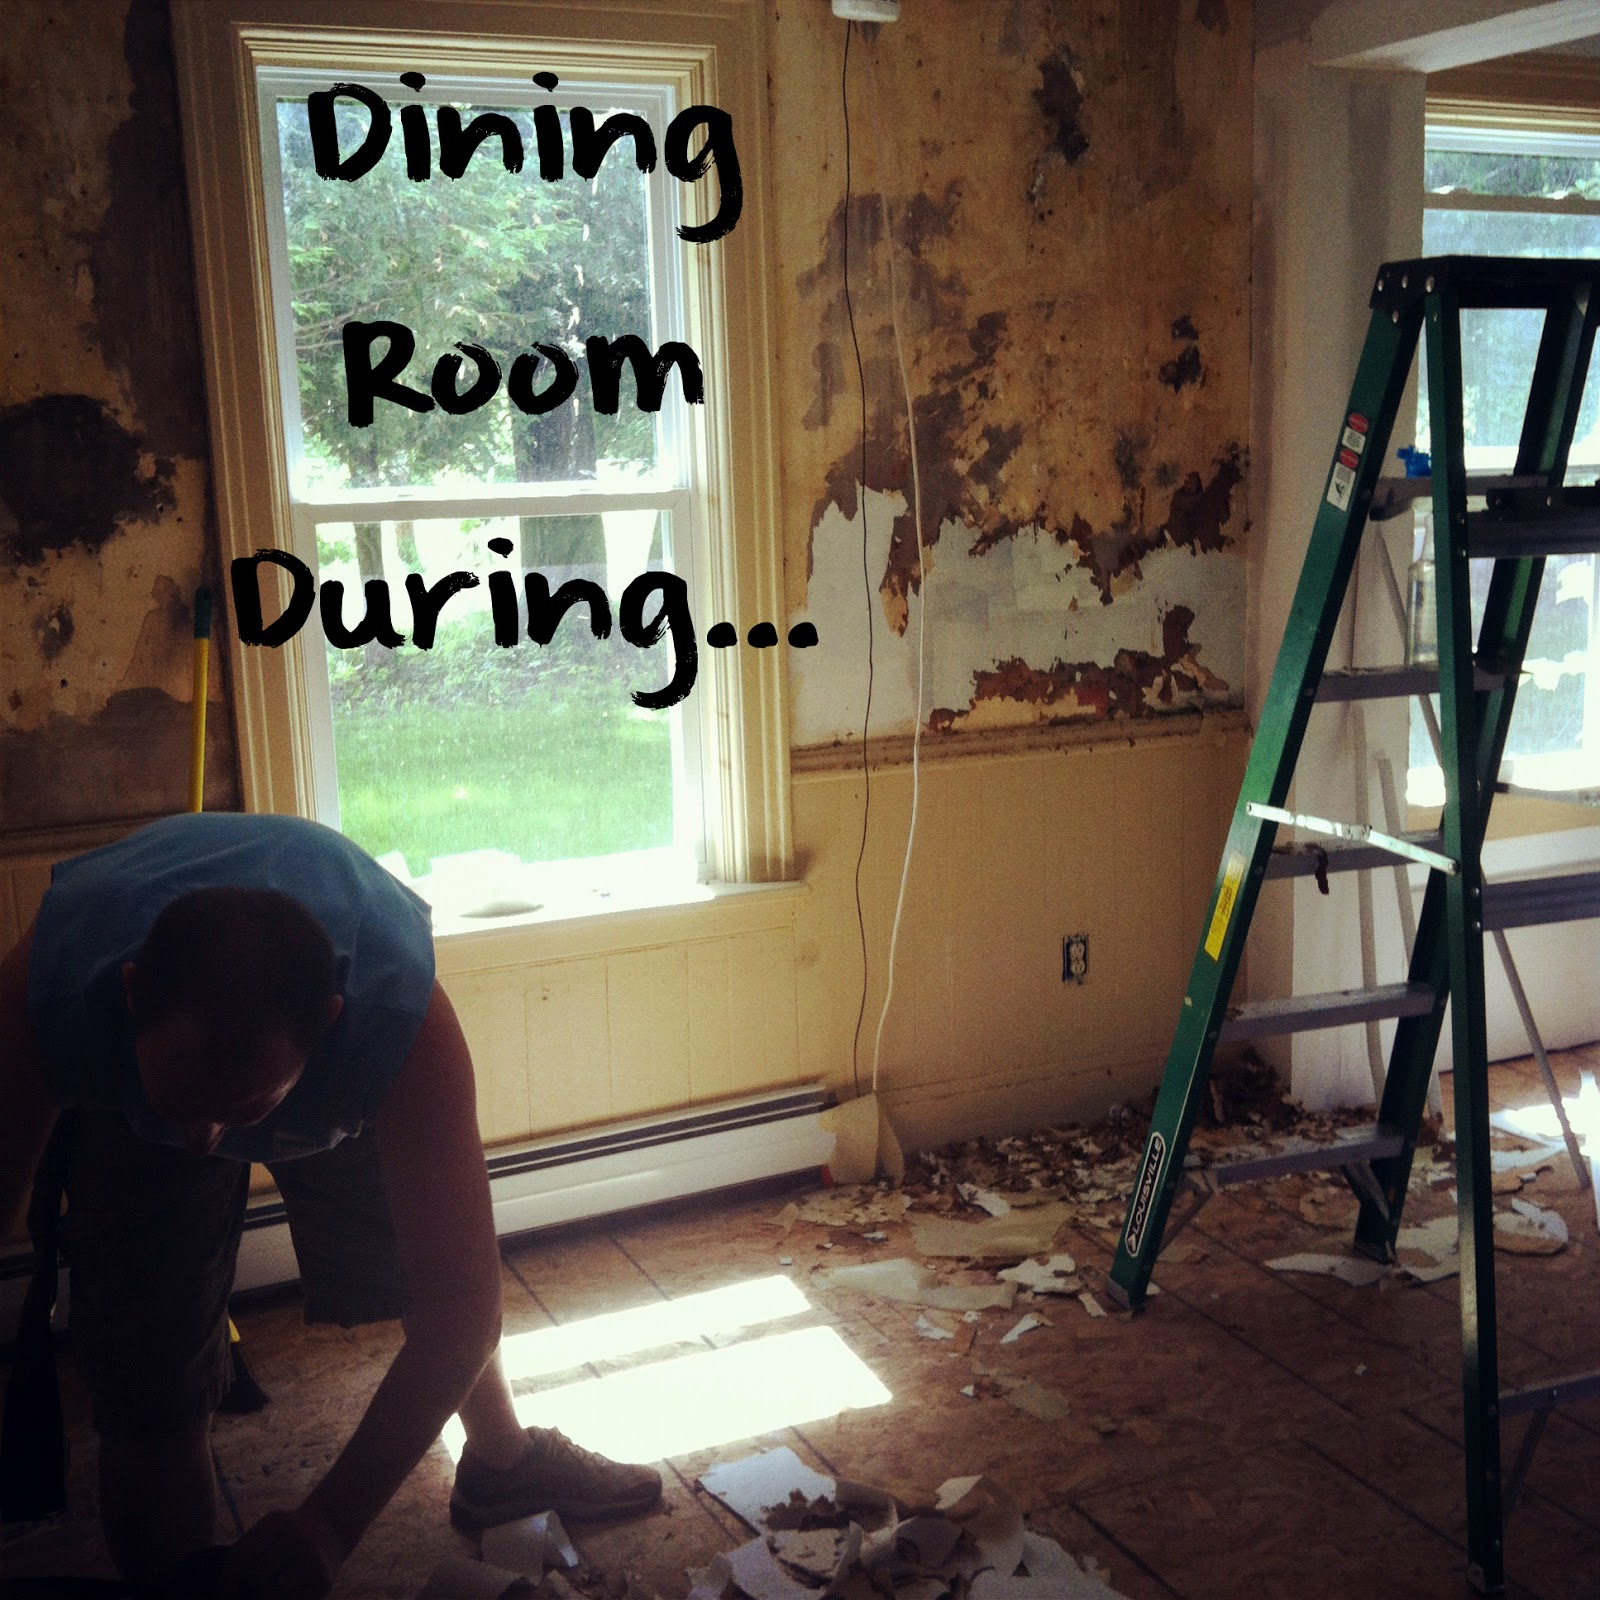
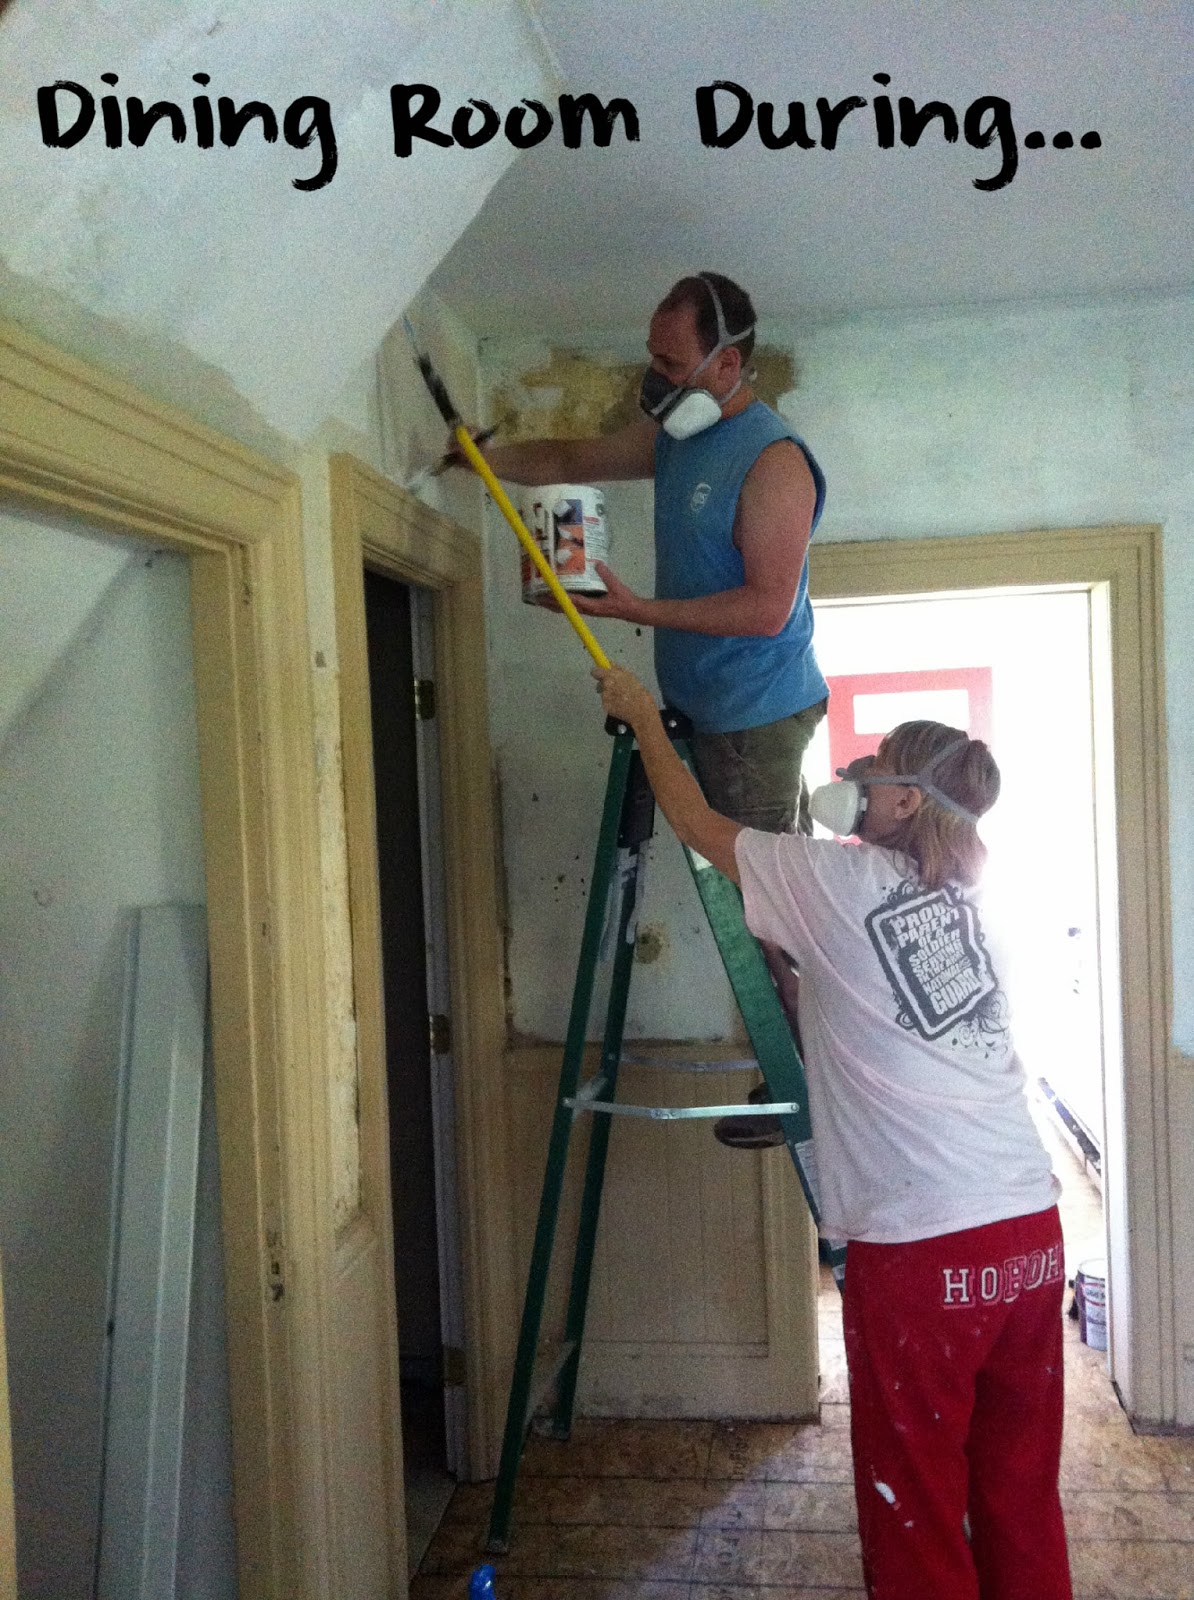
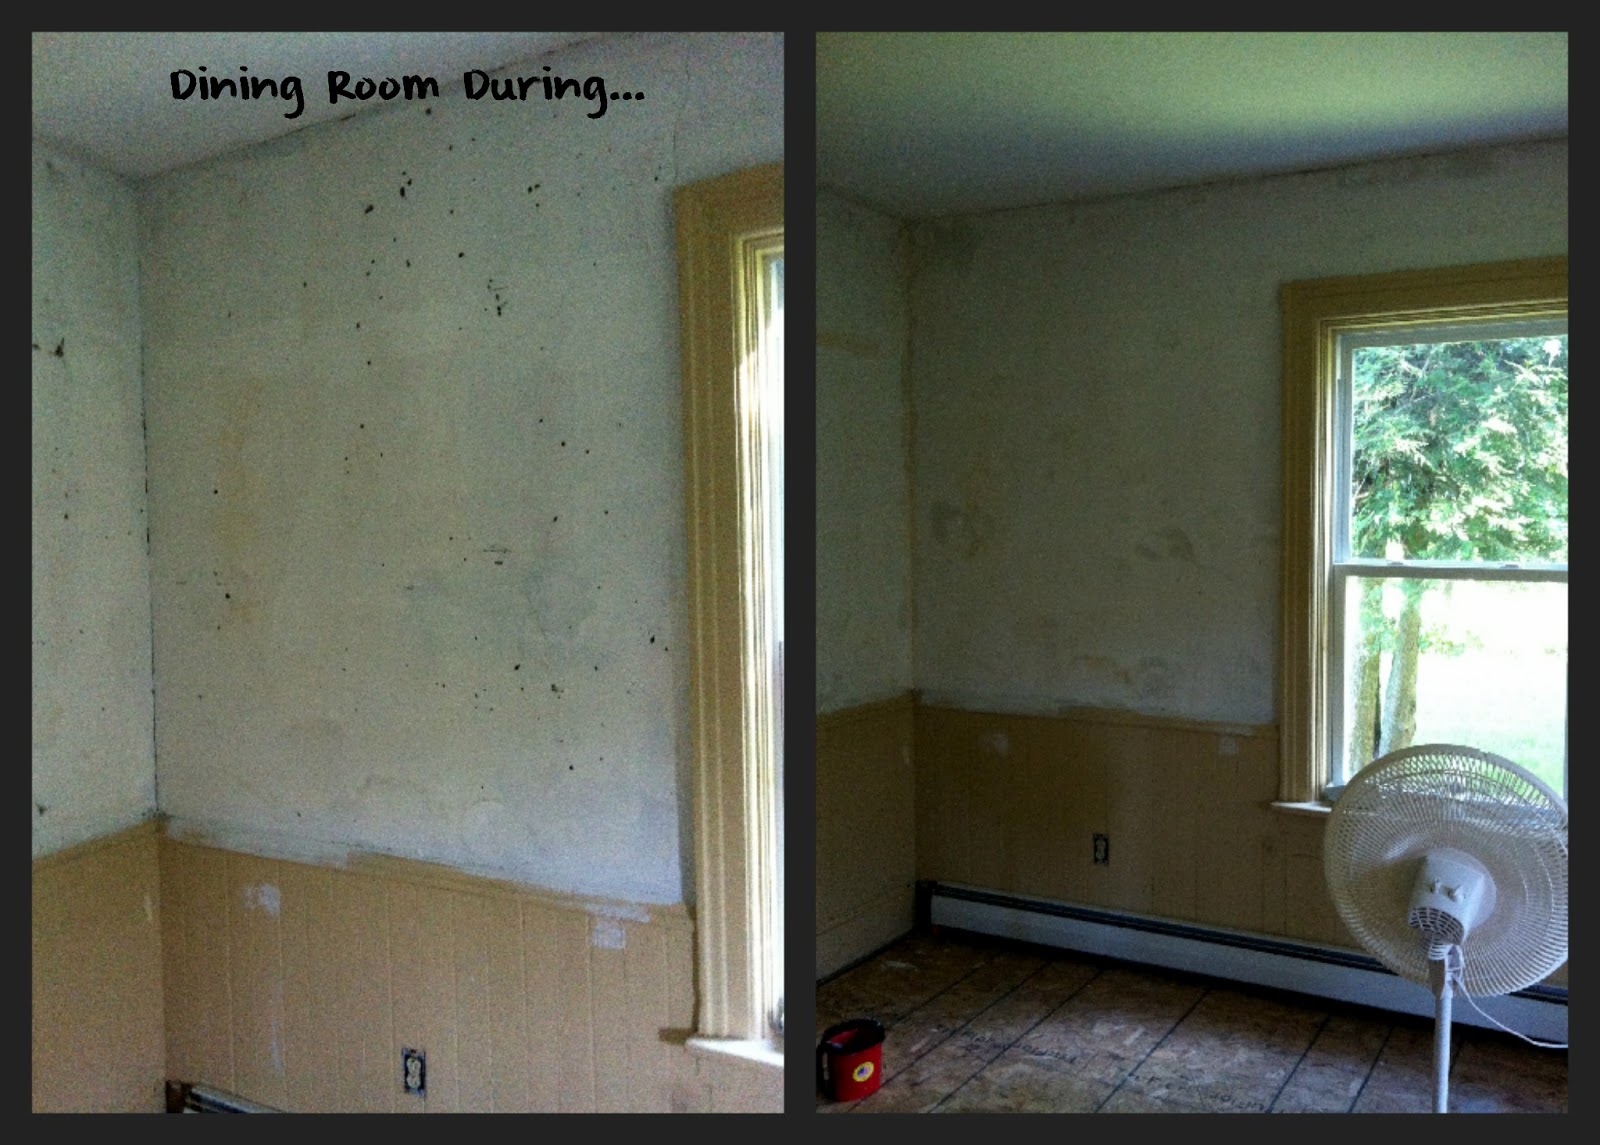
Here is the hall during renovations. Carpet stripped, old railings stripped. Some wallpaper stripped.

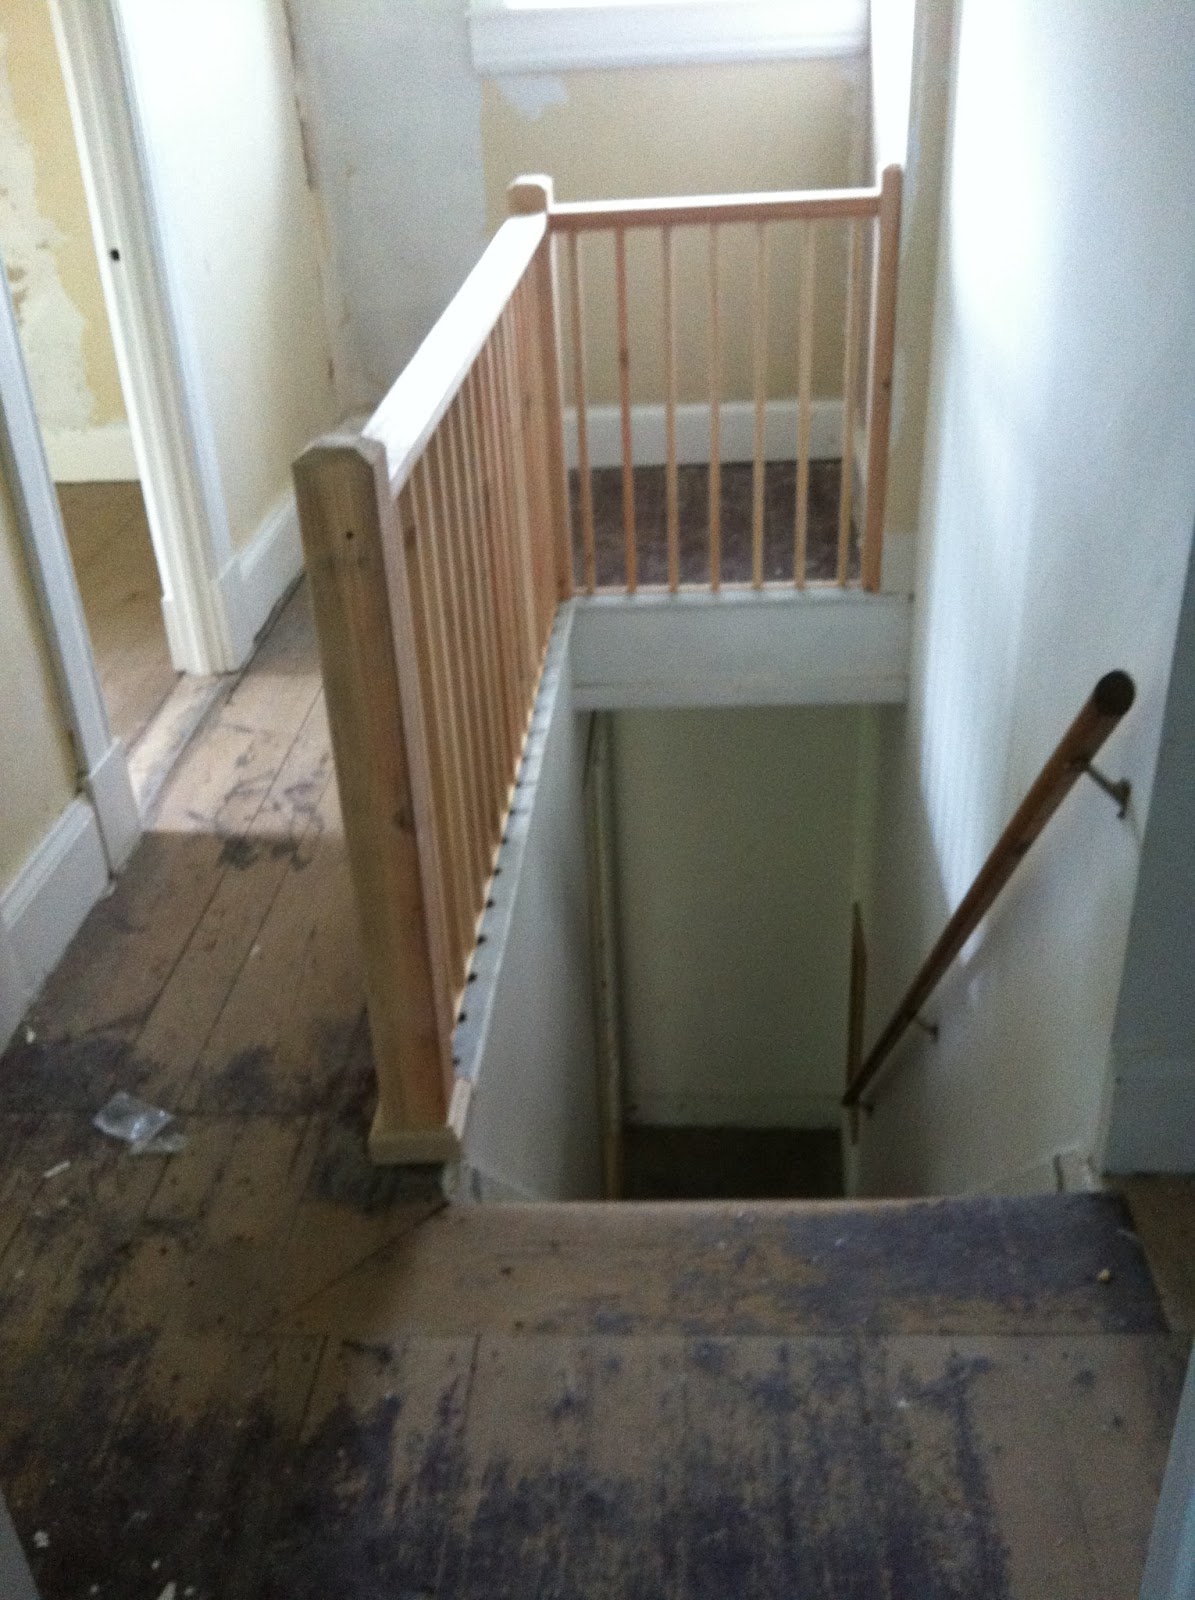
New custom built railings going in!
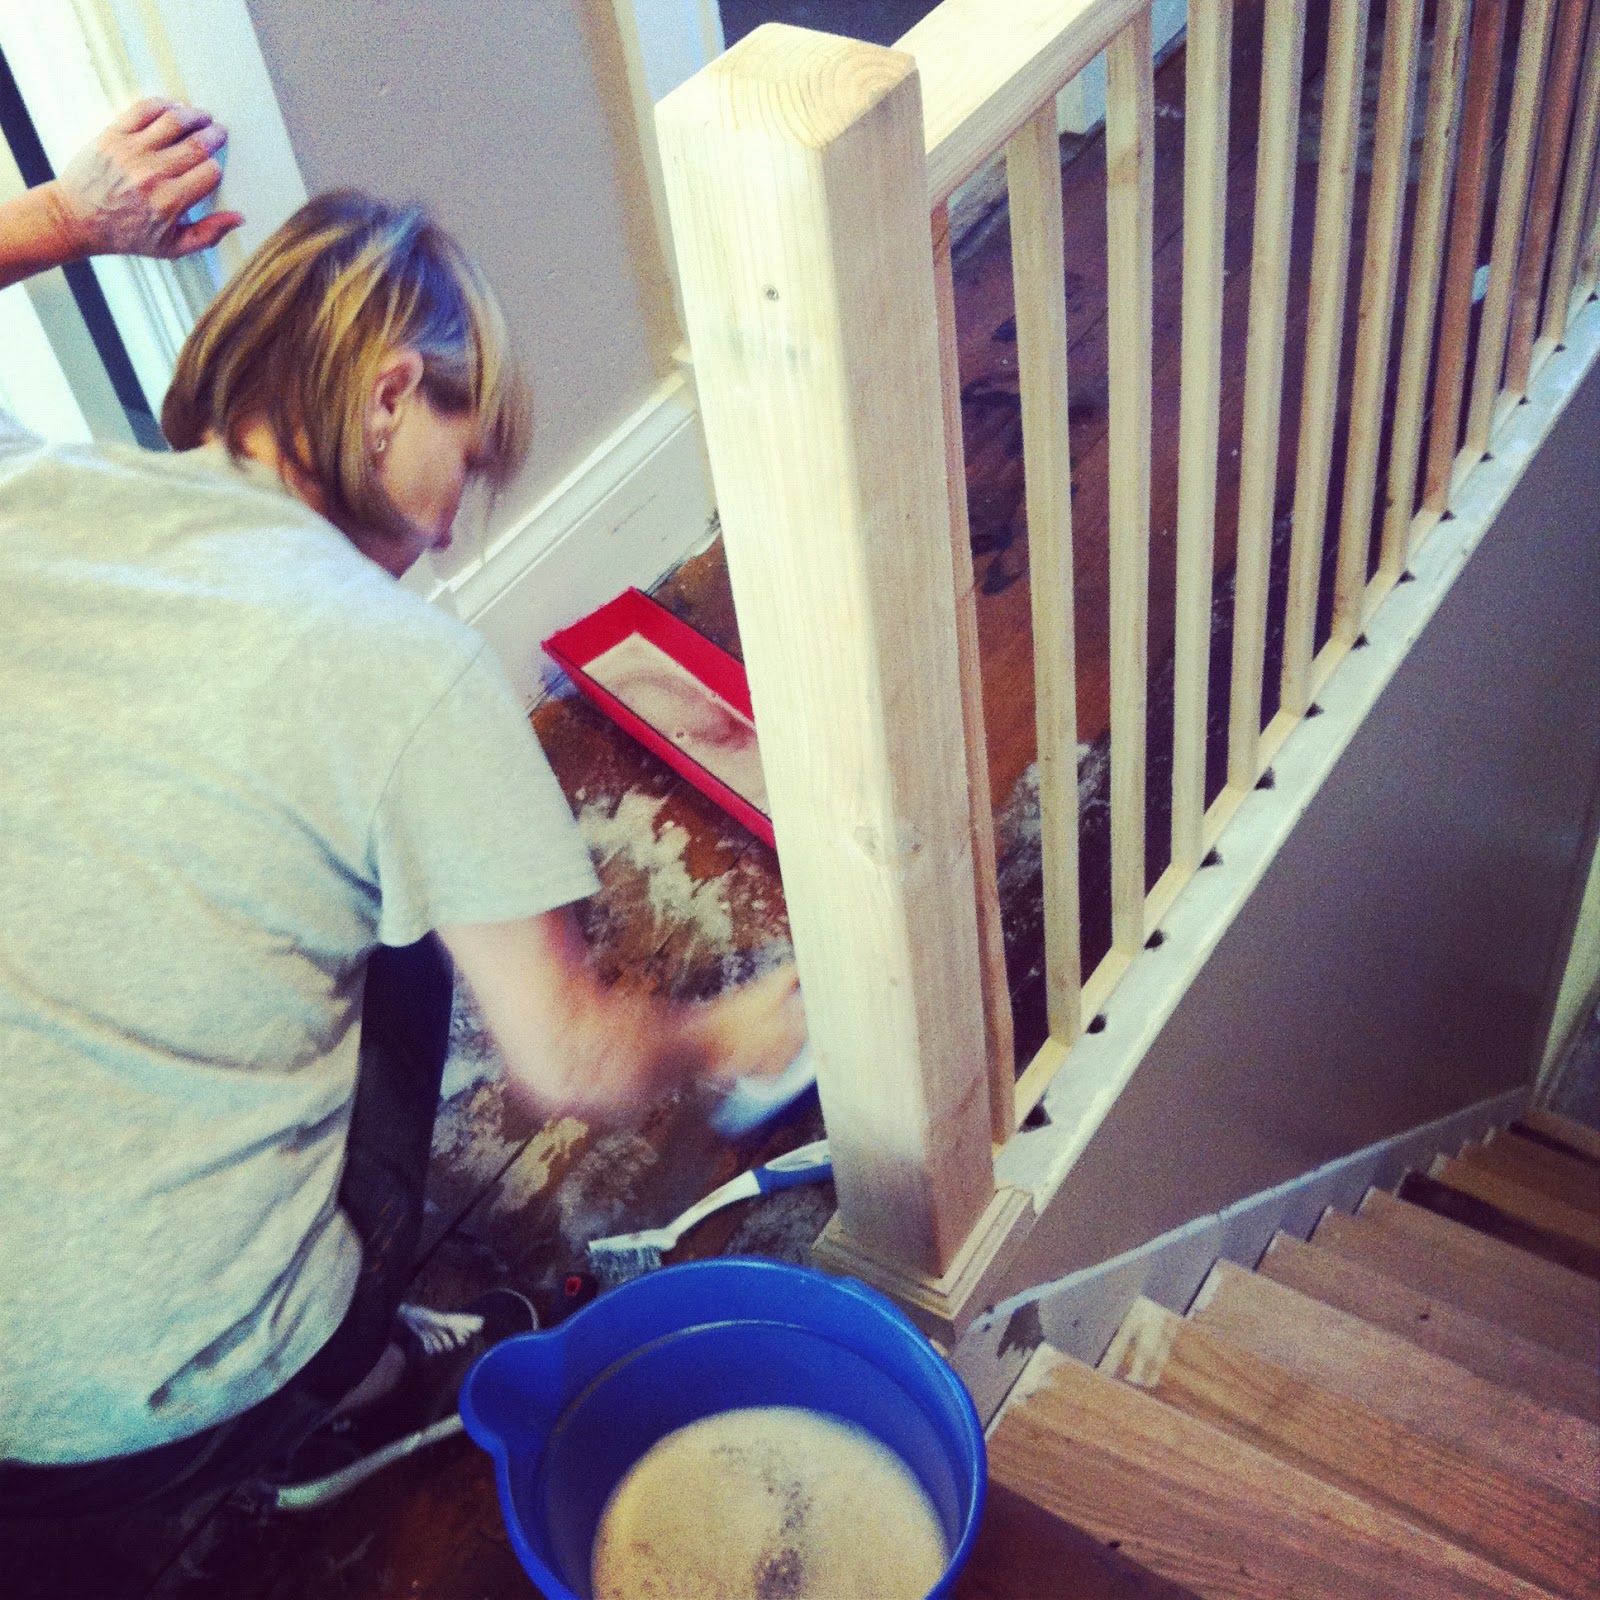
My Mother-in-law scrubbing the floors in prep for painting. This was extra fun because we had no running water in the house at the time. Or bathrooms, by the way. So we went to the neighbor’s every day and begged for buckets of water. We then carried them across the yard and up the stairs, spilling it everywhere, of course. We would scrub the floors and within a few minutes, our water would be so disgusting, that we would have to do it all over again. And again. And again. I told you it was a lot of work for a hallway!
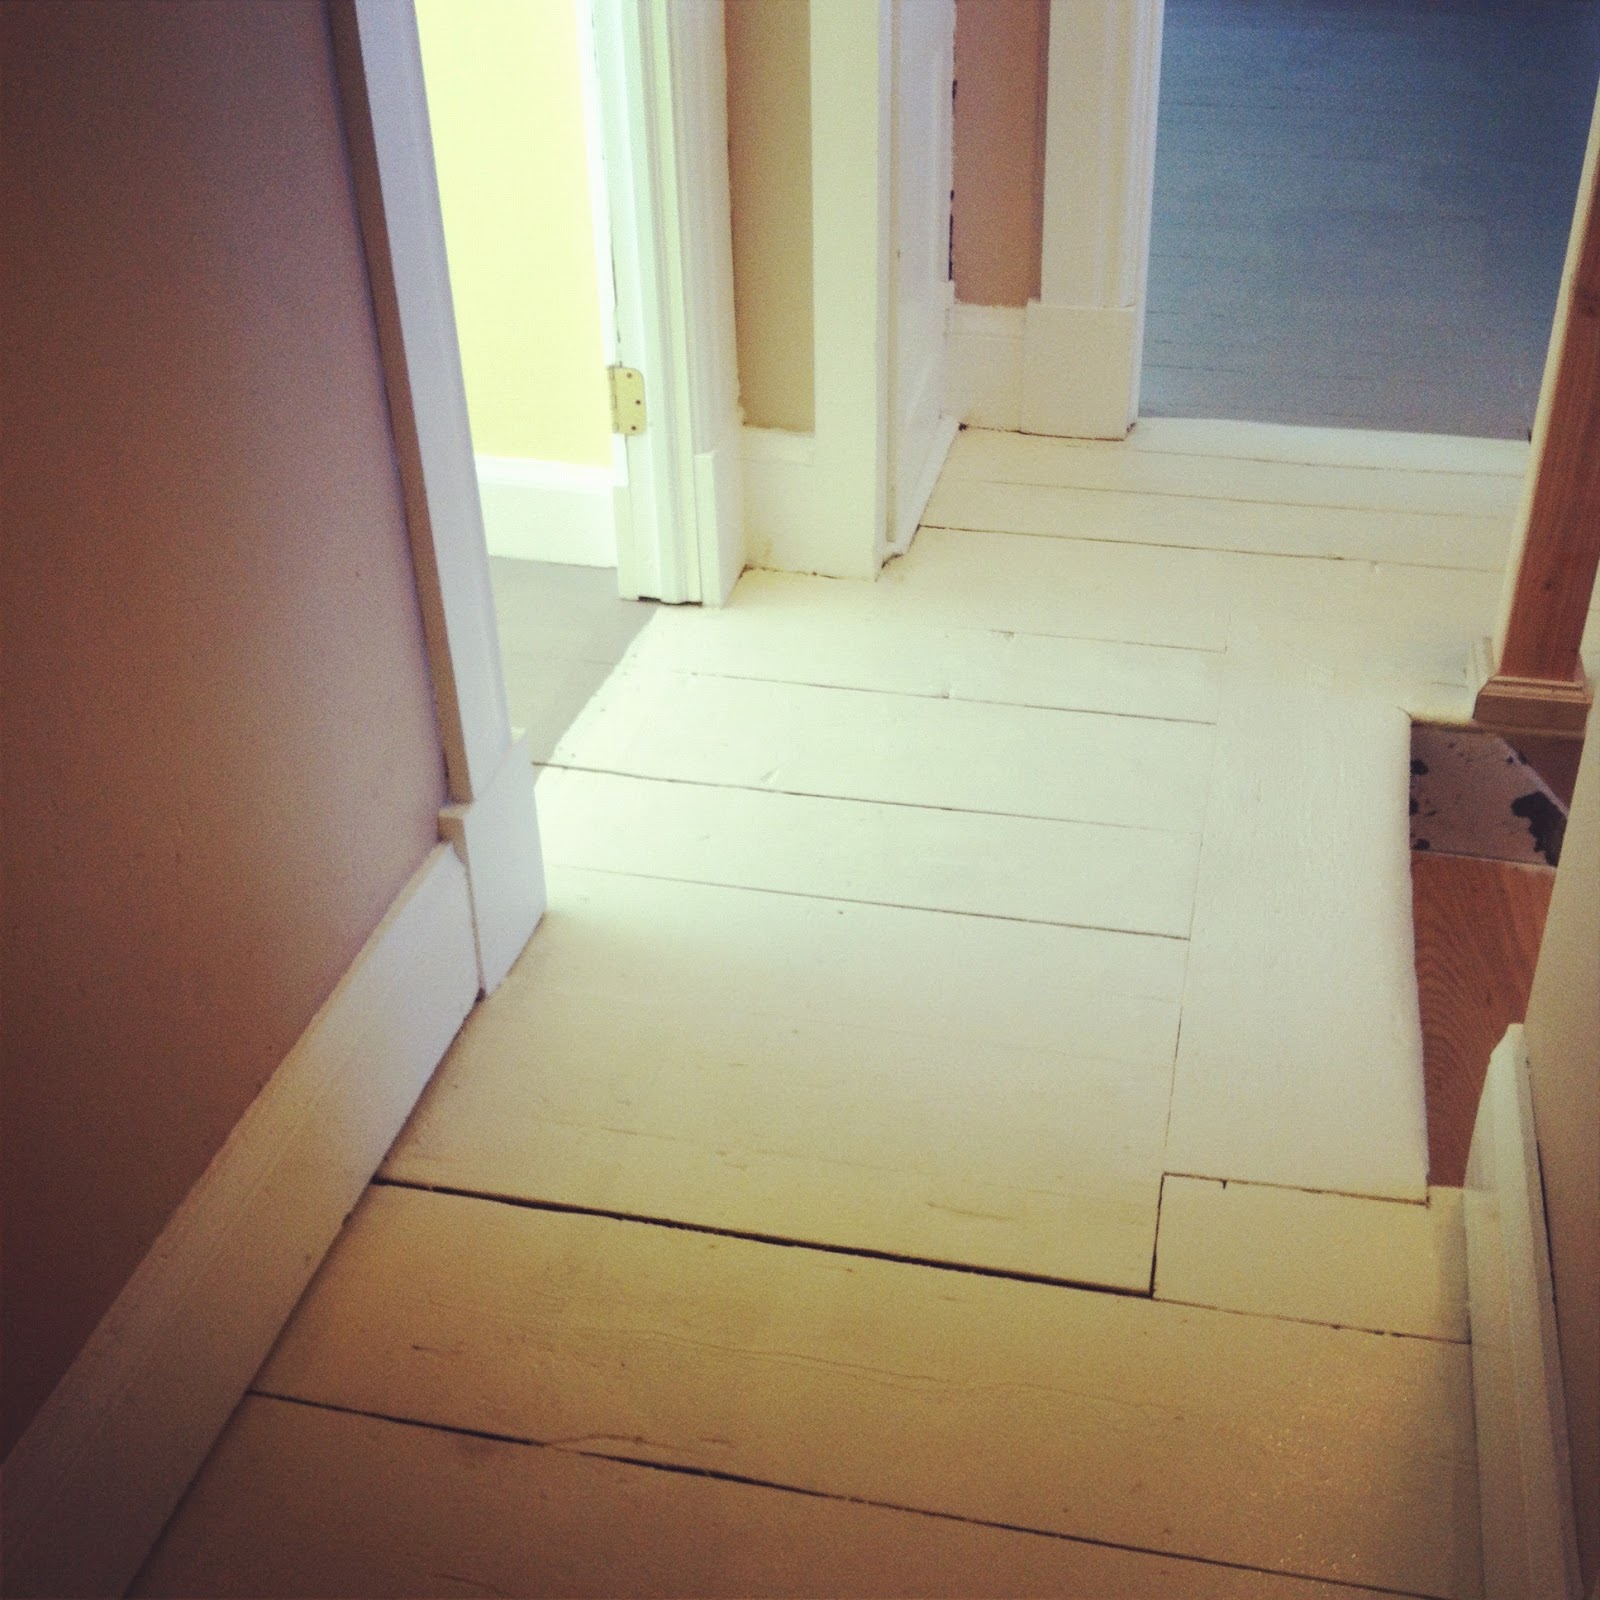
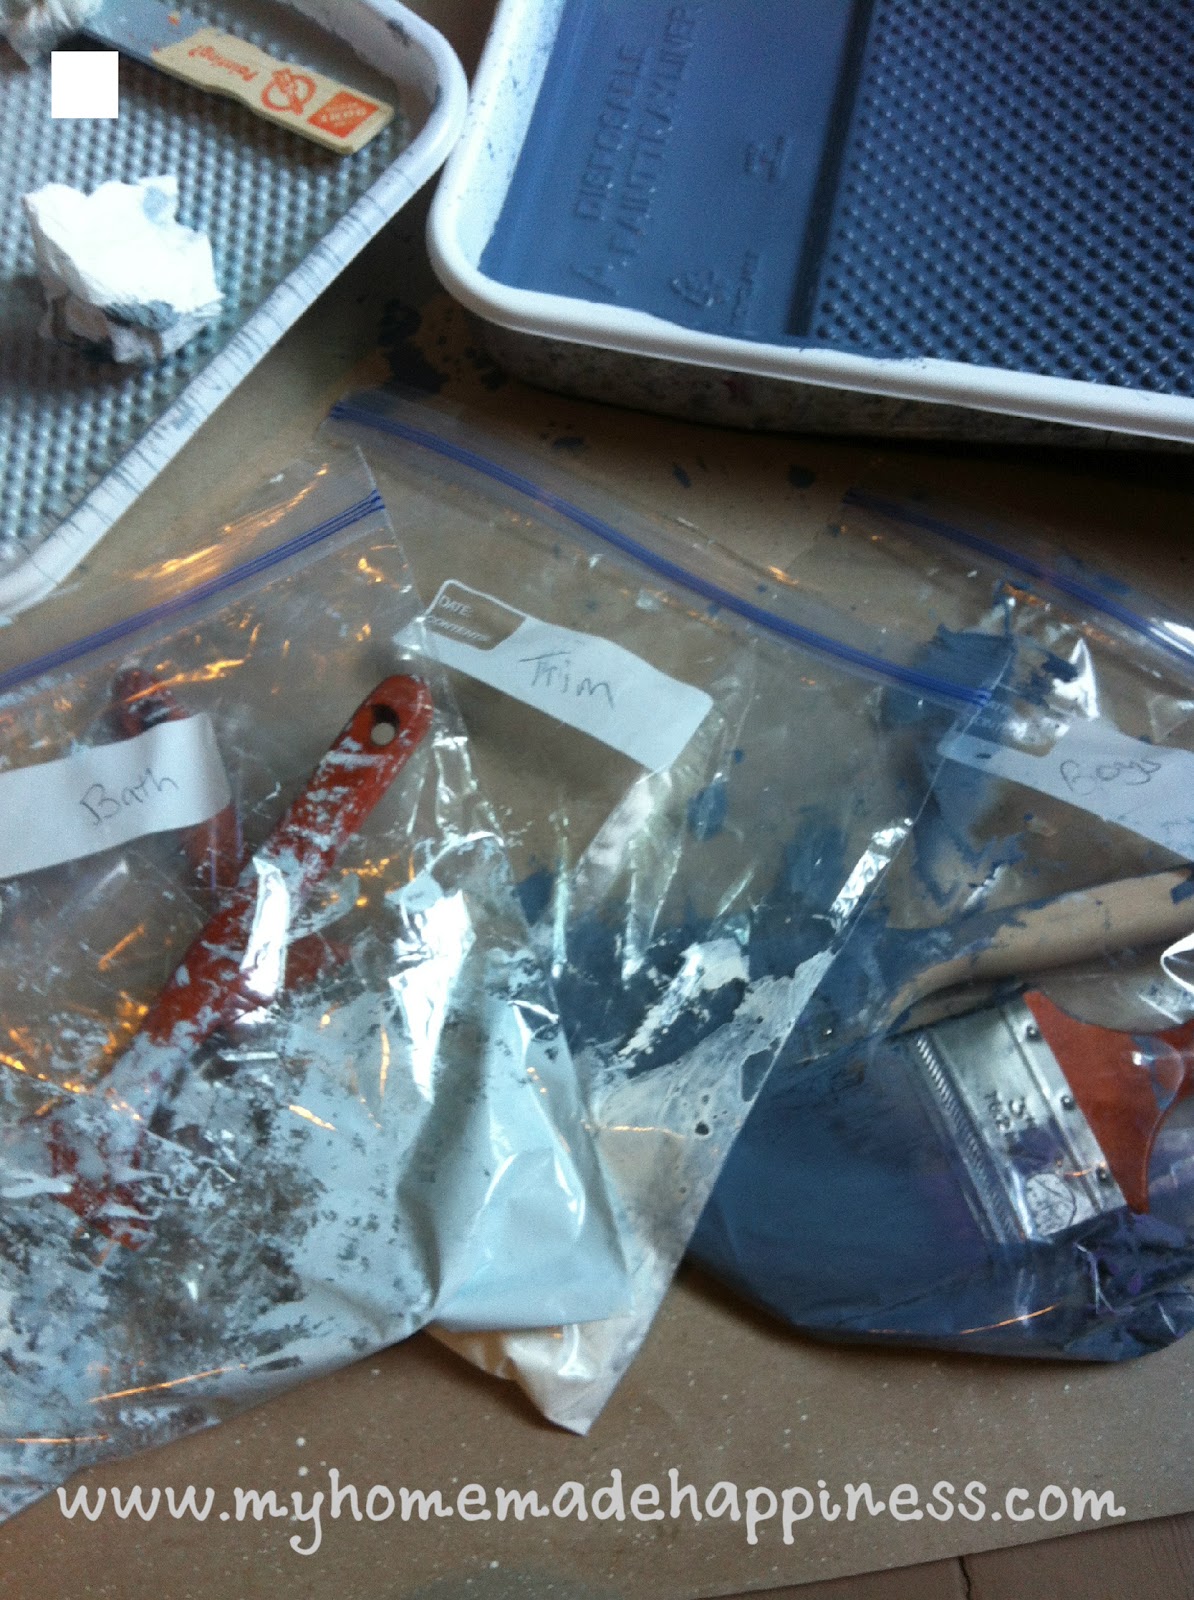
For now, the original wood floors are painted a cream color. I used a floor paint from Home Depot. I’m actually very disappointed in the results. It’s already chipping and we did a whollllle lotta work to prep those floors. I have some fun ideas swirling in my head about a painted checker board floor though.
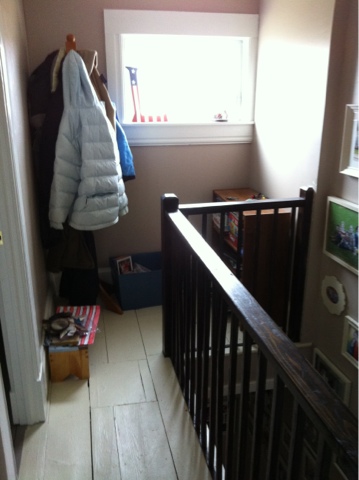
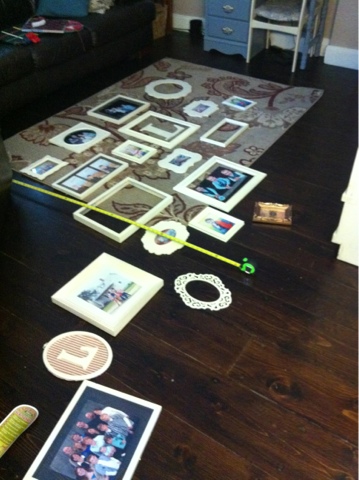
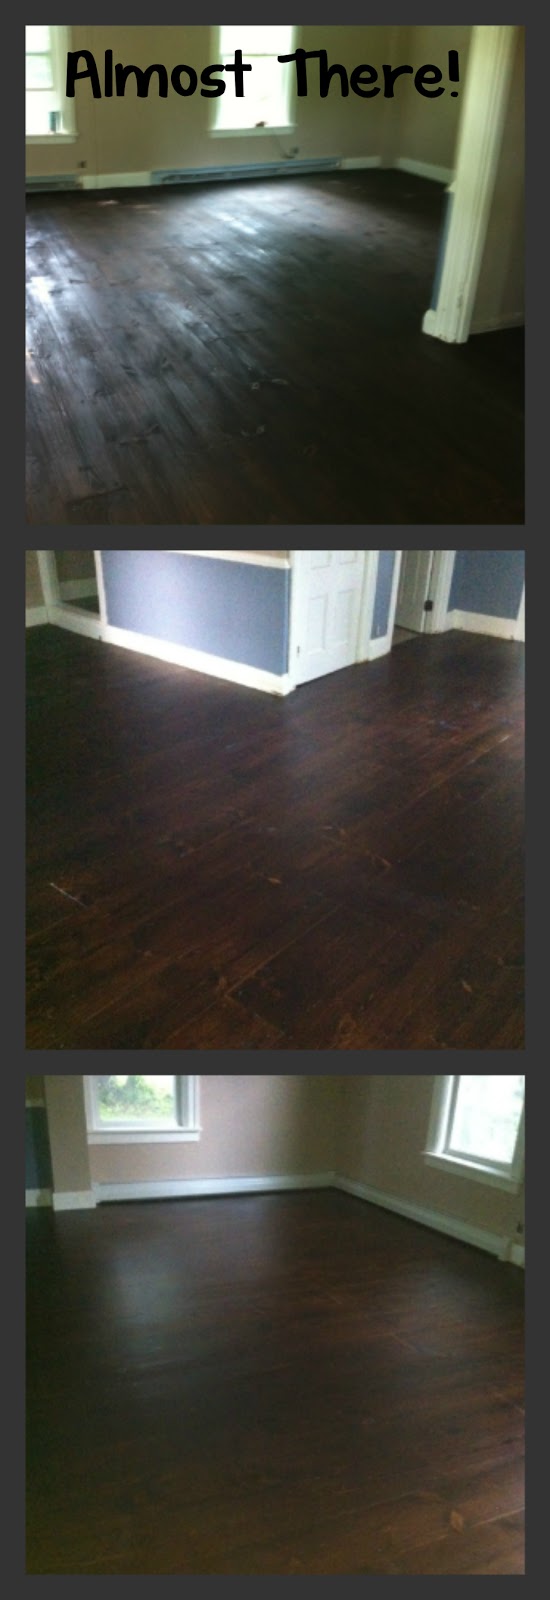
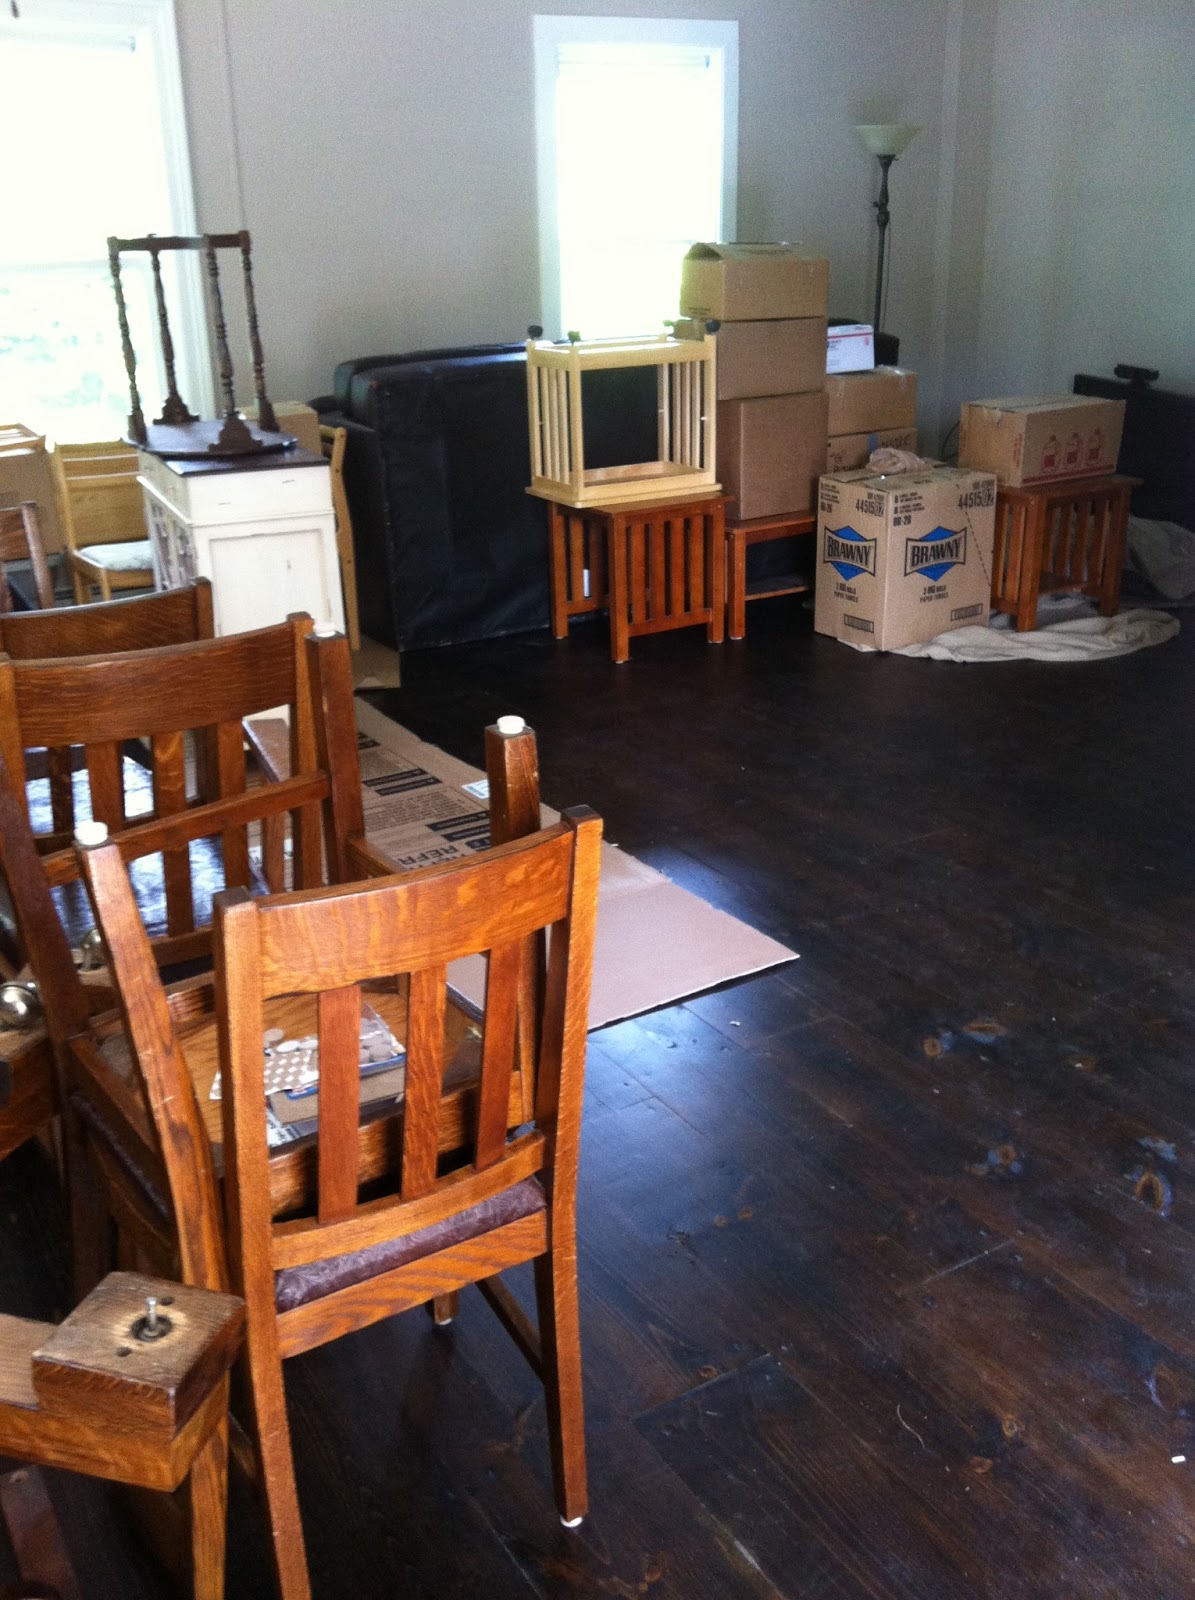
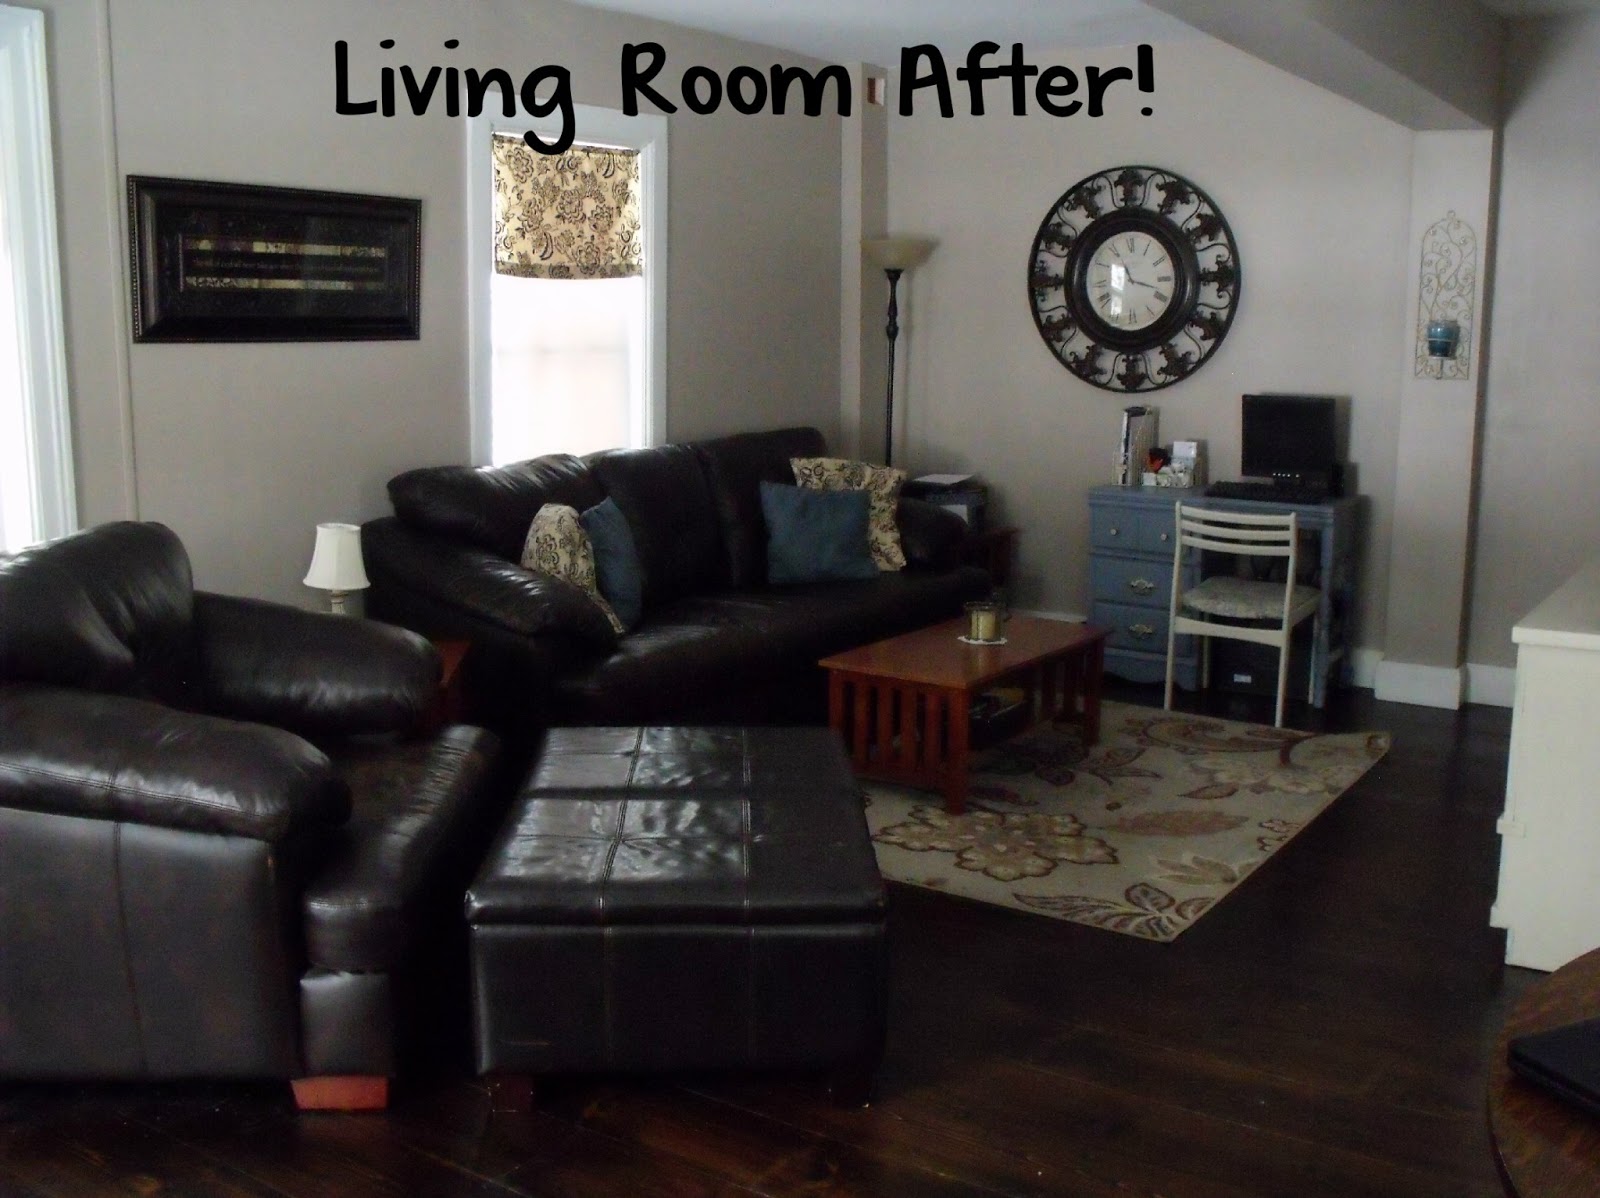
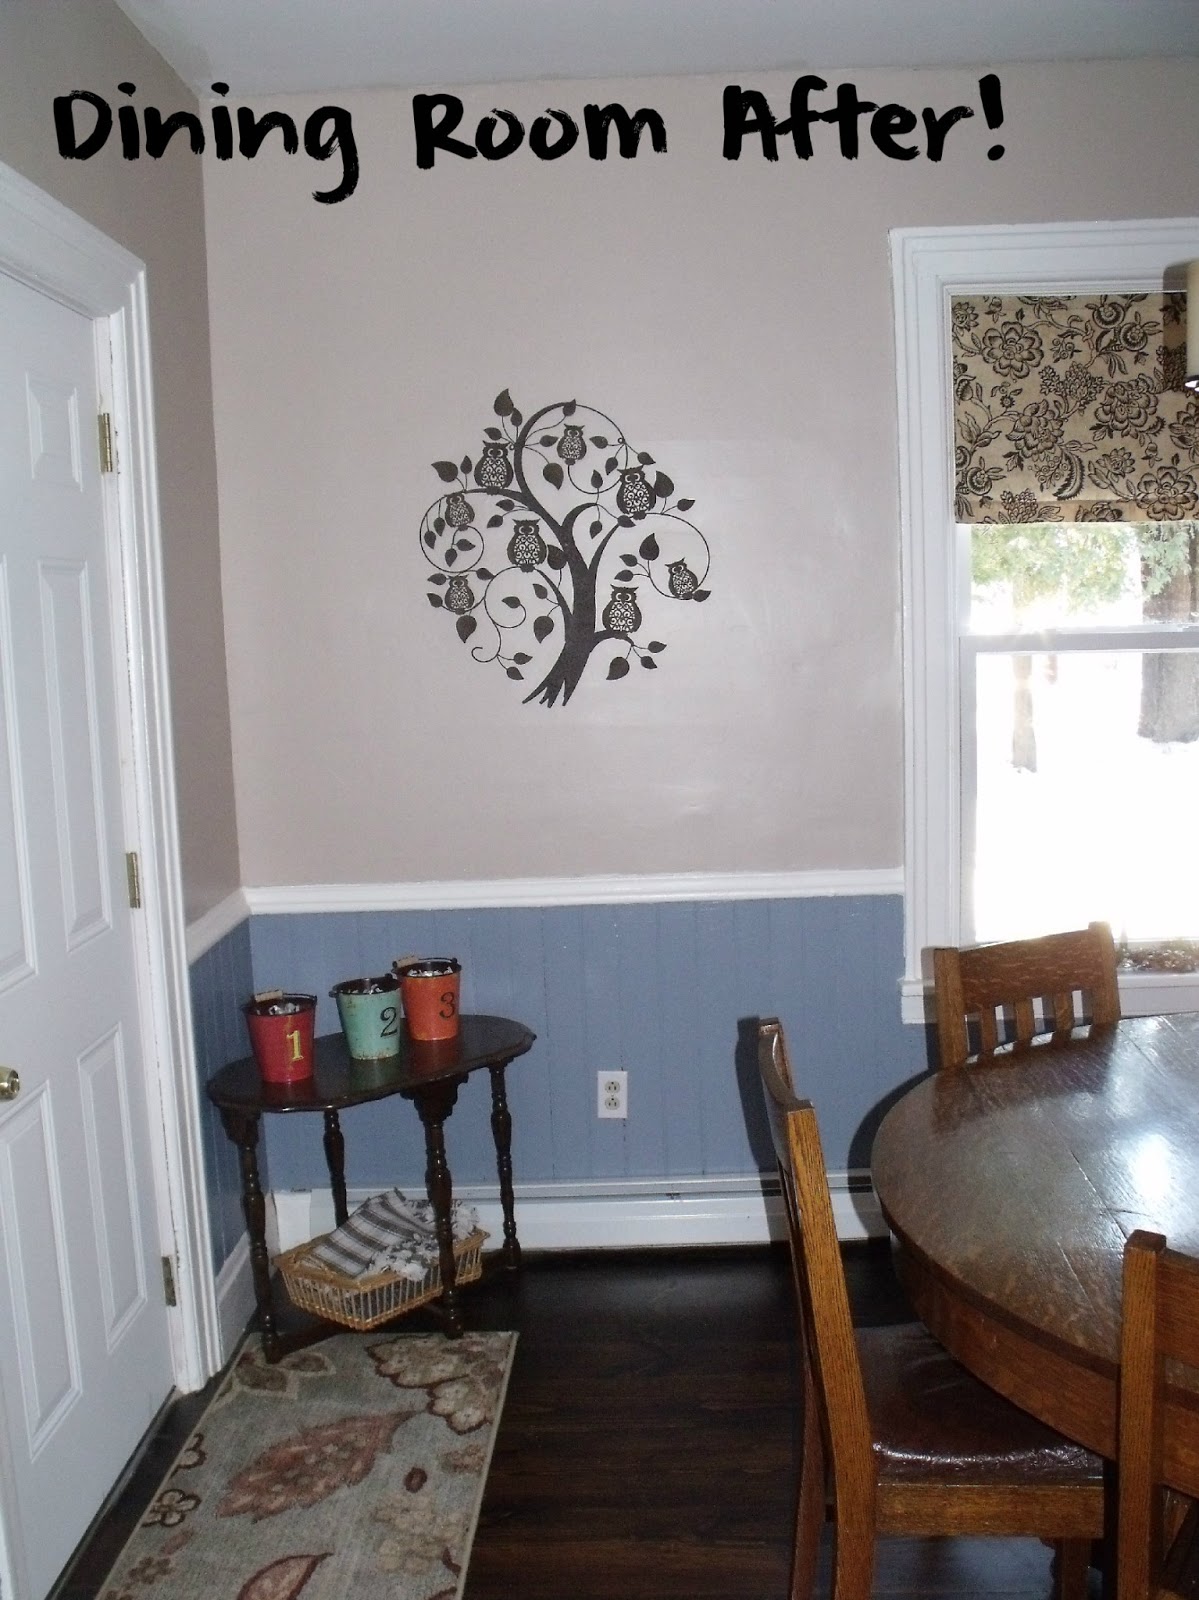
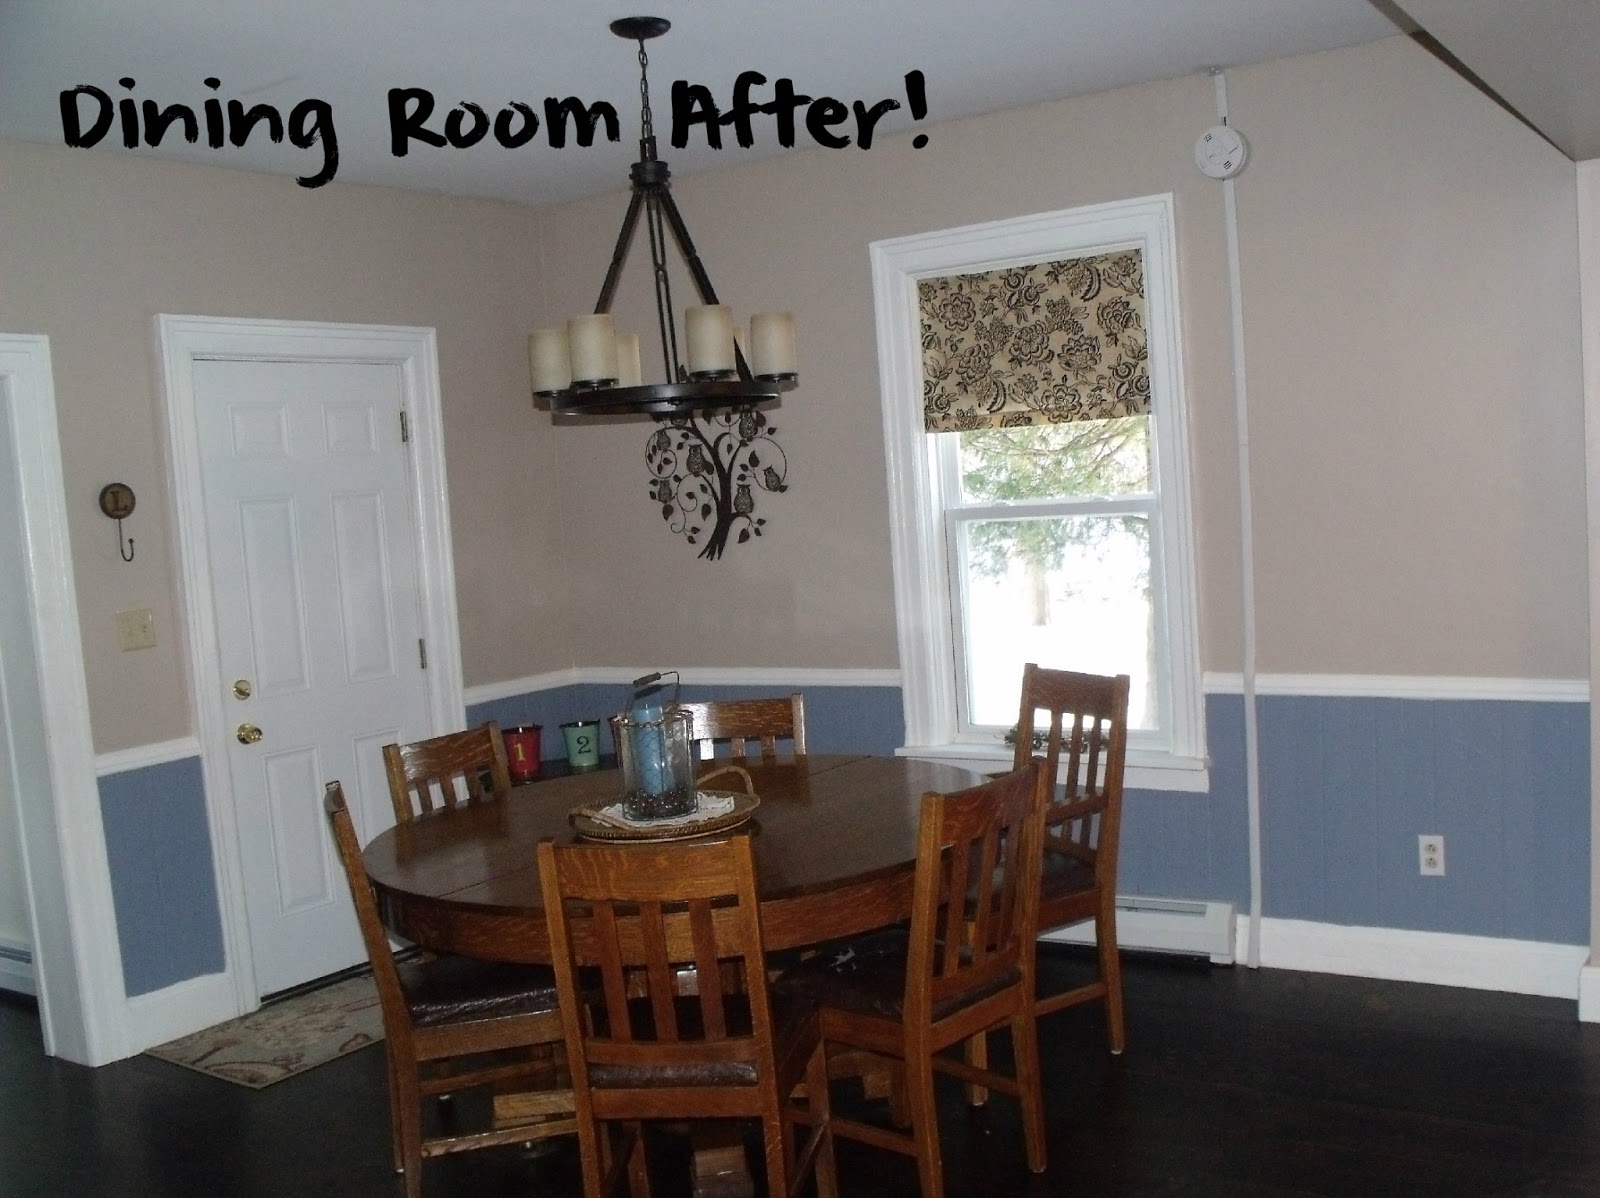
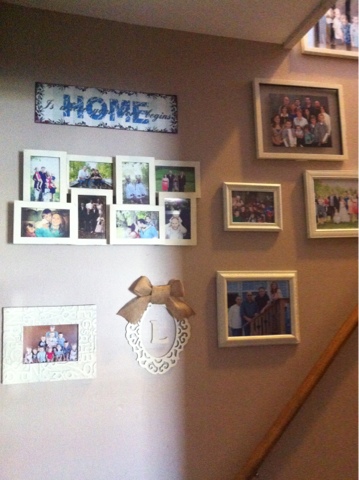
Here we are after, Except in that, “Shew! The hallway is done let’s throw a bunch of junk up there!” after.

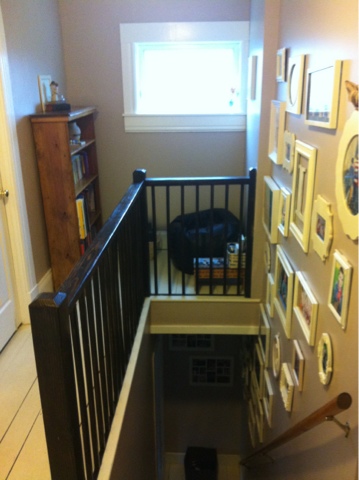
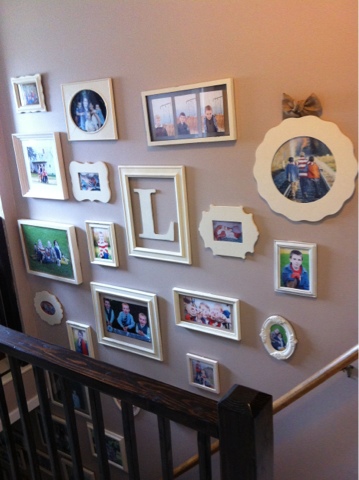
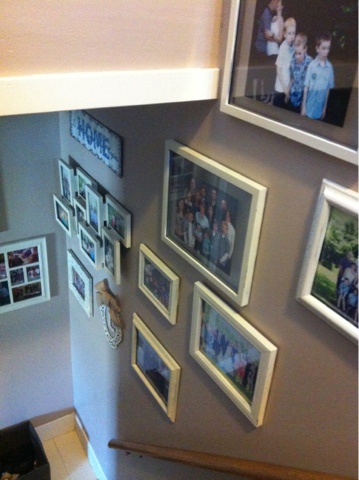
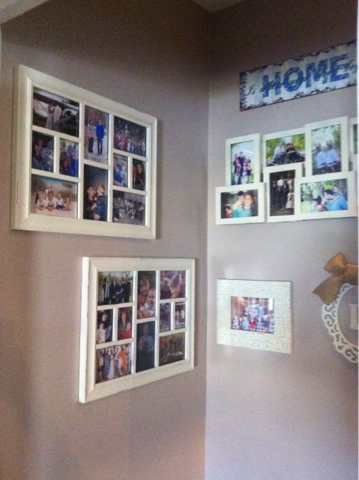
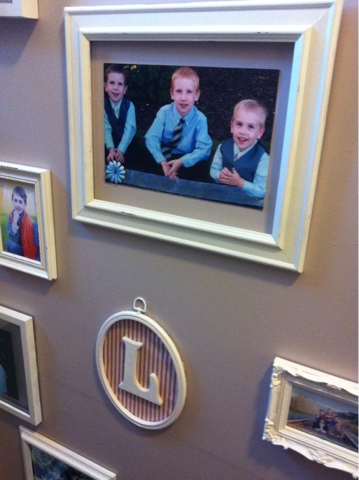
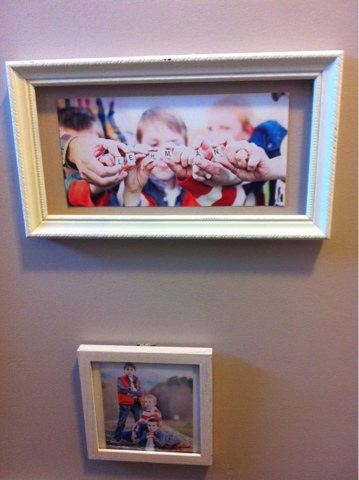
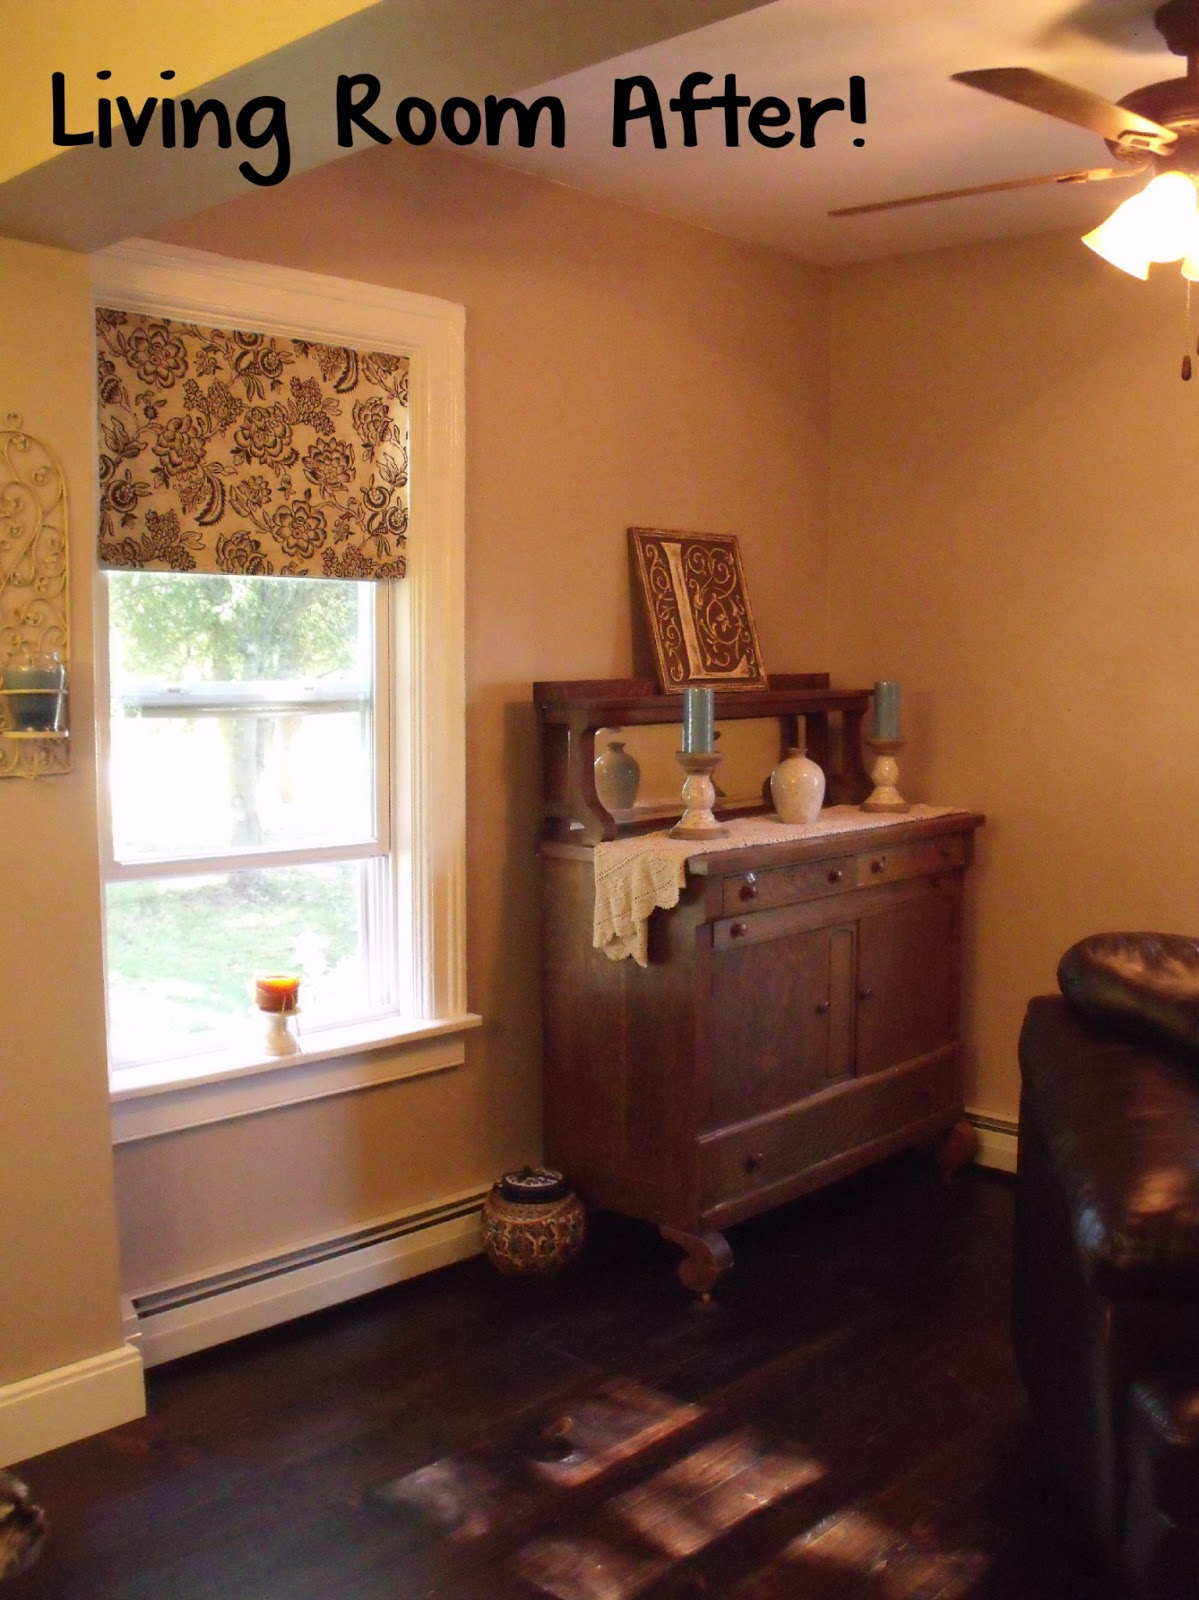
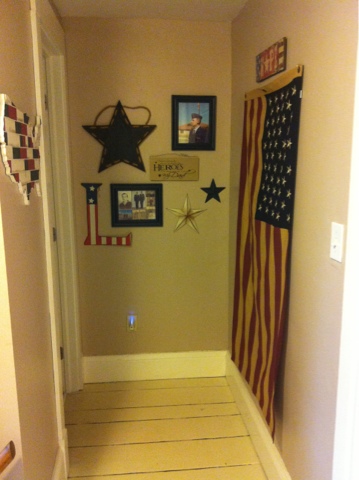
And here is the actual after. A little reading nook which the boys have been loving and a patriotic wall.

So there it is! The longest ever post about a hallway renovation.

Photo Gallery Wall

I have been wanting to do a fun photo gallery wall for some time. I had the perfect spot for it going up the stairs to the boys’ bedrooms. Pinterest gave me some really cute ideas. I imagined this cute little collection of photos. And then I started laying out the frames that I had that I wanted to use. They were not the cute eclectic look. They were the ugly eclectic look. So I spray painted all of them cream to match. I had quite a few frames already, but I have been keeping an eye out for cute ones at Goodwill as well. I watched for fun shapes and sizes knowing I could paint them if the color was wrong.

My Mom was in town to help me. THANK GOD because the
project got out of control!

Then I got a little creative. I didn’t want just frames with pictures in them. Here, I used a frame without glass that I got at Goodwill, hot glued some fabric to it, then glued a wooden letter (from the craft store) to the middle. I also used a finger nail file to rough up the edges of all the frames for a distressed look.

The biggest problem I had was that after hours of searching through pictures, I couldn’t narrow it down. And so the project grew. I needed more frames. And more spray paint. Goodwill and the craft store came through with more cheap, cute choices.

Back to the spray painting. My poor mom’s fingers. And mine which apparently
wanted to be in the picture too.

Once the frames were dry and the pictures were printed and put in frames, I measured the walls I would be using. The first space was just about the size of my rug so layed the frames out and just started moving them around. I started by laying my focal piece in the middle and working from there. THIS WAS STRESSFUL.

I read lots of different ideas on how to hang pictures. Use wax paper, cut out the size of your frames and tape them to the wall. Pencil it all out on the walls first. On and on. But that just felt like double the work to me! Especially after two days of planning and thinking. My mom and I are the kind of people that just do it. So we did. Once the layout was figured out and measured so I knew it would fit, we just started hanging stuff. Again, working from the middle first, then the edges, then back in towards the middle. I used lots of command strips. I’m telling you, that made the job a billion times easier.

So here you have it, the end result. The pictures ended up going all the way down the stairway. When I showed it to my husband, he said, “Wow. That’s… a lot.” Yep. And I love it!
Anyone want to come refinish those stairs for me? Anyone?

Some of my favorite pieces:

I did multiple pieces where there is a picture inside a frame with no glass. I love how unique it looks!

Most of these family photos on the main wall are by Luann Bailey Photography.
I love this one of us holding scrabble tiles to spell out our last name.

My other favorite is the big letter L in the frame. It’s just a wooden letter from the craft store spray painted and stuck inside an empty frame. So fun and cute!

It was a fun but overwhelming project. I’m glad it’s done and every time I go up the stairs, my eyes are very happy!

I Pinned It, Then I Did It!

I have a serious love of Pinterest and would you know, I actually did some things that I pinned? It’s true!

Check them out over on BVT Moms today!
I’ll be sharing some of my other latest favorite recipes and meal ideas here later this week, so stay tuned for that!

Living Room Renovations Before & After

When we first walked through the living room of this house, we were concerned. It was split up into two narrow spaces. There was no way it would work for us. We immediately knew that the only way we could buy this house was if the walls could be taken down. Our first step was to check with a contractor to see if it could be done and what it would cost. We had someone come right away and asses all the work that needed to be done before we put an offer on the house. The good news came, we could take down those walls and it was within budget! We were sold!

Here are the before and after pictures!

The heating system was all upgraded before we bought the house while it was sitting in foreclosure. Thanks, bank! You can see where the old radiator had left it’s mark on the wall. Thankfully some Kilz primer covered the rust stains!

The half walls really narrowed the space. We couldn’t have even fit a couch in there! Bye bye walls!

That door led to nowhere. In fact, there’s siding on the other side of it! We had it removed for obvious reasons.
Here the contractors have started to remove the walls. This was super exciting! And very messy. I was so grateful that we were not living in the house while the work was being done. Even if it did mean living in a hotel!
Adding this nice big beam meant we could take down the walls without fear of anything collapsing. They also put some extra support in the basement underneath. Well worth the time and money!
While most of the walls in the living room are drywall, this one side was plaster just like the dining room. So lucky Matt got the job of more smoothing and sanding. You’ll notice the various blue colors on the bottom wall there. I had the hardest time deciding on a blue! I finally decided on Coastal Vista by Behr at Home Depot.

We went away for a week of family camp while the floors were being installed. This was the first glimpse we got of them being done. It felt so good after so many weeks of it looking like a disaster area to come home to find this! It finally looked like a house! We chose to install real pine floors. We were not able to save the original floors on the first level but we wanted to look as though the floors had always been here. So I chose a wide plank pine and stained a very dark walnut to get that beautiful dark floor I wanted. It’s easily marked up because pine is soft but the floors look like they have always been here and that’s just what we wanted. Character!
Once we moved in, it took some time to get the living room from looking like this:
To this!

The only thing I have left to do in this room is to paint and distress the coffee table and end tables to match the cabinet under the tv. 
Details!
Tan colored paint: Cafe Latte by Glidden at Home Depot
Large rug: Better Homes & Gardens at Walmart
Ceiling fan, lamps and other light fixtures: Better Homes & Gardens at Walmart
Curtains: Fabric from Joanne’s, made by my Mom!
Pine wide plank floors: Home Depot
Desk & Chair: Goodwill Find
Stand under tv: Goodwill Find

Goodwill Dresser Re-purposed Into Entertainment Center!

I found the perfect piece to go under our tv. At Goodwill, of course! Here is the before picture:

Check out Goodwill of Northern New England’s blog to see how it turned out:

Dining Room Renovation Before & After Pictures

When we first looked at this house the biggest disagreement we had was about where the dining room would go. There is a space off the kitchen that I am guessing is supposed to be the dining room, but it was just way too small for us and our large table. My original thought was to have the table right in the kitchen such it was a good size. Matt’s idea was to put it in the living room area. I did not like that idea for two reasons. 1.) It was right in front of the bathroom. That felt awkward to me. 2.) You had to walk out of the kitchen through a doorway to get there. It felt disconnected. I wanted the eating space and the kitchen to flow. But the more I looked at the kitchen, the less it felt like that idea worked. It would be cramped. Finally, Matt was able to convince me to put it in the other room when we found the perfect light to hang over the table. Yes, a light changed my mind about the entire flow of the house. Whatever, I’m fickle. So here are the before, during, and after pictures of the space we use as our dining room. Which I happen to LOVE. Yes, my husband was right. Enjoy your moment, husband. It doesn’t come often.

This doesn’t look too bad, but what you can’t see is that the while stuff on the wall is textured wall paper. It came off in tiny flaky pieces. We even found some that we think was from the 1900’s! The hole in the wall is where we started digging to see what was underneath. All plaster. Yikes. Also, old stained carpet. Yuck. There are two doors at the front of the house. We do not use this one at all. 
One day we’ll take it out completely.
We ripped up the carpet but the original floors were not salvageable and the floors were uneven. 
We had the entire first floor sub-floor redone.
Here is the same wall at the beginning of what I’ll call hell week. The walls under that wallpaper were falling apart. It was a mess. I cried. Um, often. The cost to hang drywall was over our budget and I didn’t want to take down the wainscoting because it was original to the house. So my husband and my mother-in-law took on the job of smoothing them the best they could with sheet rock mud. 
Layer after layer, they smoothed and sanded.
And smoothed. And Sanded.
Until it finally looked like a wall!
Do these walls look amazing, or what?! 
My heroes did such an amazing job that you can’t even tell that they are plaster!
The only thing in this room that didn’t get done was hiding the smoke detector wires. We hoped to fish them behind the wall but it turned out to be a larger job than expected. So the wires are hidden behind a plastic strip for now. I have plans to paint the strip the same colors as the wall. 
I did that in the living room and you can’t even see it!

Here is the other side of the room…
The door on the left is for a small under the stairs closet. The door and door knob are original to the house so I really love them, even if they don’t work that great!
There were two half walls on the other side of the room which is the living room. 
(There’s a quick sneak peek of the living room here!)
We had those removed to make it one big space.
When I think about the work that went into this room, I am amazed. I remember sitting on a plywood floor with a wall that looked like it had been destroyed thinking there was no way we could ever eat there. But here we are! And we love it. We love it so much! I look forward to sharing many meals here in this space for years to come!

Details:
Tan color: Cafe Latte by Glidden at Home Depot
Blue color: Coastal Vista by Behr at Home Depot
Light fixture at Home Depot
Rug: Better Homes & Gardens at Walmart

Quick and Easy Fall Centerpiece

Fall decorating is one of my favorite things to do! It can be so cheap and easy to decorate for the season. Here is a quick fall centerpiece idea I’ve used to spruce up my front porch!
Quick and Easy Fall Centerpiece

Mums are my go-to Fall decor piece. Hit a store sale at the right time and you can make adorable fall centerpieces on the cheap! They will usually come in these generic black pots. I bought a few for a party but I didn’t want to spend money on potting them so here is what I did to cover the black pots for a quick fix!

All you need is one paper bag per flower pot, some scissors and some twine, raffia, or ribbon.
Open up the paper bag and cut slits half way down the bag, around each side of the bag.
Fold the cut pieces down.

Stick the flower pot into the bag. Trim further down the bag if needed. 
Wrap twine around the bag and tie in the front.

That’s it! It took me five minutes to make this as I scrambled to decorate for a fall party I hosted this month. 
Not bad for five minutes, right?! You could take a couple more minutes and tear the edges of the bag for a more distressed look or even cut multiple slits for a fringe. Get creative!

Paint Brush Storage Trick

I’ve learned a smart way to store paint brushes during all of our renovation adventures. I thought I’d pass it along as a handy tip!

When you have to put two coats of paint on something it’s a pain to wash the brushes out only to use them again the next day. The old stand by of wrapping the wet brushes in a grocery store bag works great, but with as many rooms as we were painting it was getting confusing! Which brush was which paint?! It was annoying. So we started storing them in clear plastic storage bags and labeling them with which room it was for. Genius! Now we can easily see which paint color the brush is for and it saves us a ton of time when more than one coat is needed!

If you have a big painting job ahead of you, give it a try!

Our New Home

We bought a house! We bought a house!

For the past year and a half we have been living in a very tiny apartment here in Vermont. When we moved here it was our intention of it being very temporary. But life doesn’t like to follow our rules so here we are.

We were finally able to buy but because we still own our other home in Indiana we were not approved for much. We live in a very pricey part of town and we were very discouraged that our budget was going to be so low.

I searched for houses in our price range and was thoroughly disgusted to find two mobile homes and one old farm house. We didn’t want to switch schools and we really love the area. So I called Matt.

“There is one house in the whole town in our price range. I guess we should go see it?”

So we did. As we were driving out to the house I was thinking, “Where are we going?!” It felt like we were out in the middle of nowhere but it really was only a few minutes away from the middle of town. When we pulled up and I saw the view, I was sold. You can’t buy this kind of view for the price they were asking.

It was very obvious how much work the house needed. Lots and lots of work. Lots and lots of money. But so worth it. We fell in love with the house. The price, even with added costs of renovation, was affordable. It was a foreclosure so we knew we could get it even cheaper than the asking price.

We were sold!

We were told it was built in 1850 but after some research it looks like it may have been 1860. It was built on one of the main parts of town at the time and is listed as having historic significance at the state level. I definitely plan on looking into that detail more! Unfortunately a lot of the original character was lost in renovations but there are still many characteristics that I’m really in love with.

I plan on sharing all of our renovations with you all here on the blog.  Renovating an old farm house has been one of those things I’ve always dreamed about and I am super excited to get started!

During my research on the history of the home I read in a book called “Down Depot Hill” (wrote last year) this line from a resident of the street:

“Life here may likely be a modern version of what it was like for the folks who first settled here. Families are still working the earth, the neighborhood kids are still getting together to play out-of-doors in the fields and woods, and the old houses are still providing shelter from Mother Nature.”


That line alone makes my heart squeal. That is exactly the kind of place where I want to raise my boys.

I’m so excited to get started on this new journey and equally thrilled to share it with all of you!

Stay tuned!