A perfect recipe for all that delicious Vermont syrup!


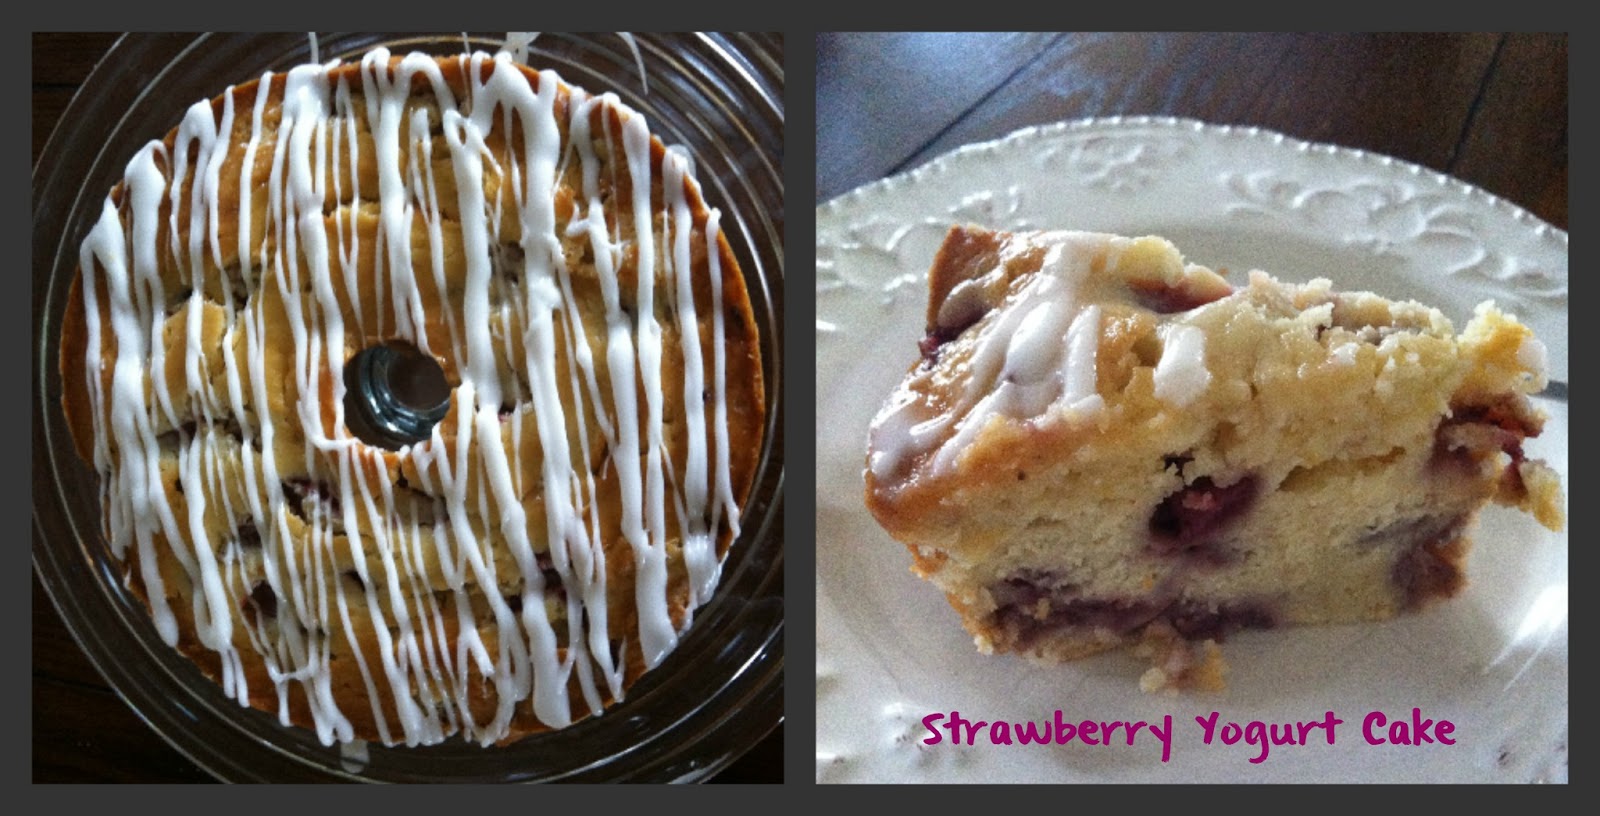
Today’s post on Burlington Vermont Moms Blog is a recipe for a wonderful Strawberry Yogurt Cake. Perfect for a summer brunch!
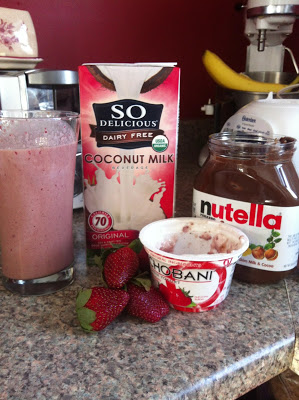
I know I haven’t posted many recipes here lately. My blog is mostly a place where I’m sharing links to all the other places where I write. That’s ok for now. It’s temporary. I hope you don’t mind. In the mean time, here are a few recipes and food ideas that I have been trying. Inspired from Pinterest and from my brain. (Oh, and here are a couple more that I shared on BVT Moms Blog.)
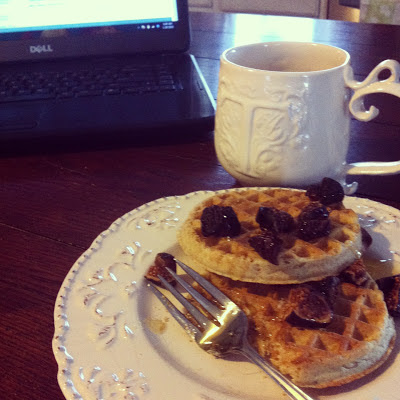
One of my favorite breakfasts, whole grain waffle with dates and honey. It’s also delicious with figs and/or ricotta cheese with a side of the internet via my laptop.
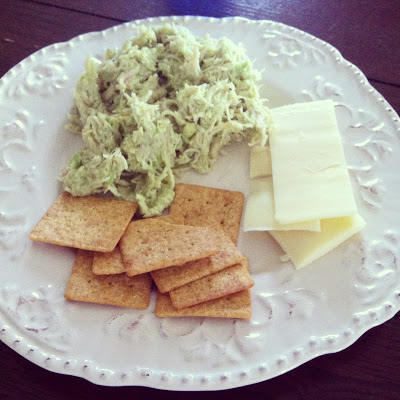
Avocado Chicken Salad: Avocados mixed with chicken salad alongside some cheese and crackers. Delish!
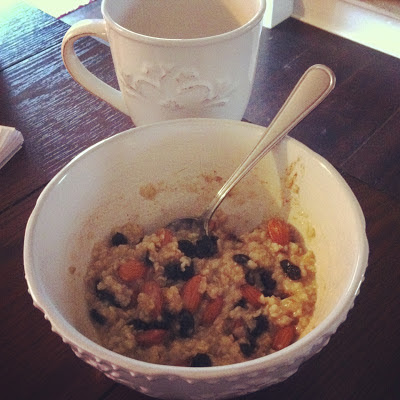
Oatmeal with honey, almonds, cranberries and cinnamon. Tasty and healthy!

So there you have it! What have you been eating lately?
We had a fun little challenge over at Burlington Vermont Moms Blog to do a week without makeup. I thought it would be uneventful and no big deal. I learned a thing or two about myself.

I posted about the kids today. How are they doing during this deployment?
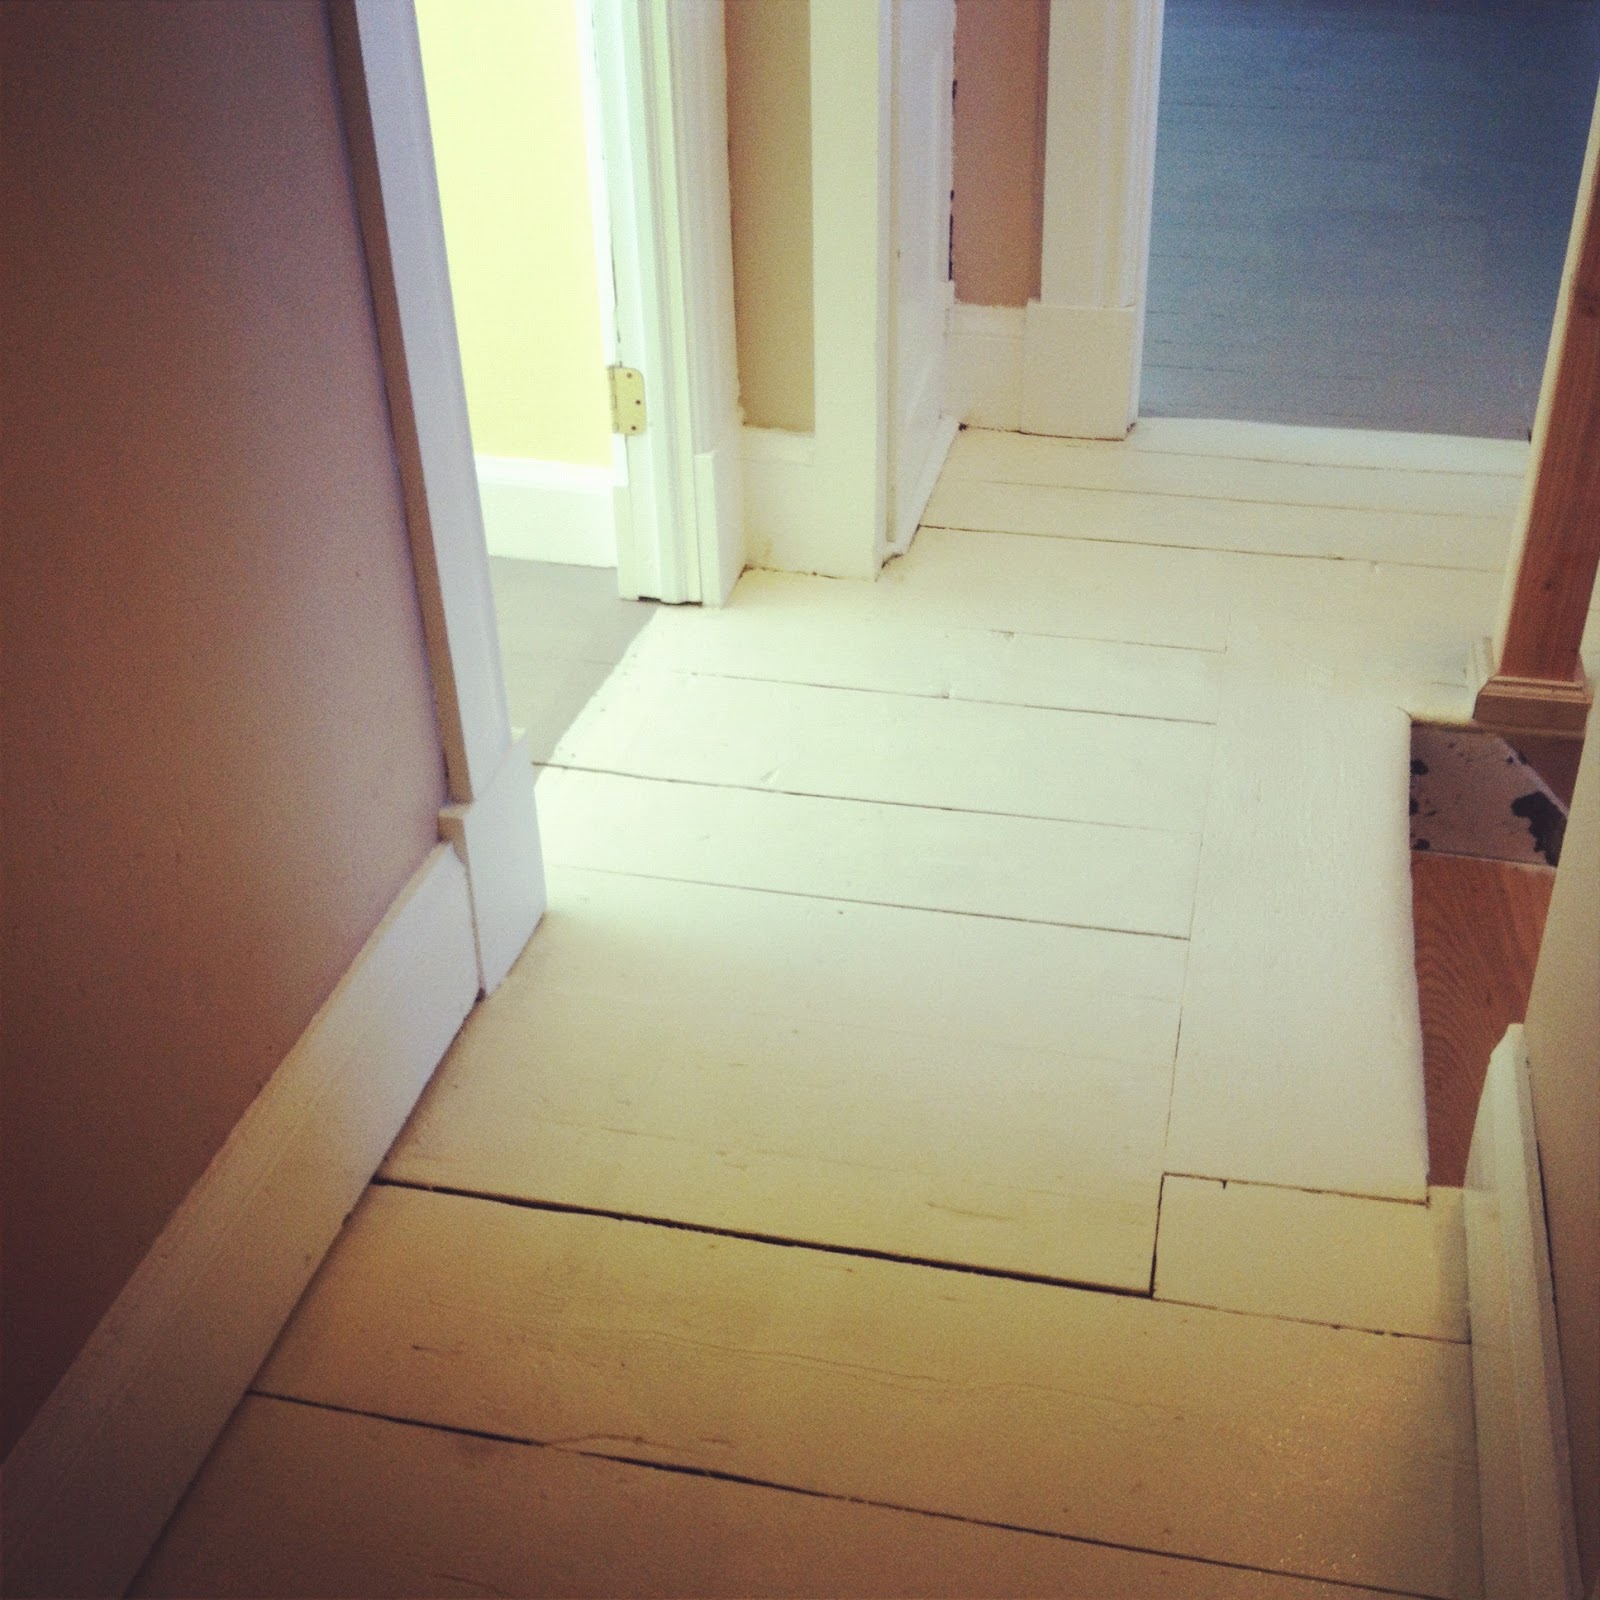
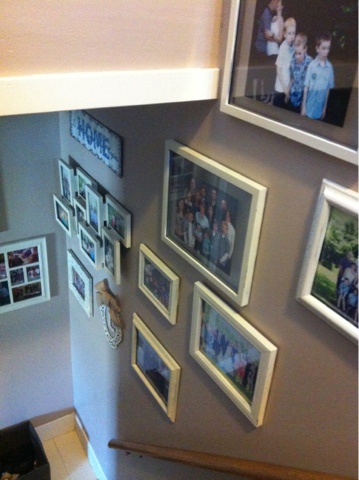
I know, a hallway renovation doesn’t really sound that exciting, does it?! But this hallway was a lot of work, so I’m going to show it to you! Also, I just don’t have to oomph to tackle the kitchen before and after post and it’s many details, the kids rooms are a disaster, and I don’t wanna make my bed. So. Hallway!
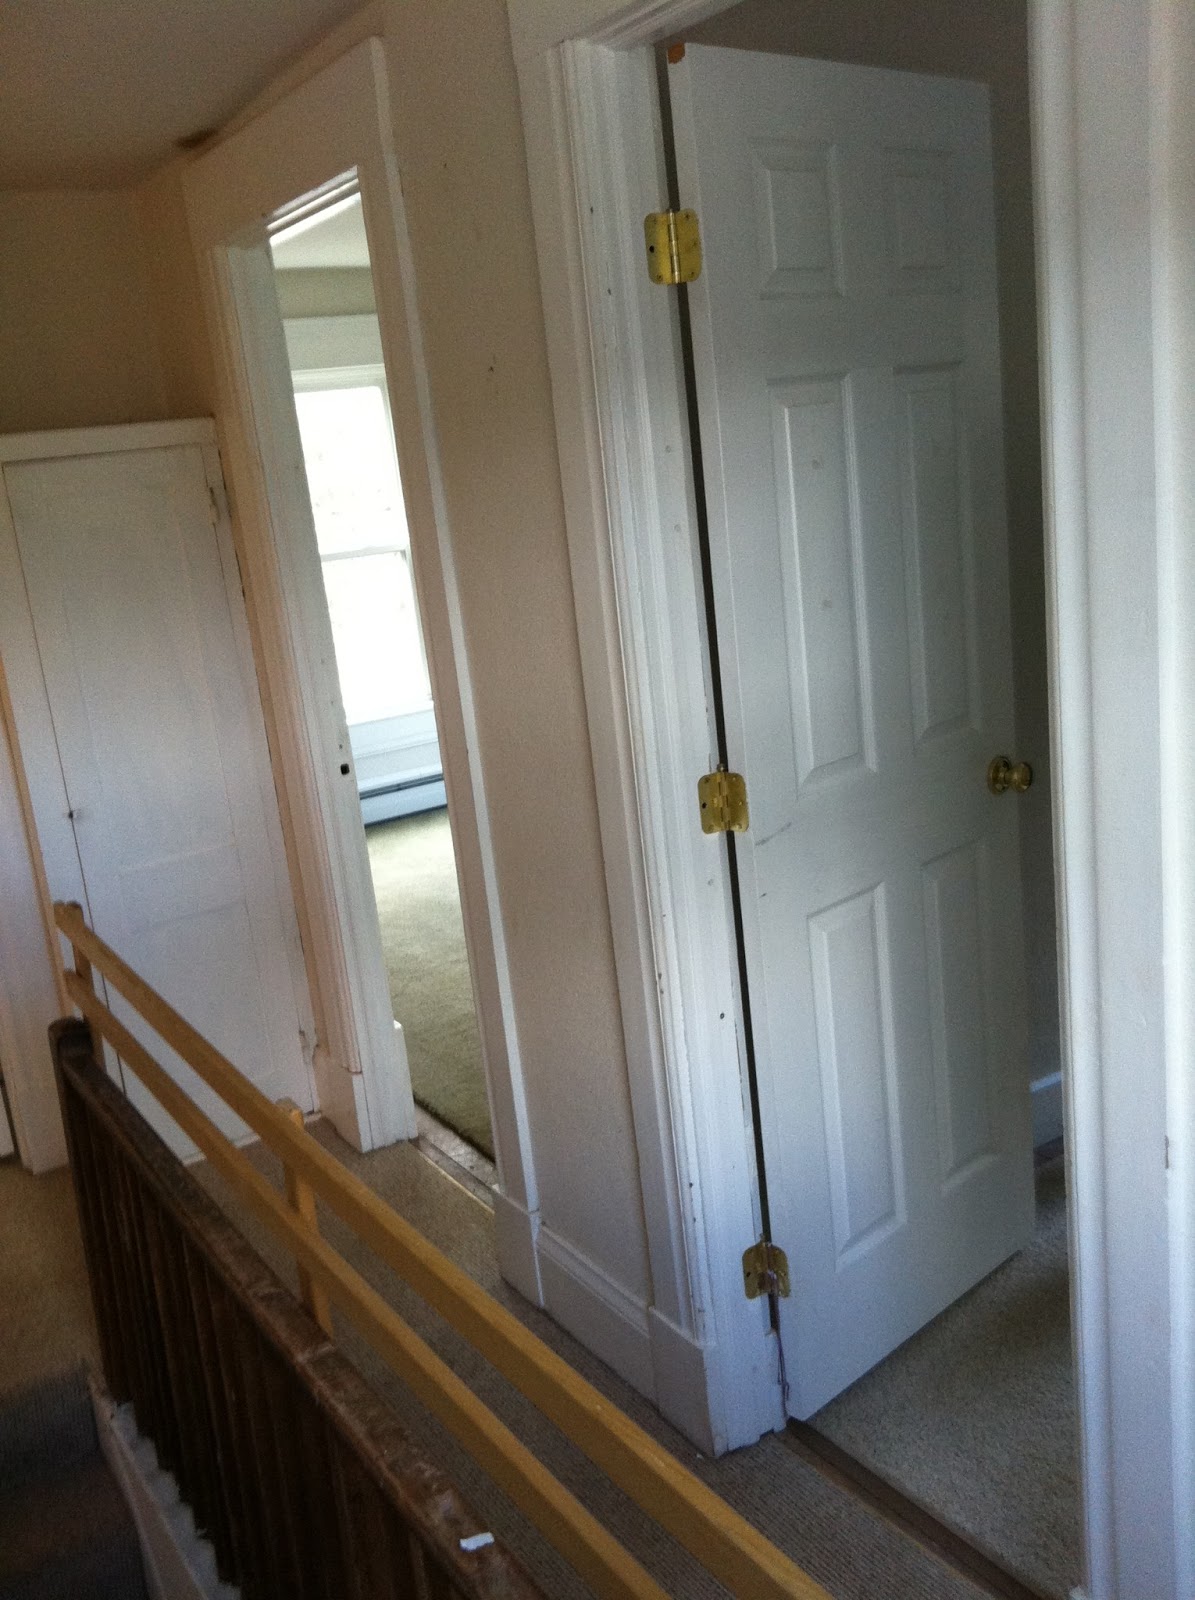
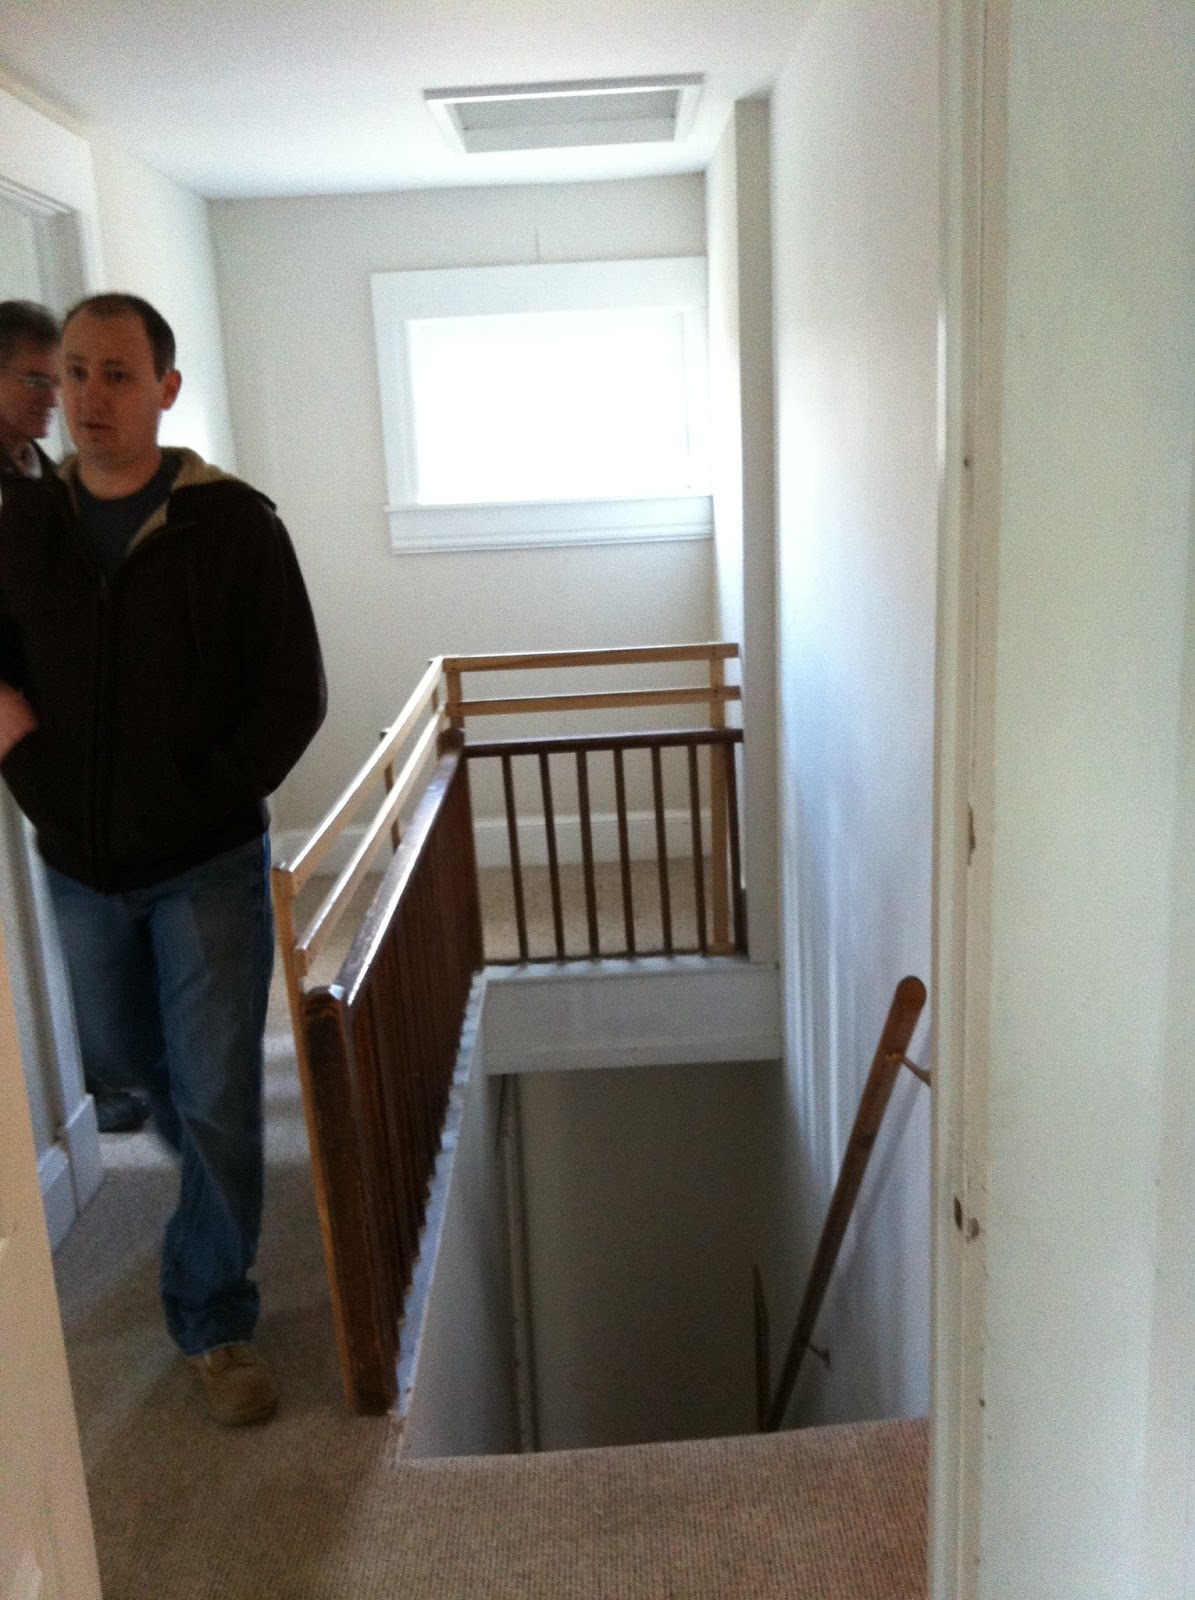
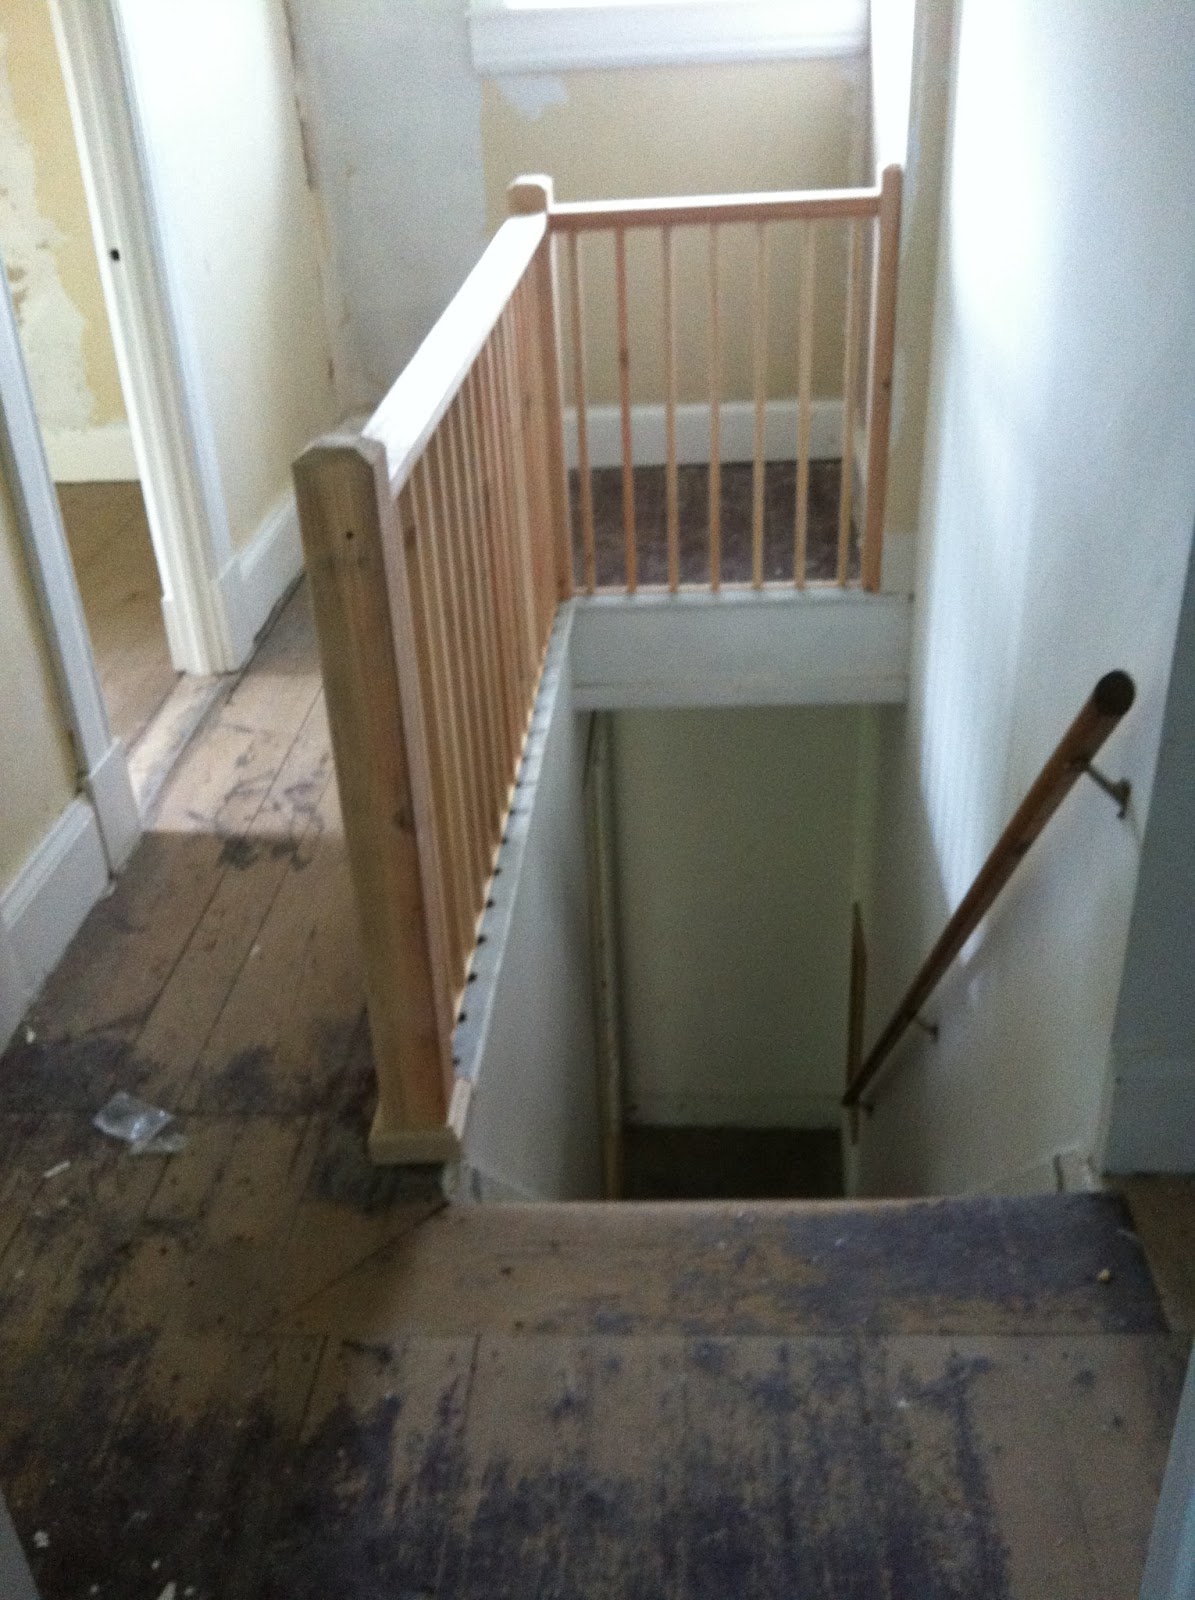
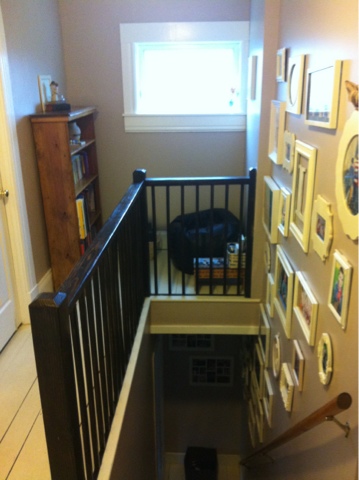
This is leaving the living room, headed up the stairs to the side of the house with the boys’ bedrooms. (There is another set of stairs on the other side of the house that lead to our room.) I showed you the photo gallery last week, this is what it looked like before.
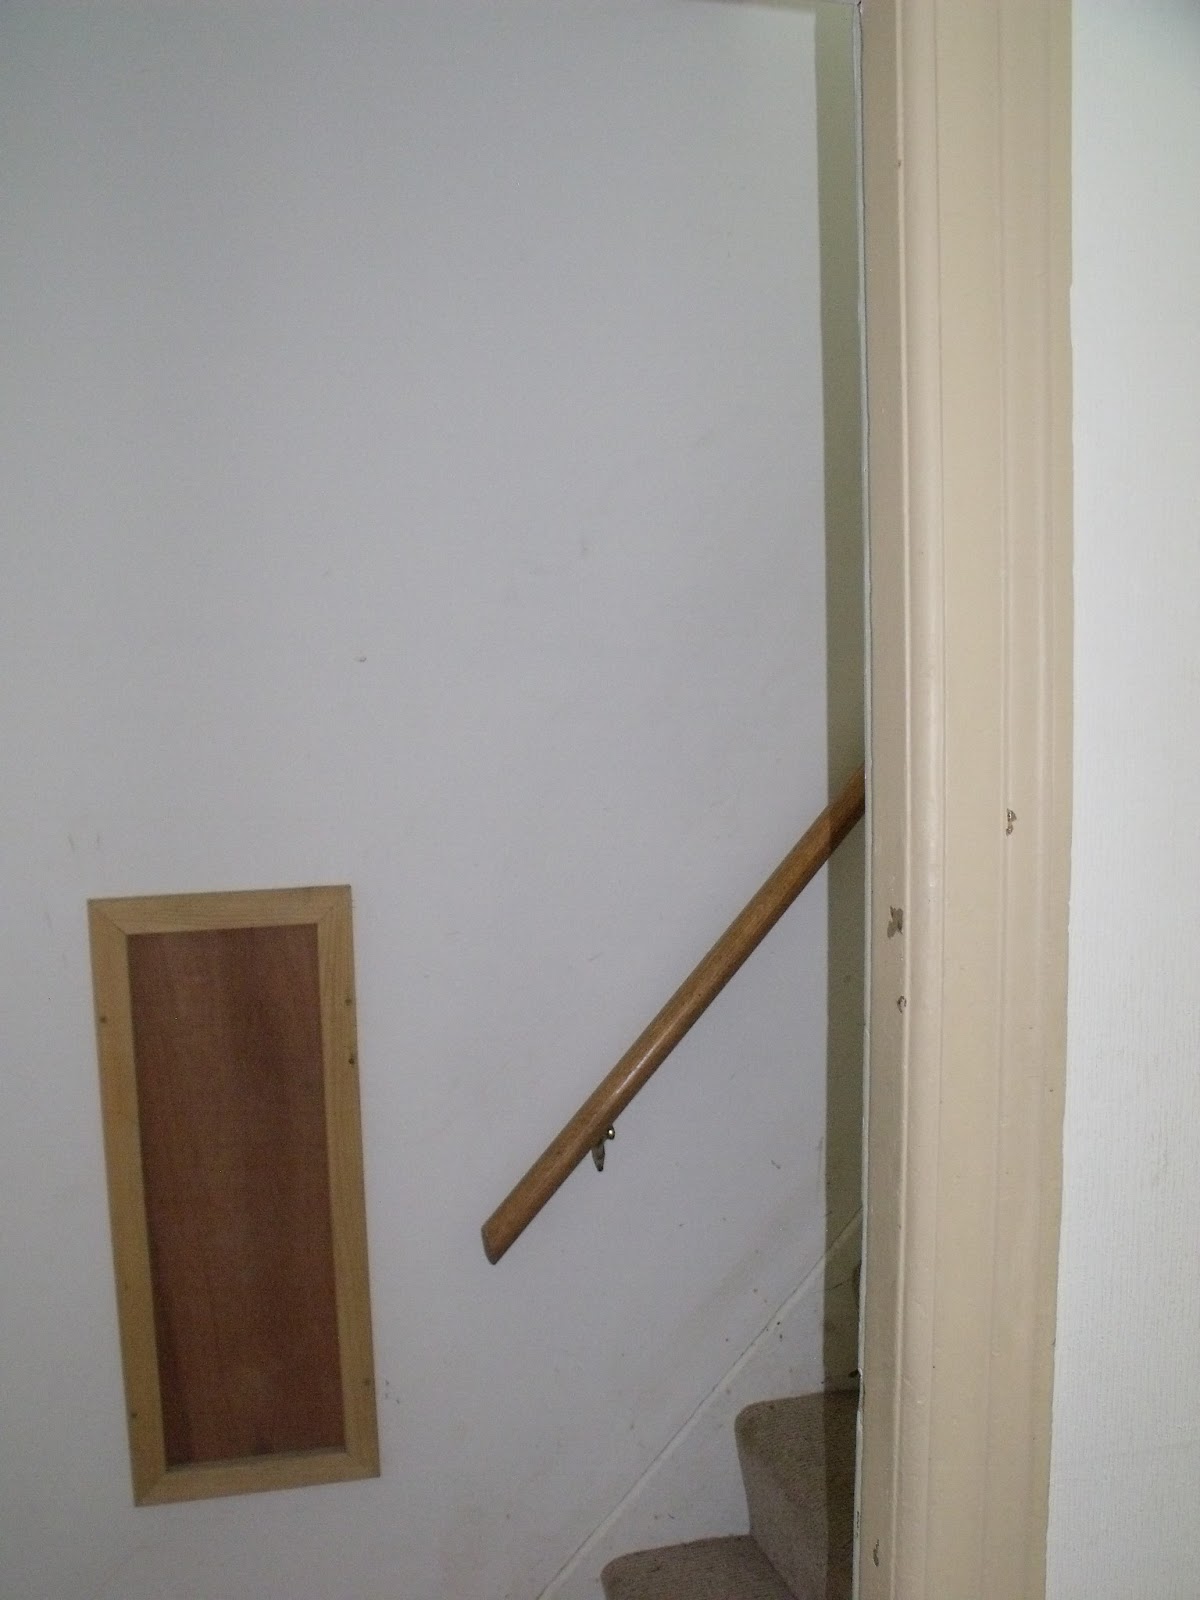
 |
| Gross carpets. Thank goodness smell doesn’t come through pictures. |


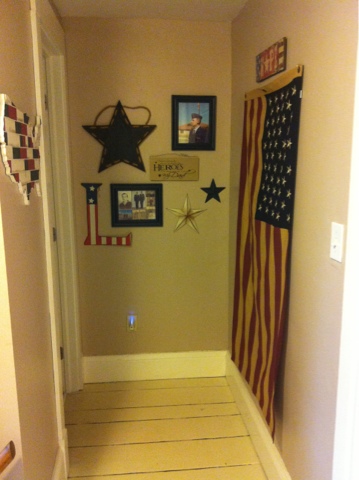


So there it is! The longest ever post about a hallway renovation.
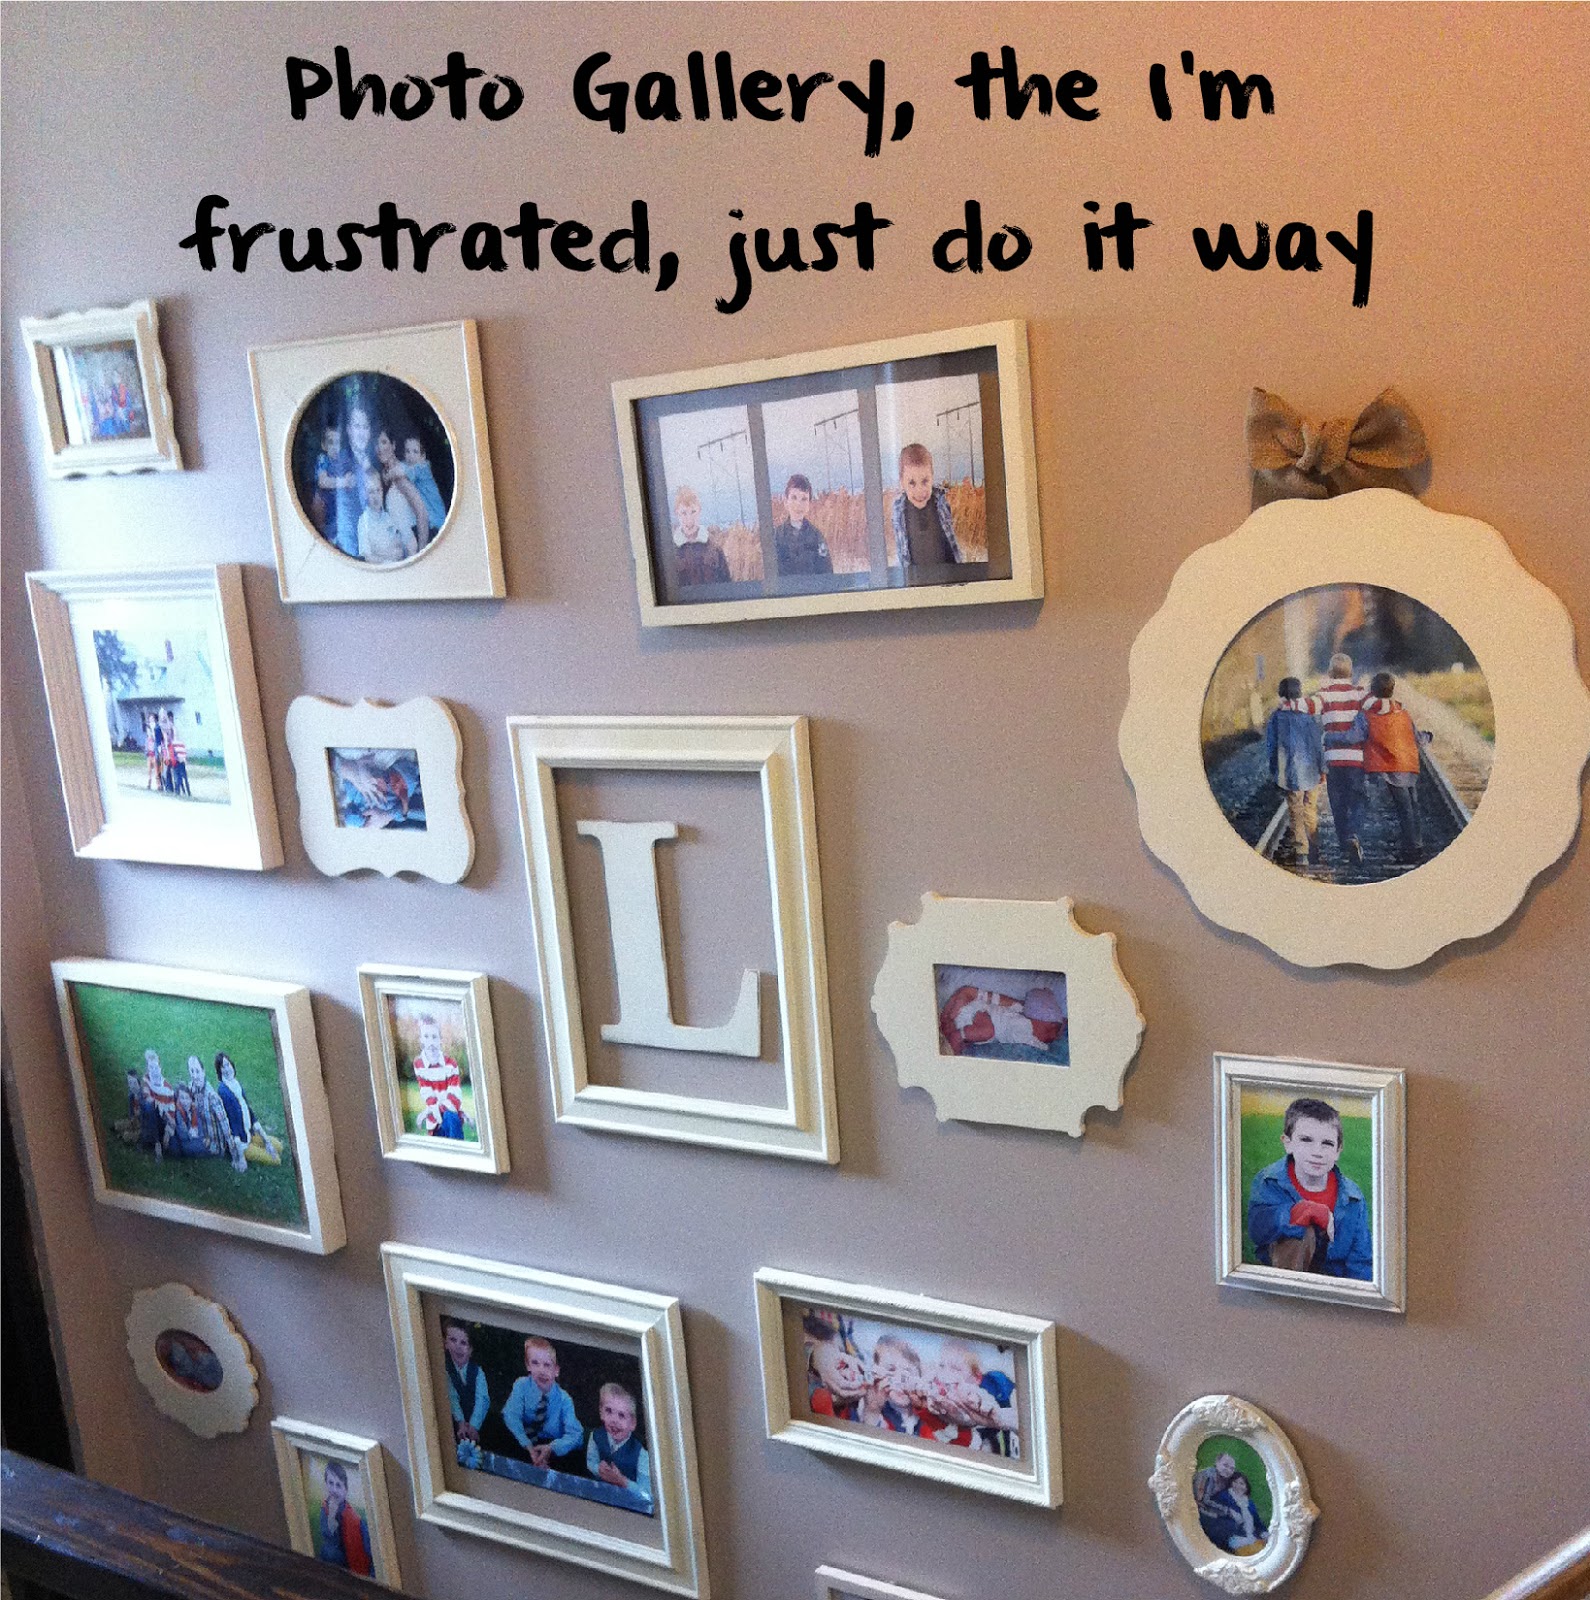
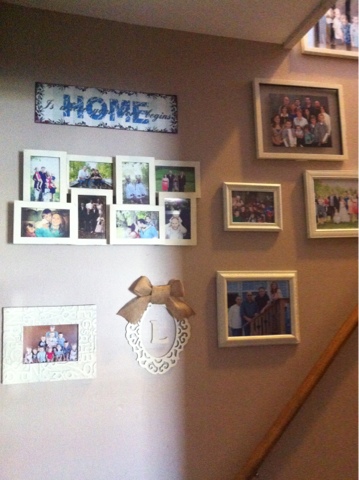
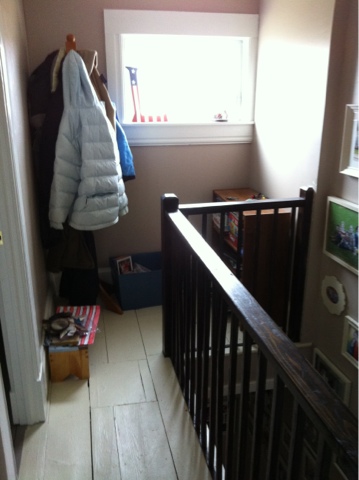
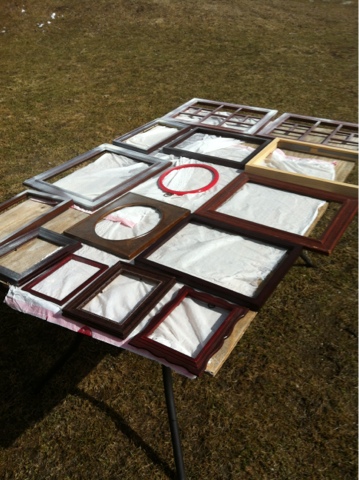
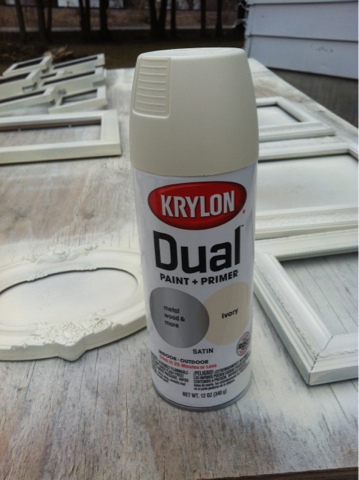
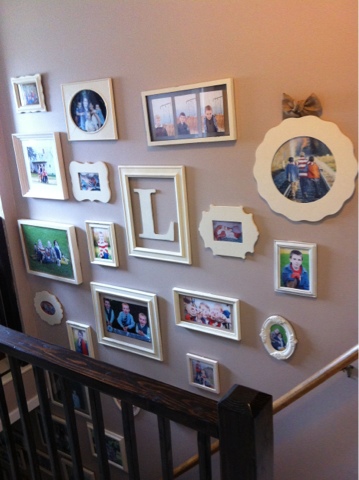
I have been wanting to do a fun photo gallery wall for some time. I had the perfect spot for it going up the stairs to the boys’ bedrooms. Pinterest gave me some really cute ideas. I imagined this cute little collection of photos. And then I started laying out the frames that I had that I wanted to use. They were not the cute eclectic look. They were the ugly eclectic look. So I spray painted all of them cream to match. I had quite a few frames already, but I have been keeping an eye out for cute ones at Goodwill as well. I watched for fun shapes and sizes knowing I could paint them if the color was wrong.
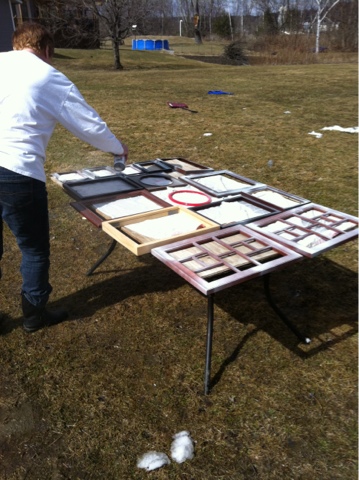 |
| My Mom was in town to help me. THANK GOD because the project got out of control! |
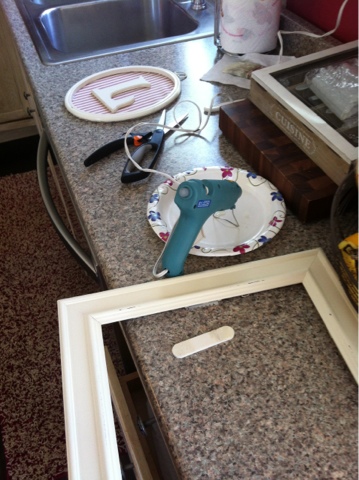
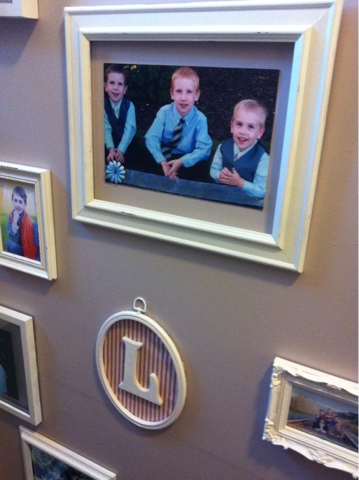
Then I got a little creative. I didn’t want just frames with pictures in them. Here, I used a frame without glass that I got at Goodwill, hot glued some fabric to it, then glued a wooden letter (from the craft store) to the middle. I also used a finger nail file to rough up the edges of all the frames for a distressed look.
The biggest problem I had was that after hours of searching through pictures, I couldn’t narrow it down. And so the project grew. I needed more frames. And more spray paint. Goodwill and the craft store came through with more cheap, cute choices.
 |
| Back to the spray painting. My poor mom’s fingers. And mine which apparently wanted to be in the picture too. |
Once the frames were dry and the pictures were printed and put in frames, I measured the walls I would be using. The first space was just about the size of my rug so layed the frames out and just started moving them around. I started by laying my focal piece in the middle and working from there. THIS WAS STRESSFUL.
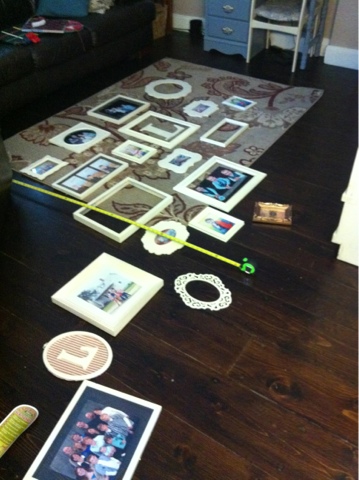
I read lots of different ideas on how to hang pictures. Use wax paper, cut out the size of your frames and tape them to the wall. Pencil it all out on the walls first. On and on. But that just felt like double the work to me! Especially after two days of planning and thinking. My mom and I are the kind of people that just do it. So we did. Once the layout was figured out and measured so I knew it would fit, we just started hanging stuff. Again, working from the middle first, then the edges, then back in towards the middle. I used lots of command strips. I’m telling you, that made the job a billion times easier.

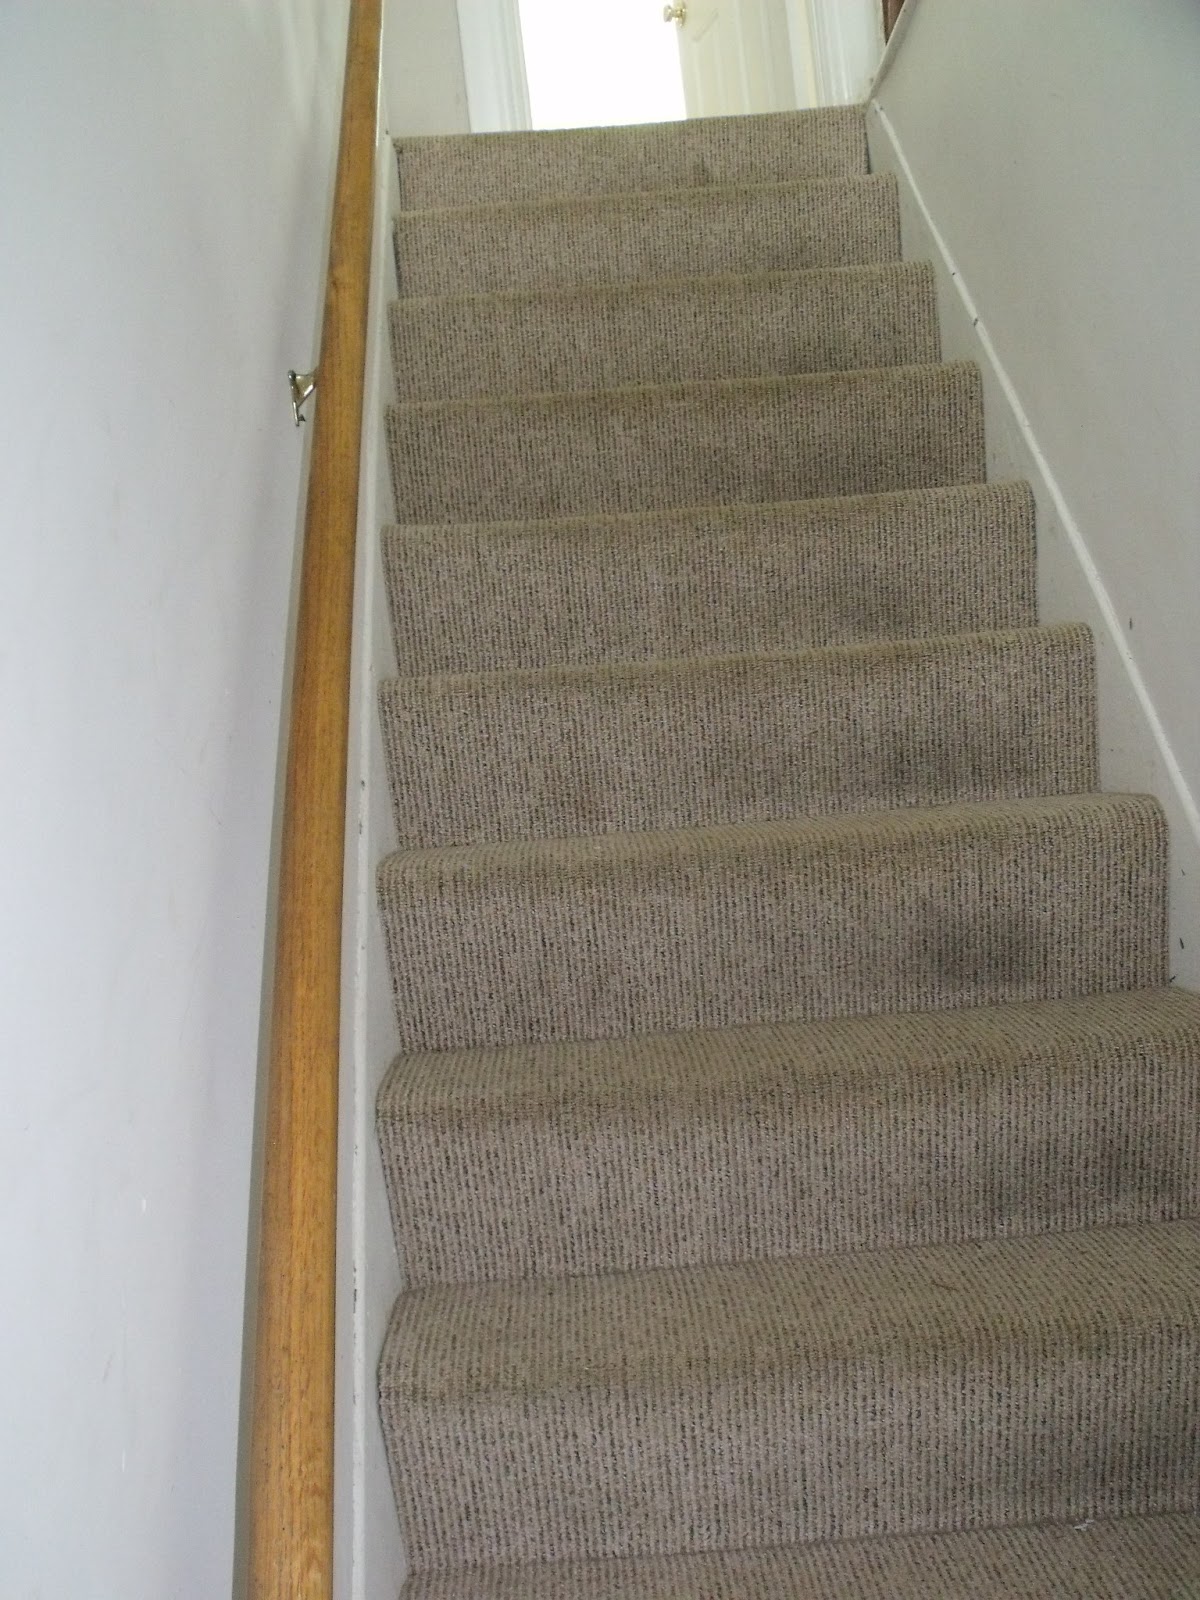
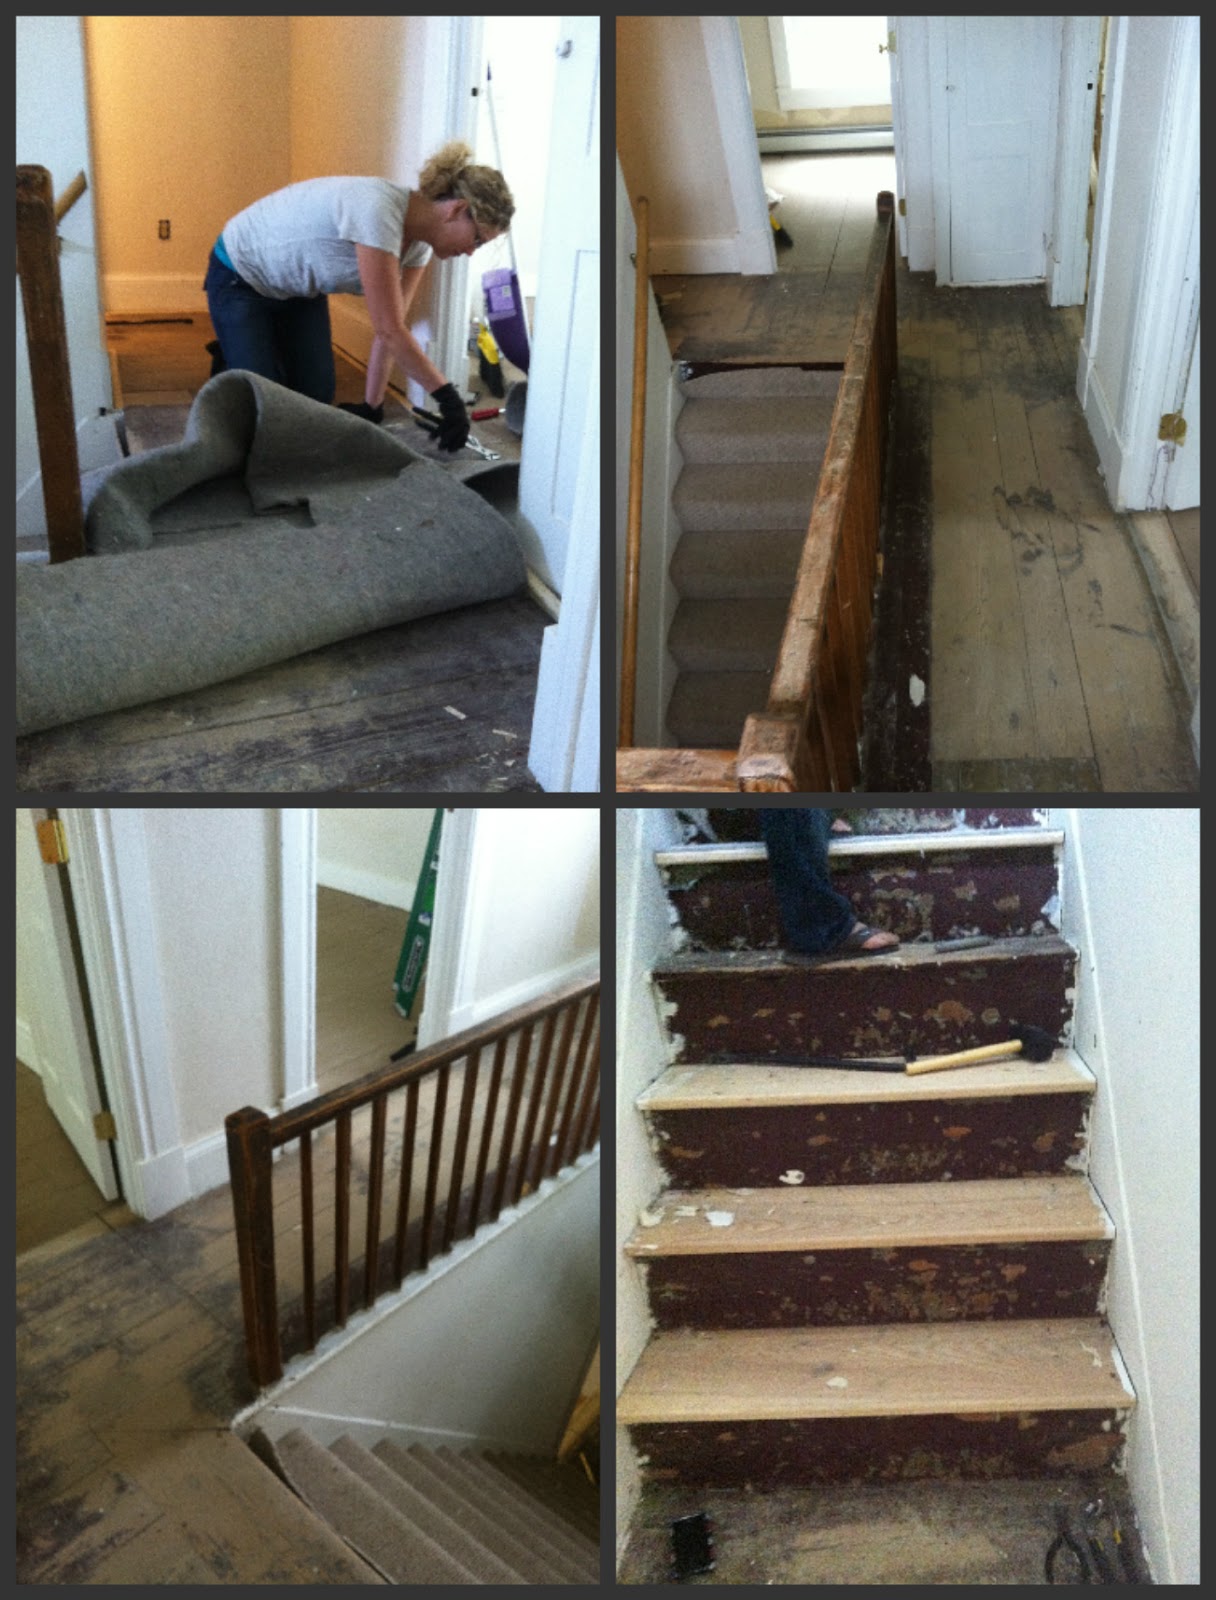
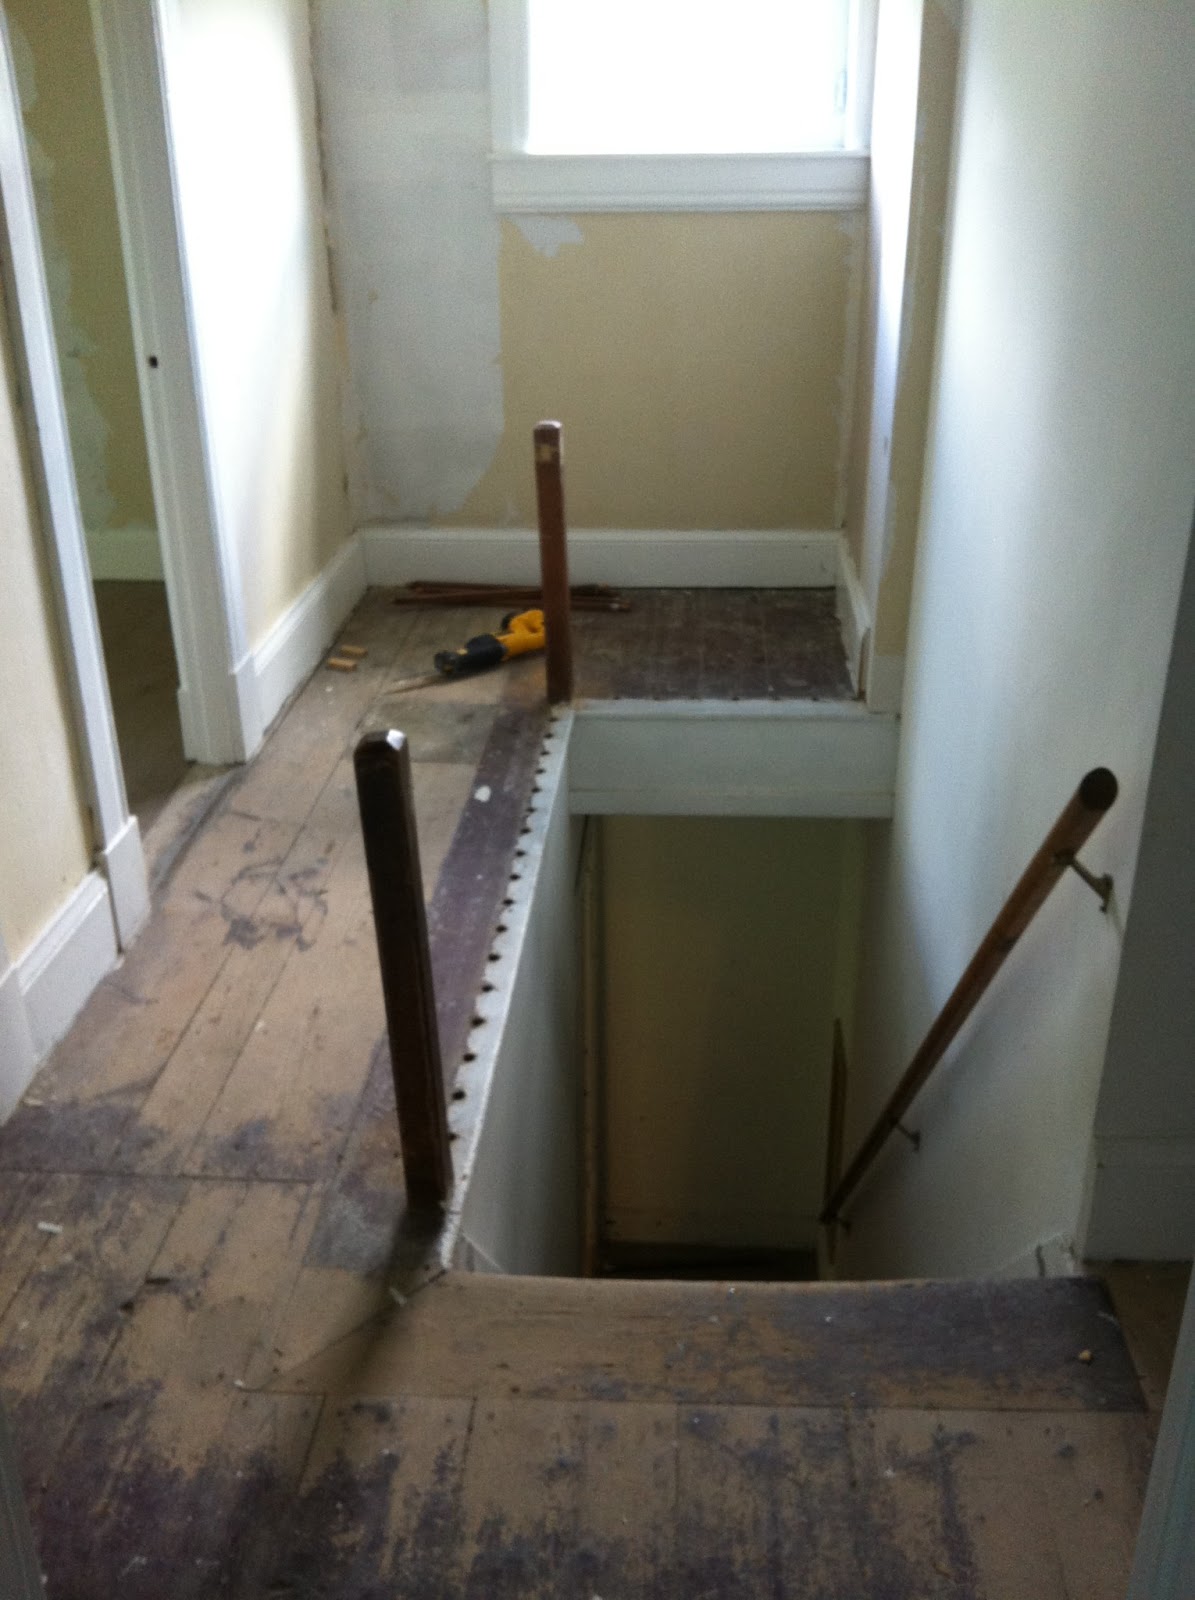
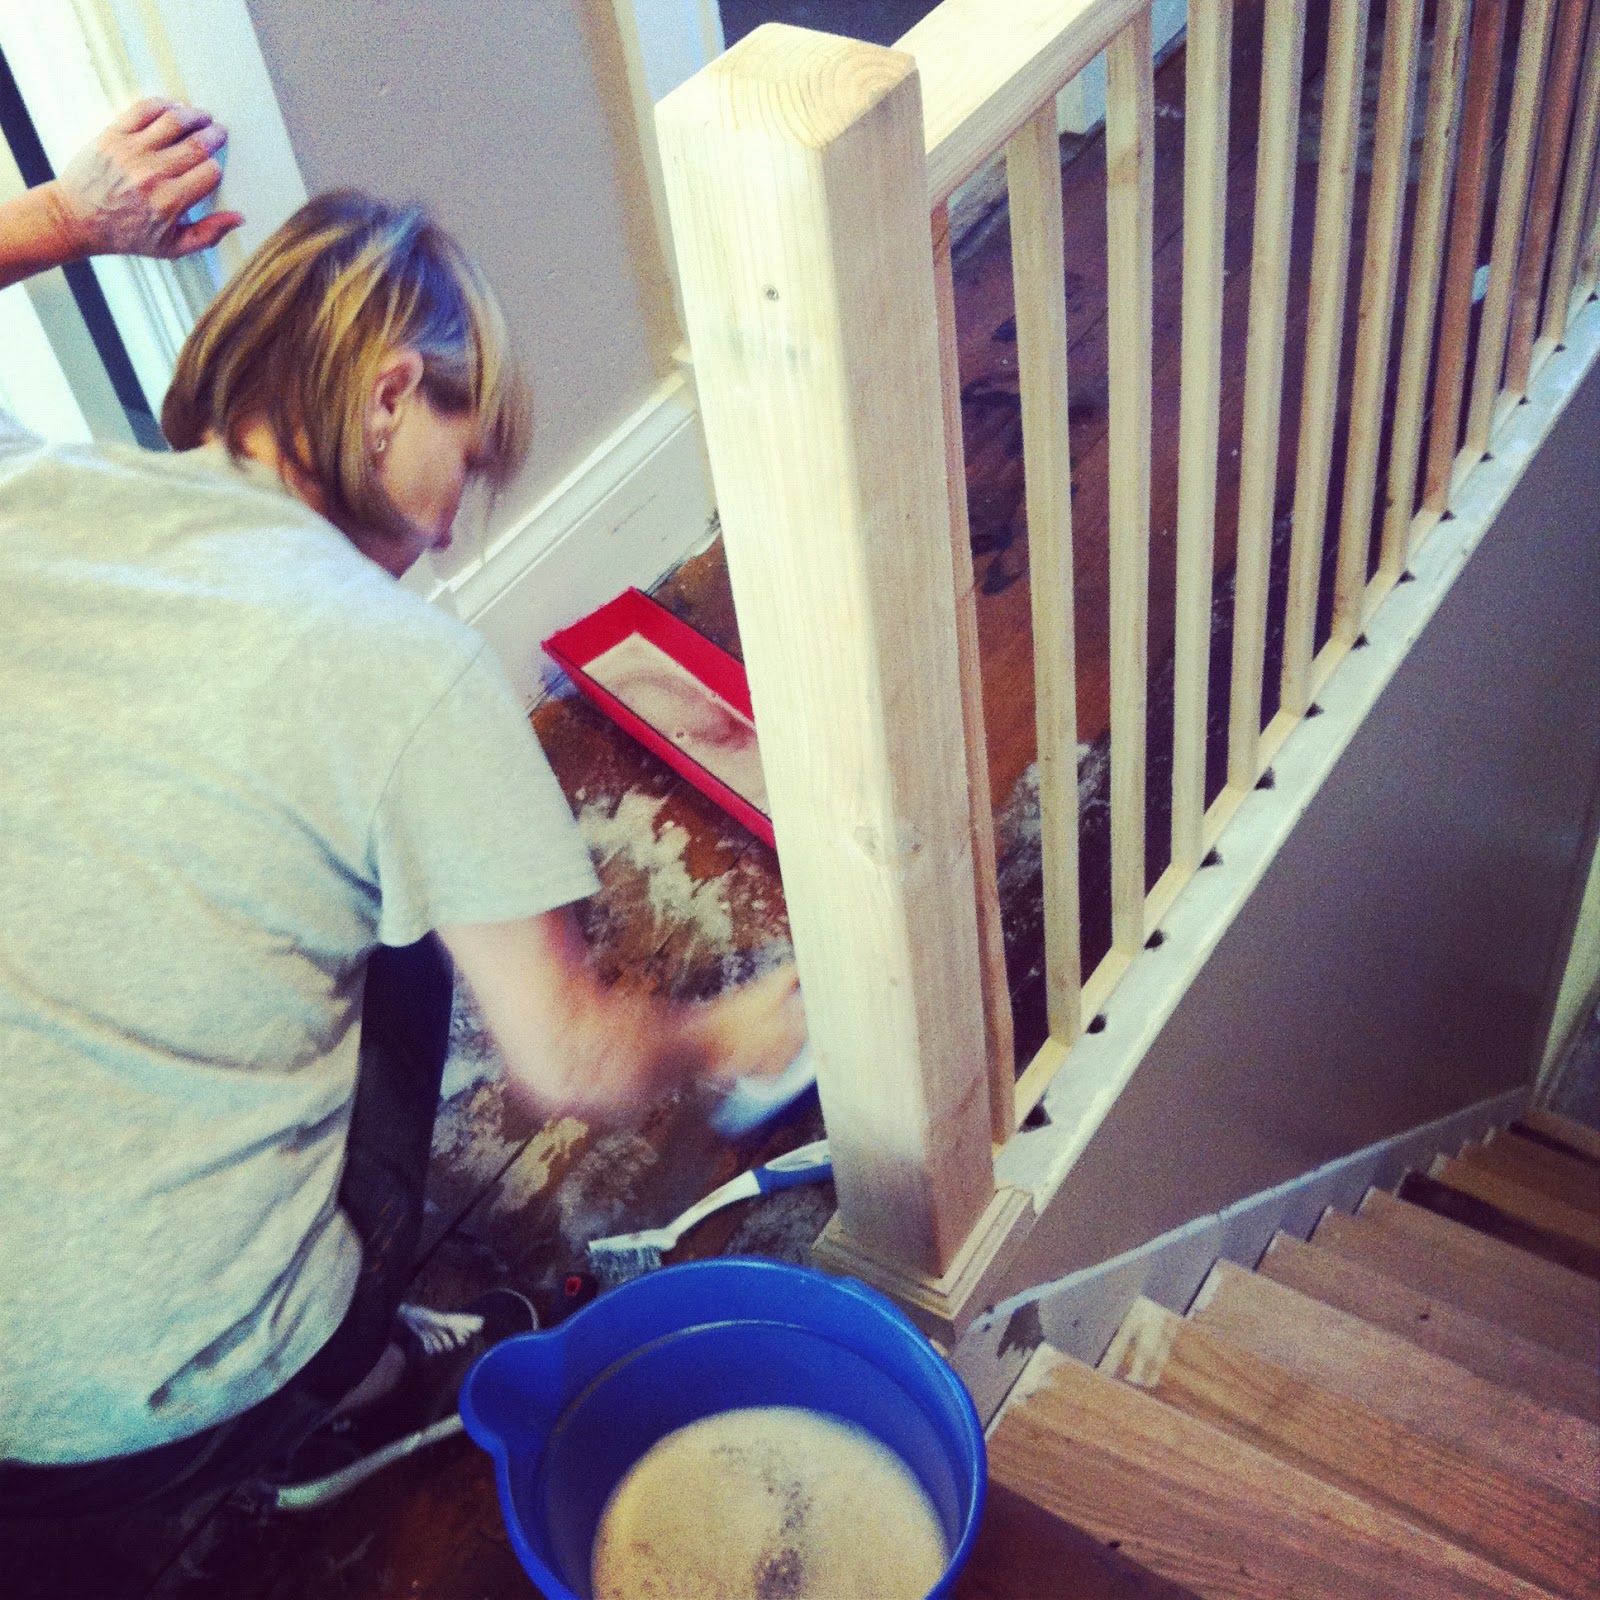
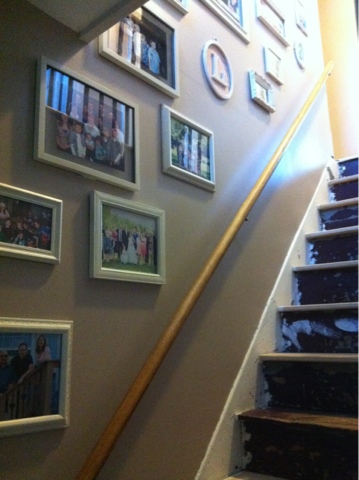 |
| Anyone want to come refinish those stairs for me? Anyone? |
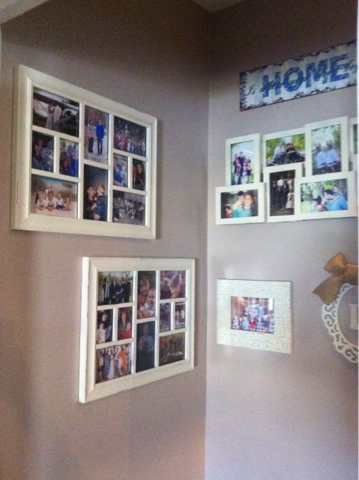
Some of my favorite pieces:
 |
| I did multiple pieces where there is a picture inside a frame with no glass. I love how unique it looks! |
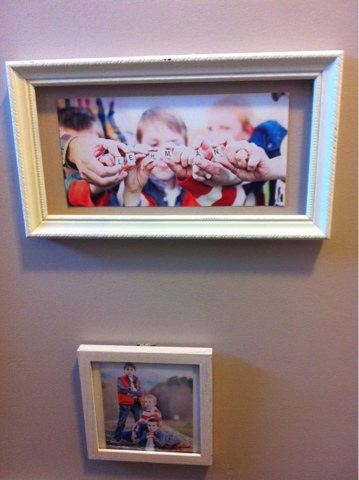 |
| Most of these family photos on the main wall are by Luann Bailey Photography. I love this one of us holding scrabble tiles to spell out our last name. |
My other favorite is the big letter L in the frame. It’s just a wooden letter from the craft store spray painted and stuck inside an empty frame. So fun and cute!
I managed to find some positives to deployment!
The distance between my husband and I is more than just physical. It’s the hardest part of deployment for me.
