
Ever feel like you need a parenting do-over? I talk about what you can do to step forward into being the kind of parent you can be proud of over at Burlington Vermont Moms Blog today.
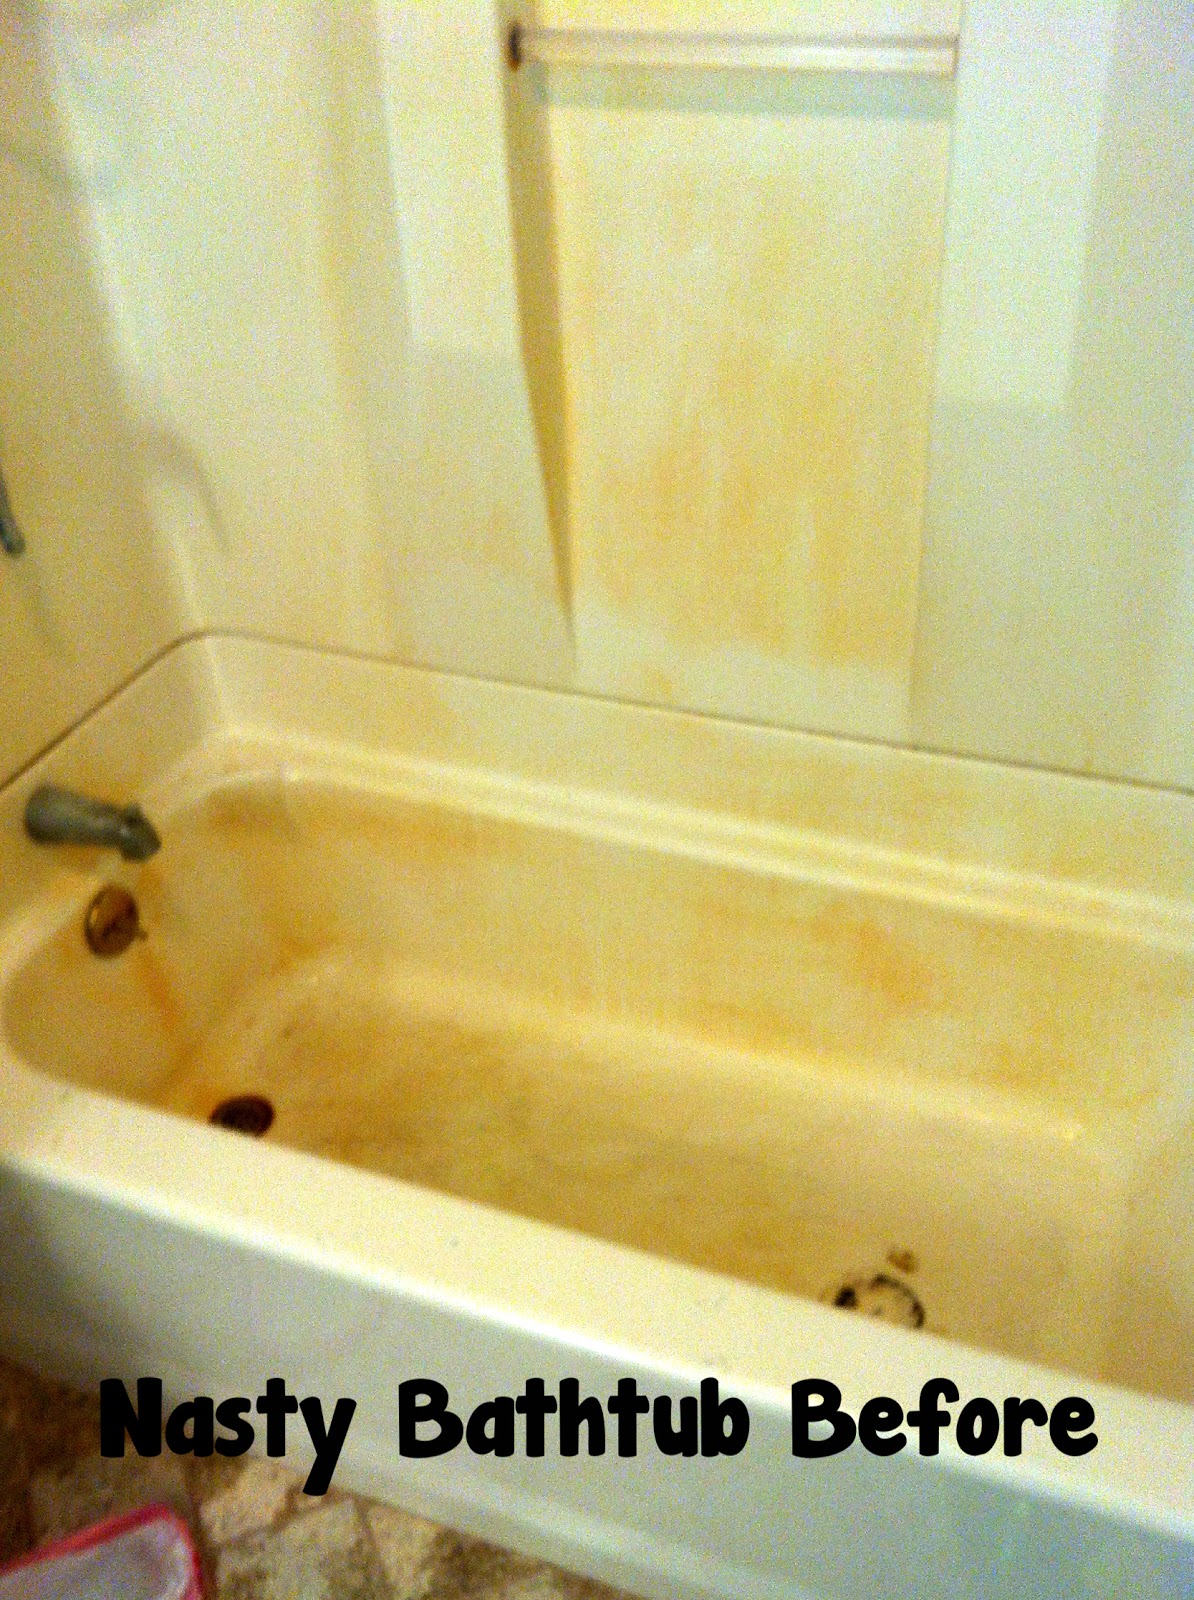
Nasty Rusted Bathtub Before & After
When we first toured this house my biggest concern were the bathtubs. They were in such horrid shape! I wasn’t sure if they could be saved and I knew there was no money in our budget to replace them. New bathtubs are expensive, you guys! I had to decide if I was going to be ok with stained bathtubs for years to come. I decided the rest of the house was worth it. I would scrub until my hands fell off if I had to!
The upstairs bathroom was by far the worse. (Click here to see the downstairs bathroom!) The rust stains were so bad! It had sat like this for years so I really expected it to still be very stained when I was done. Here is what it looked like before:
The first thing I tried was CLR. I figured a rust remover would get off just about as much as was possible. Here is what it looked like after just using CLR:
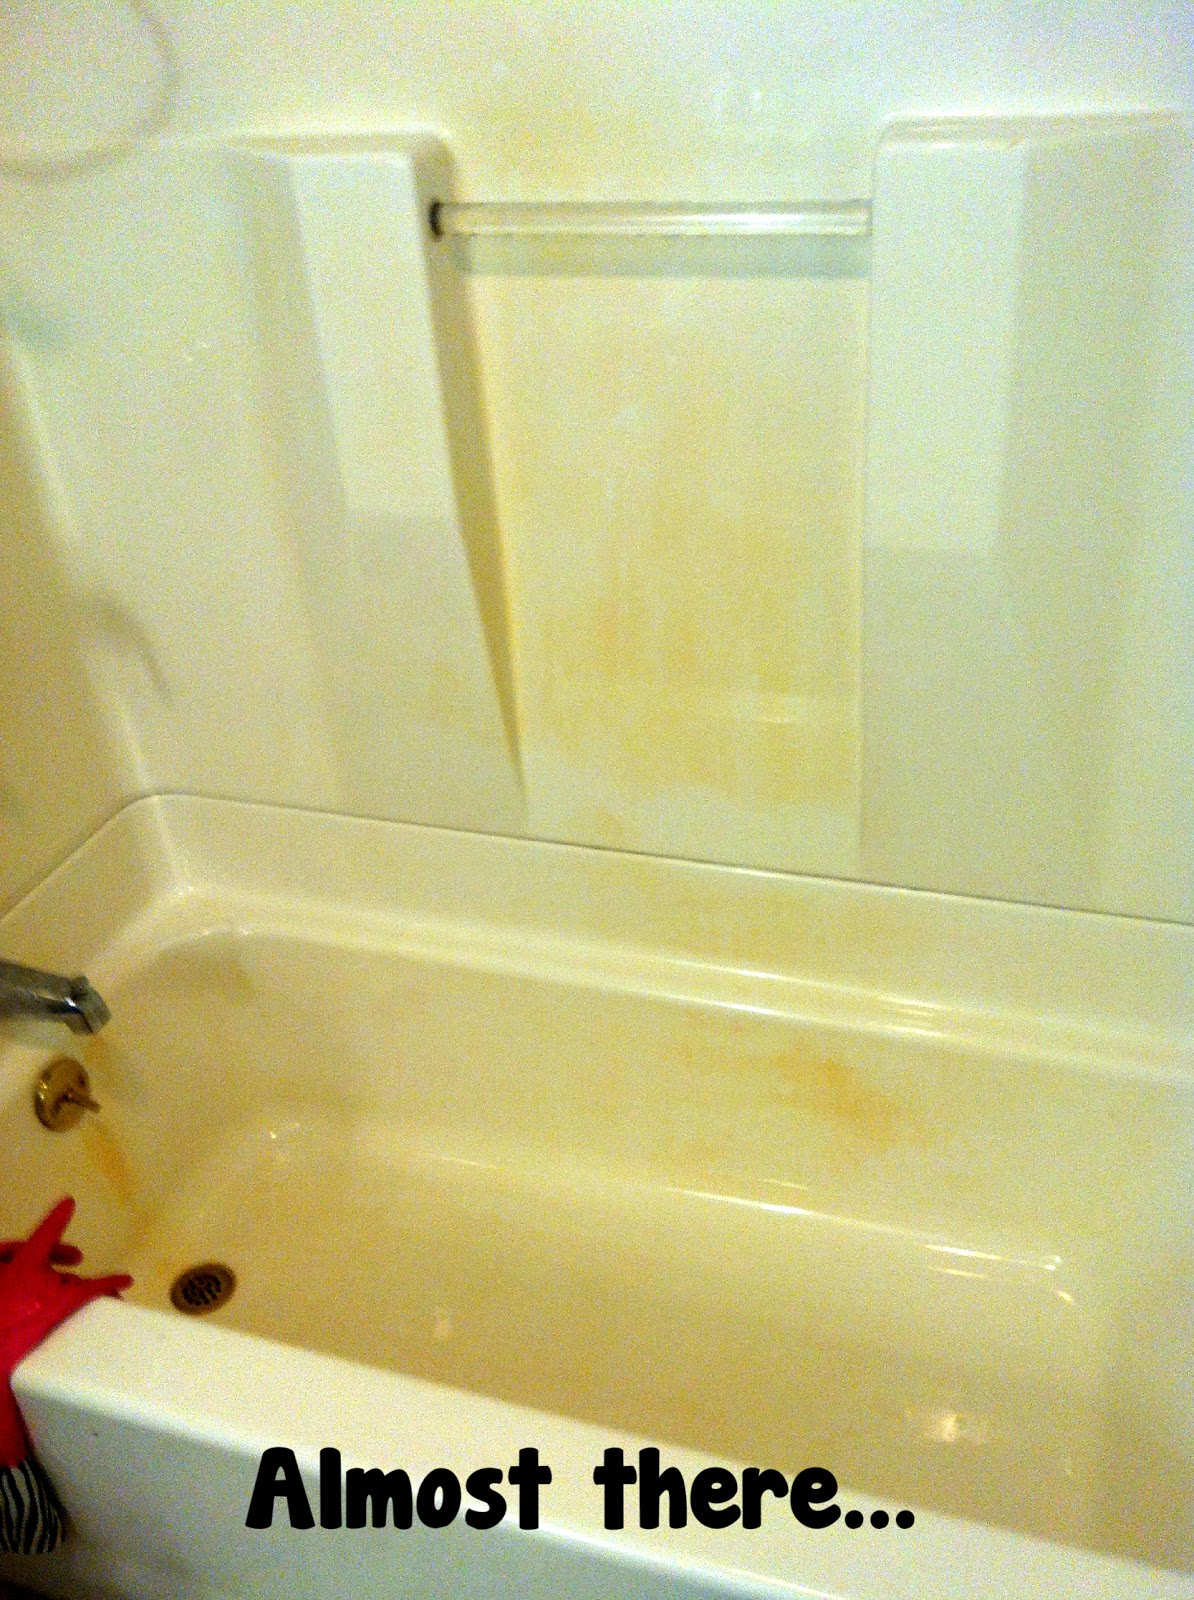
I figured this was as good as it was going to get. I may have cried. But then my step-sister mentioned that she saw on Pinterest that using vinegar and Dawn dish soap worked on rust stains. So I gave it a try! That combination really did the trick. However, there was still a layer of rust that I just couldn’t get off. No matter how I tried! So I gave it one last go with a magic eraser. That was it! The magic rust busting potion! Check out what it looks like now!
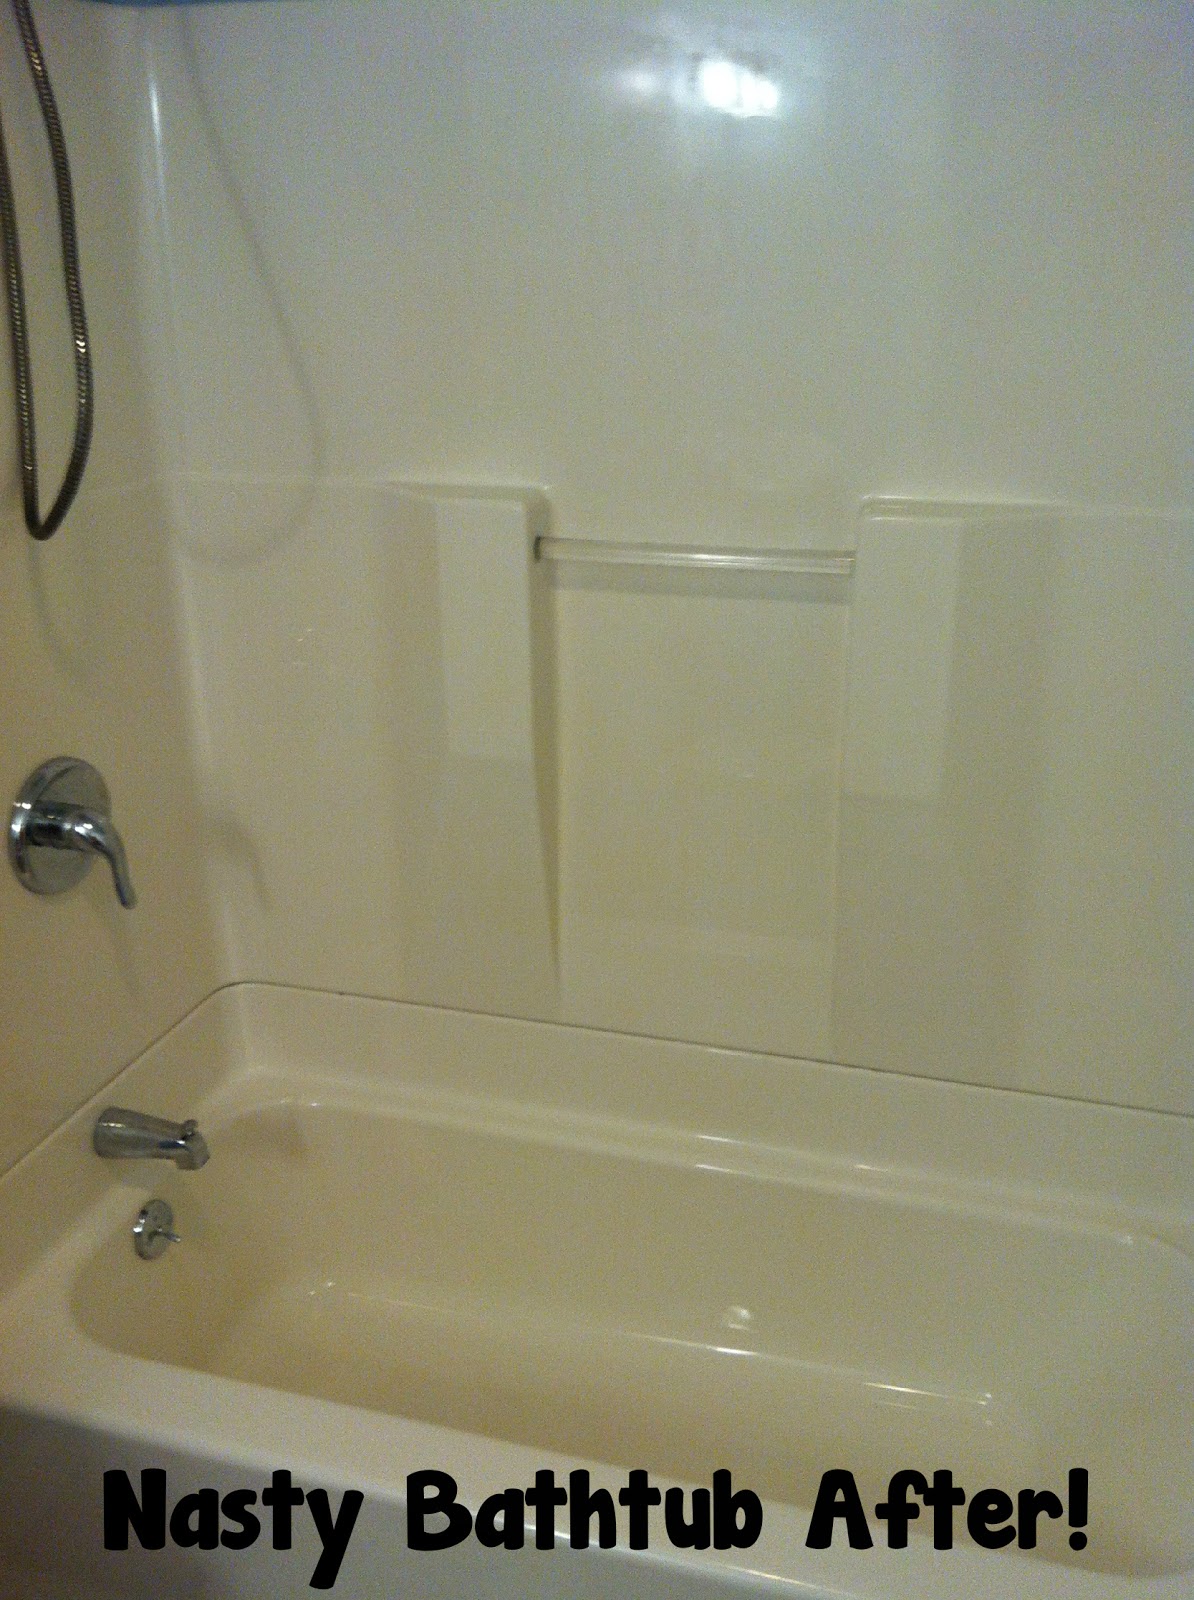
Amazing, right?! I am so pleased that our bathtubs turned out so sparkling clean! So here is my advice for getting rust stains out of nasty bathtubs…
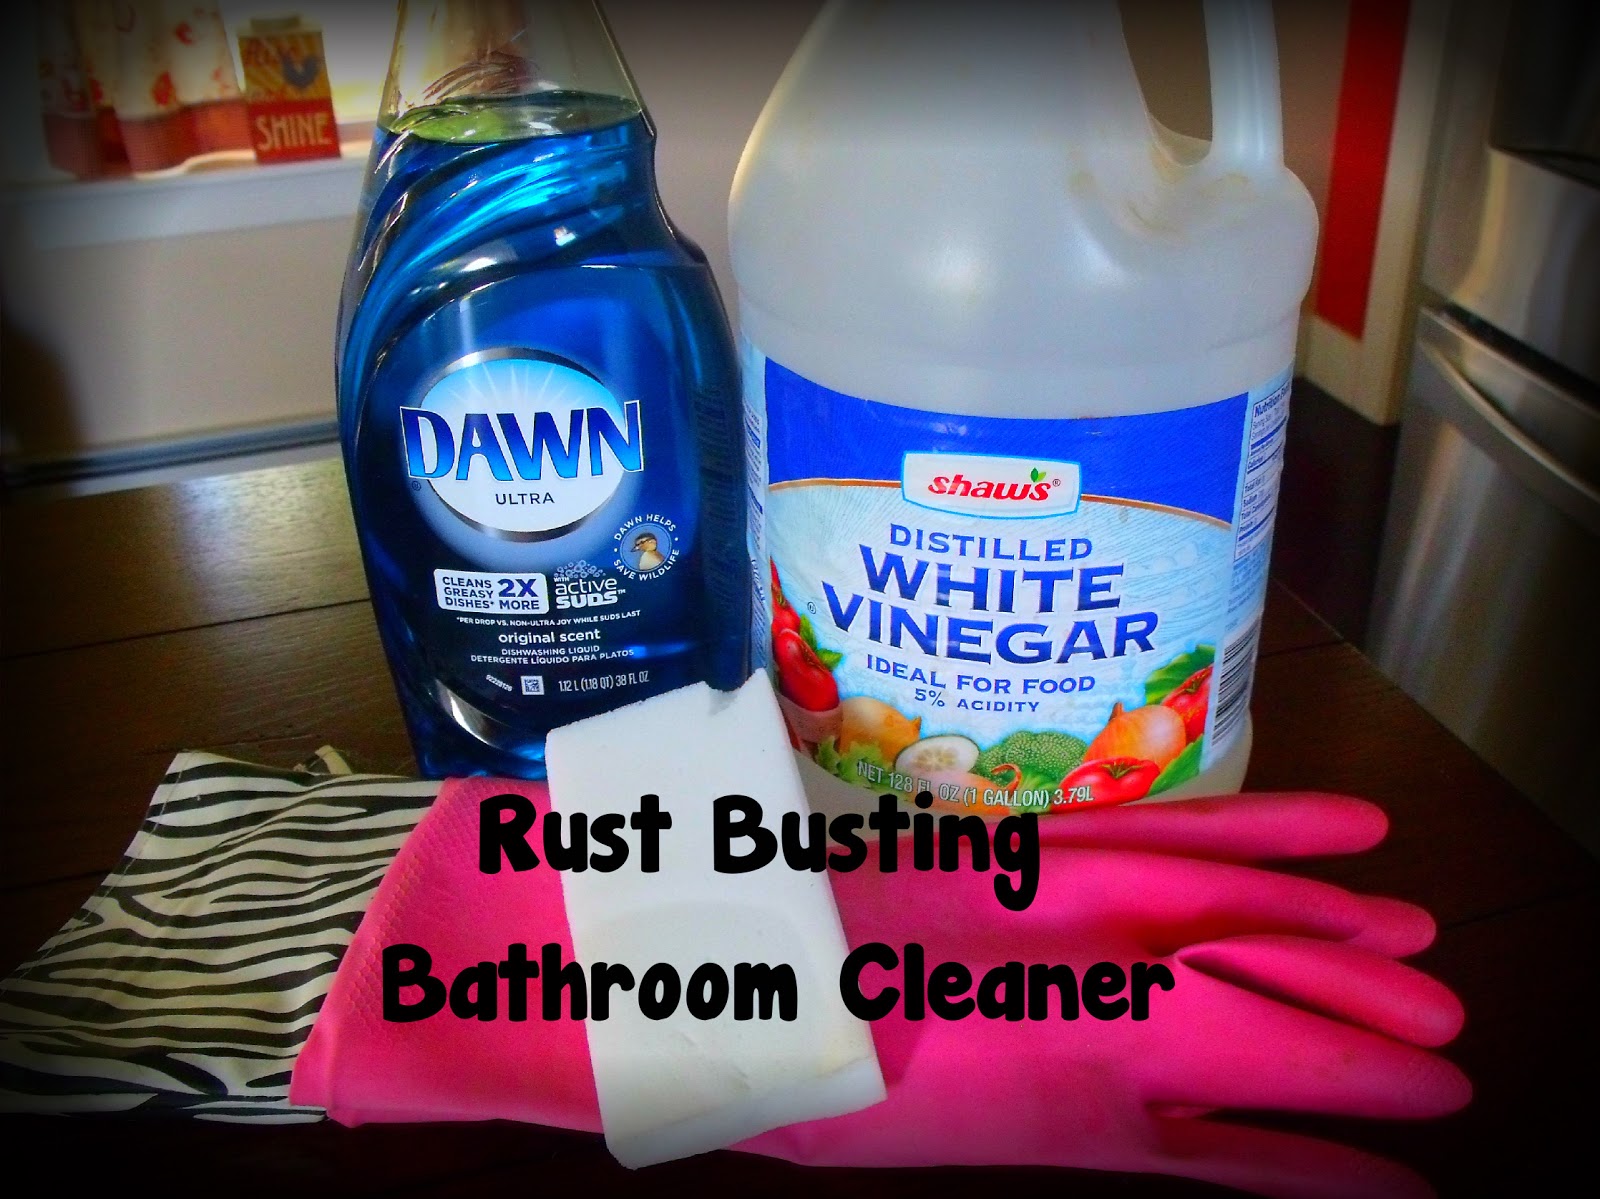
Skip the chemicals. I used almost an entire bottle of CLR. Not worth it! I should have just started with the natural stuff to begin with. Honestly, I thought it would only come out with the chemicals! I was dead wrong!
Wear gloves! Spray, scrub, soak, scrub. Repeat. I squirted the Dawn dish soap all over the tub. From what I’ve heard it HAS to be Dawn. I heard the generic brand didn’t work as well. Just straight from the bottle. Squirt! I then let it sit for a few hours. I came back and doused the tub with vinegar and scrubbed with a sponge. I then sprayed it again with vinegar and let that soak. Lastly, I scrubbed with the magic eraser. Depending on how bad your rust spots are, you may have to repeat a few times! I don’t think the order you do this in matters. Once I used all three items together, the rust just came right off. And this was 4 or 5 year old rust, people!
I’ve also used this beautiful combination to clean the stainless sink in the kitchen which was also terribly rusted. Worked like a charm! We had planned on replacing the sink, but didn’t have to after all! Who knew a $5 combination would save us thousands of dollars?!
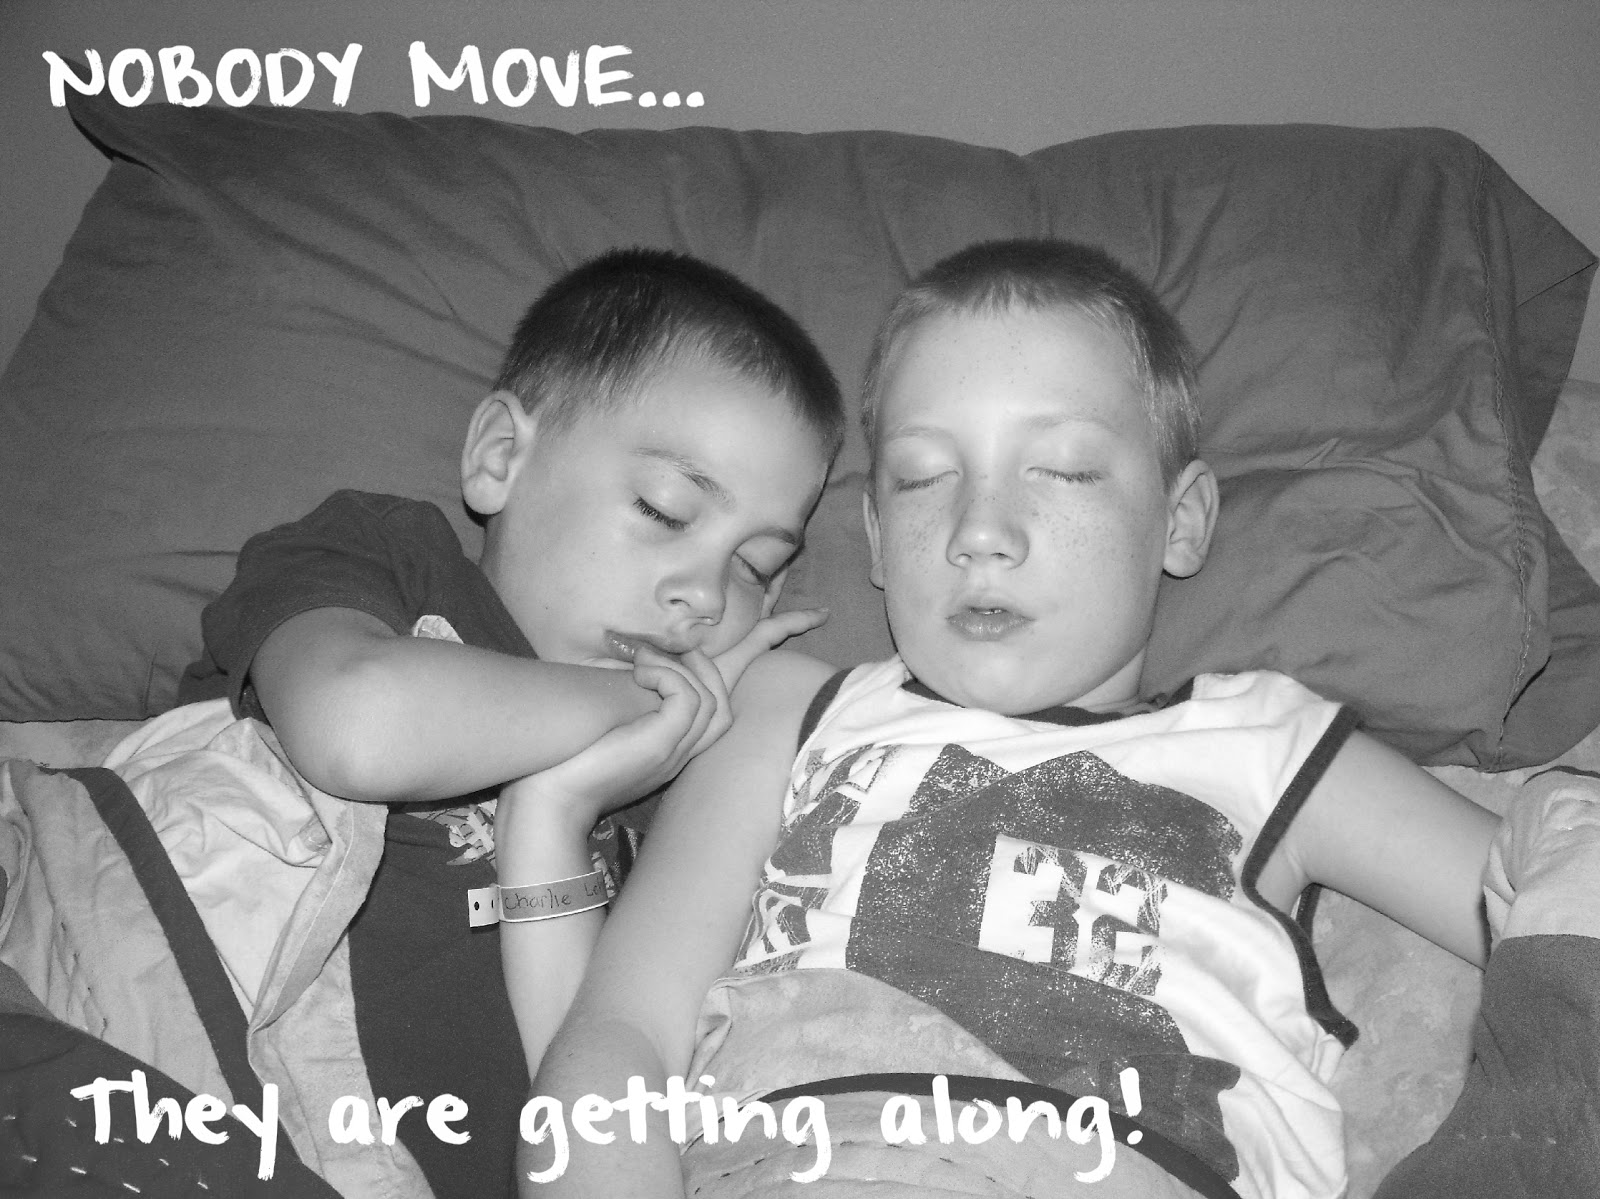
R-E-S-P-E-C-T
Last week’s letter home from my second grader’s teacher mentioned that they were learning about respect. I asked Charlie about it. He said they watched a video on you tube. I like to keep a connection between what’s happening at school with our lives at home, so we looked it up and watched it together as a family. I was pleasantly surprised! The video is so adorable and the words are a perfect way to talk to kids about what respect means!
As the days went on and the boys started arguing and fighting, I started singing the song out loud. Just randomly.
Charlie replies, “I regret telling you about that song.”
I thought I’d share it with you so you can watch it with your kids and make them regret it too! You’re welcome, kids!
Oh, and I apologize, the chorus is going to be stuck in your head for the rest of the week.
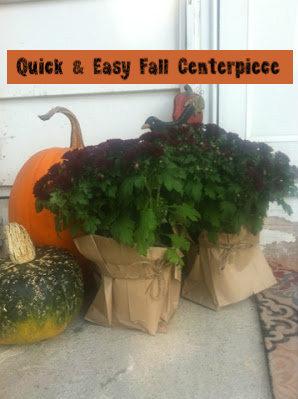
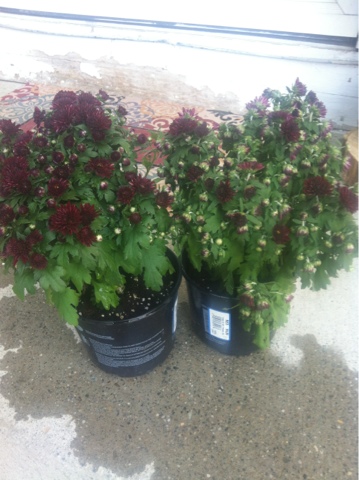
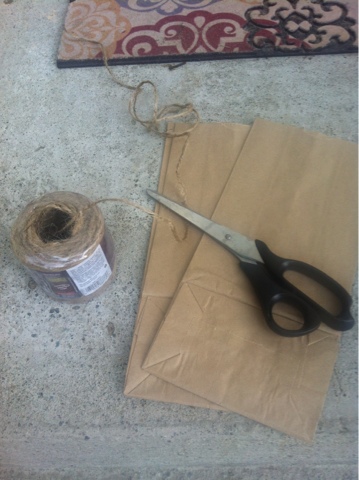
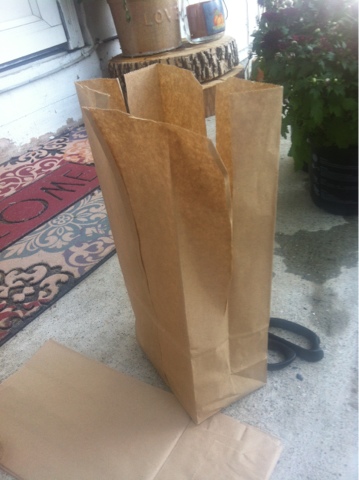
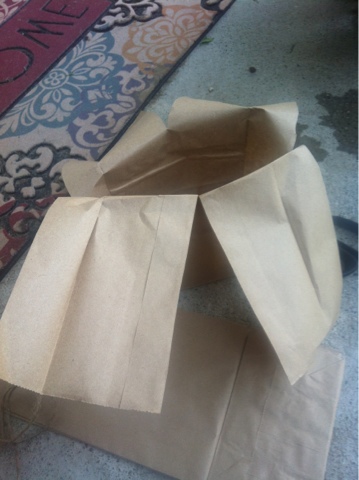
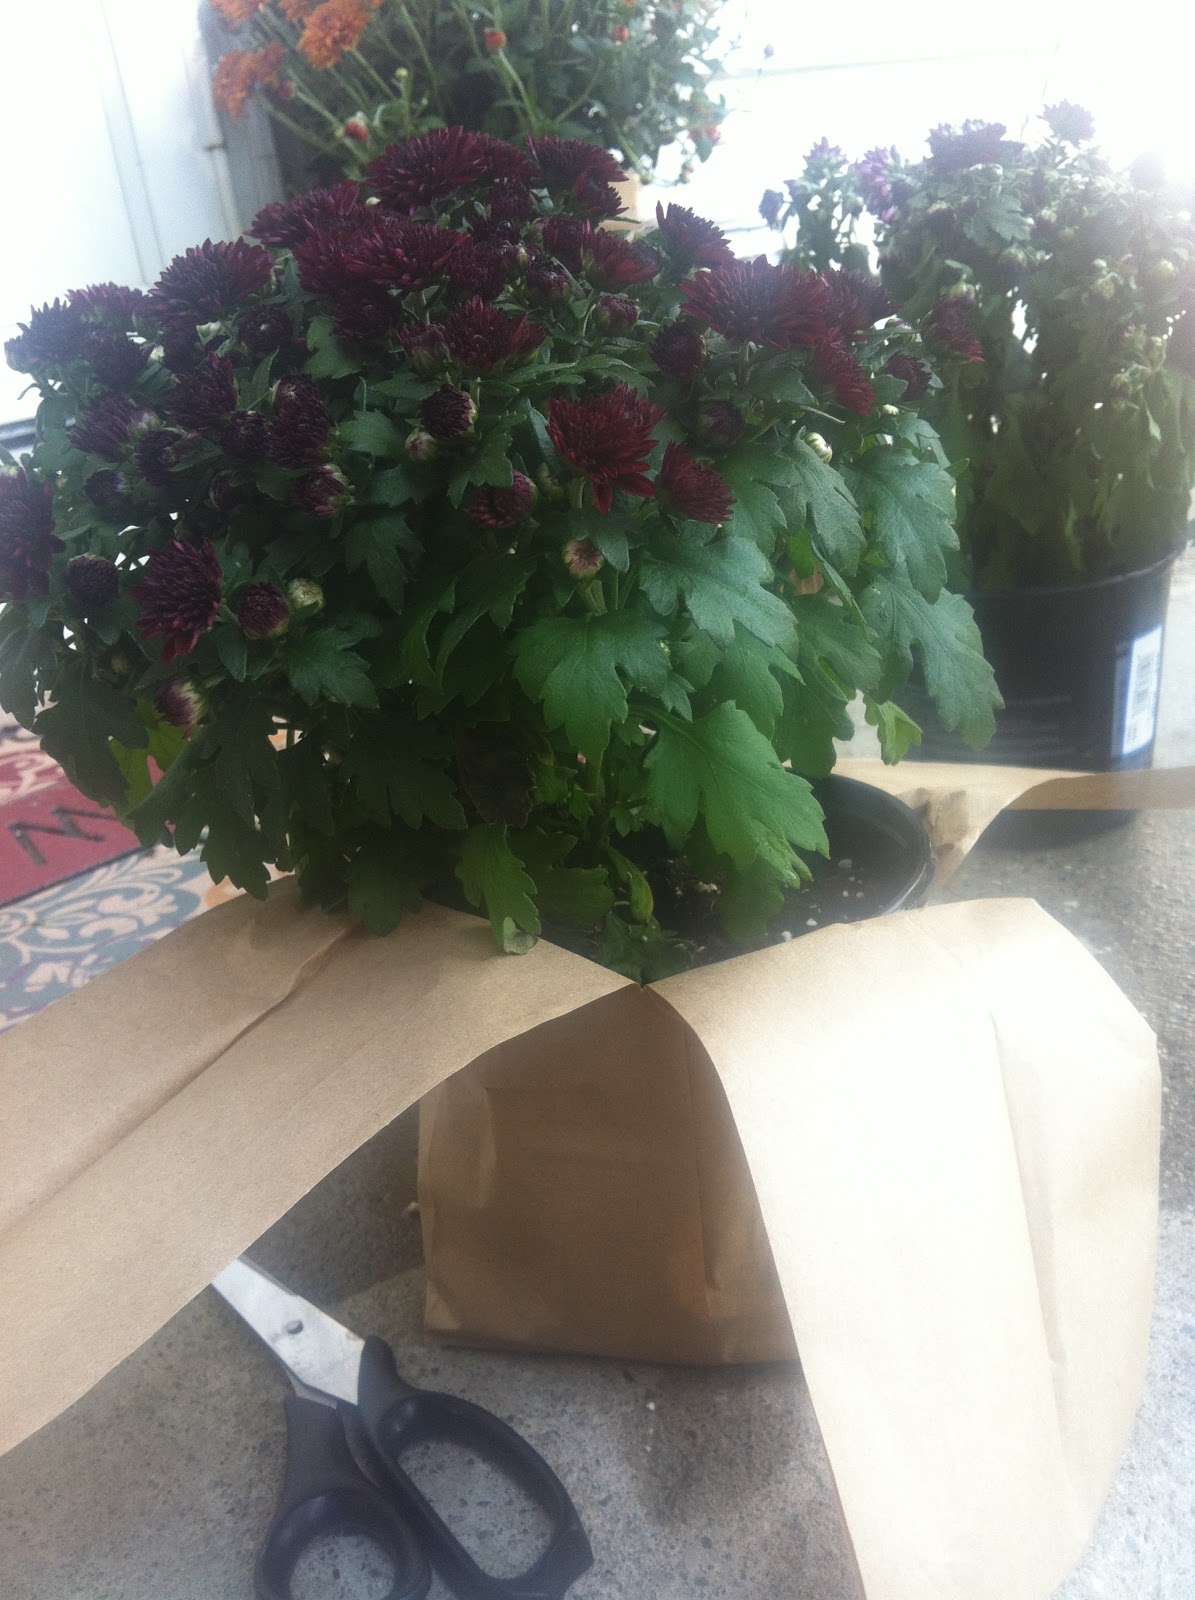
Quick and Easy Fall Centerpiece

Burlington Vermont Moms Blog!
 |
| www.burlingtonvtmomsblog.com |
I have happily accepted an offer to be a part of the new site, Burlington Vermont Moms Blog! I will be a contributing writer, offering up a post here and there. I am super excited to be a part of something like this! I look forward to getting to know more local moms and becoming more involved with what’s happening in our beautiful state!
Today, I posted an introduction of myself. Check out my post, Living My Dream, to learn a little more about me and while you’re over there, enter a contest or two! So many great ones going on!